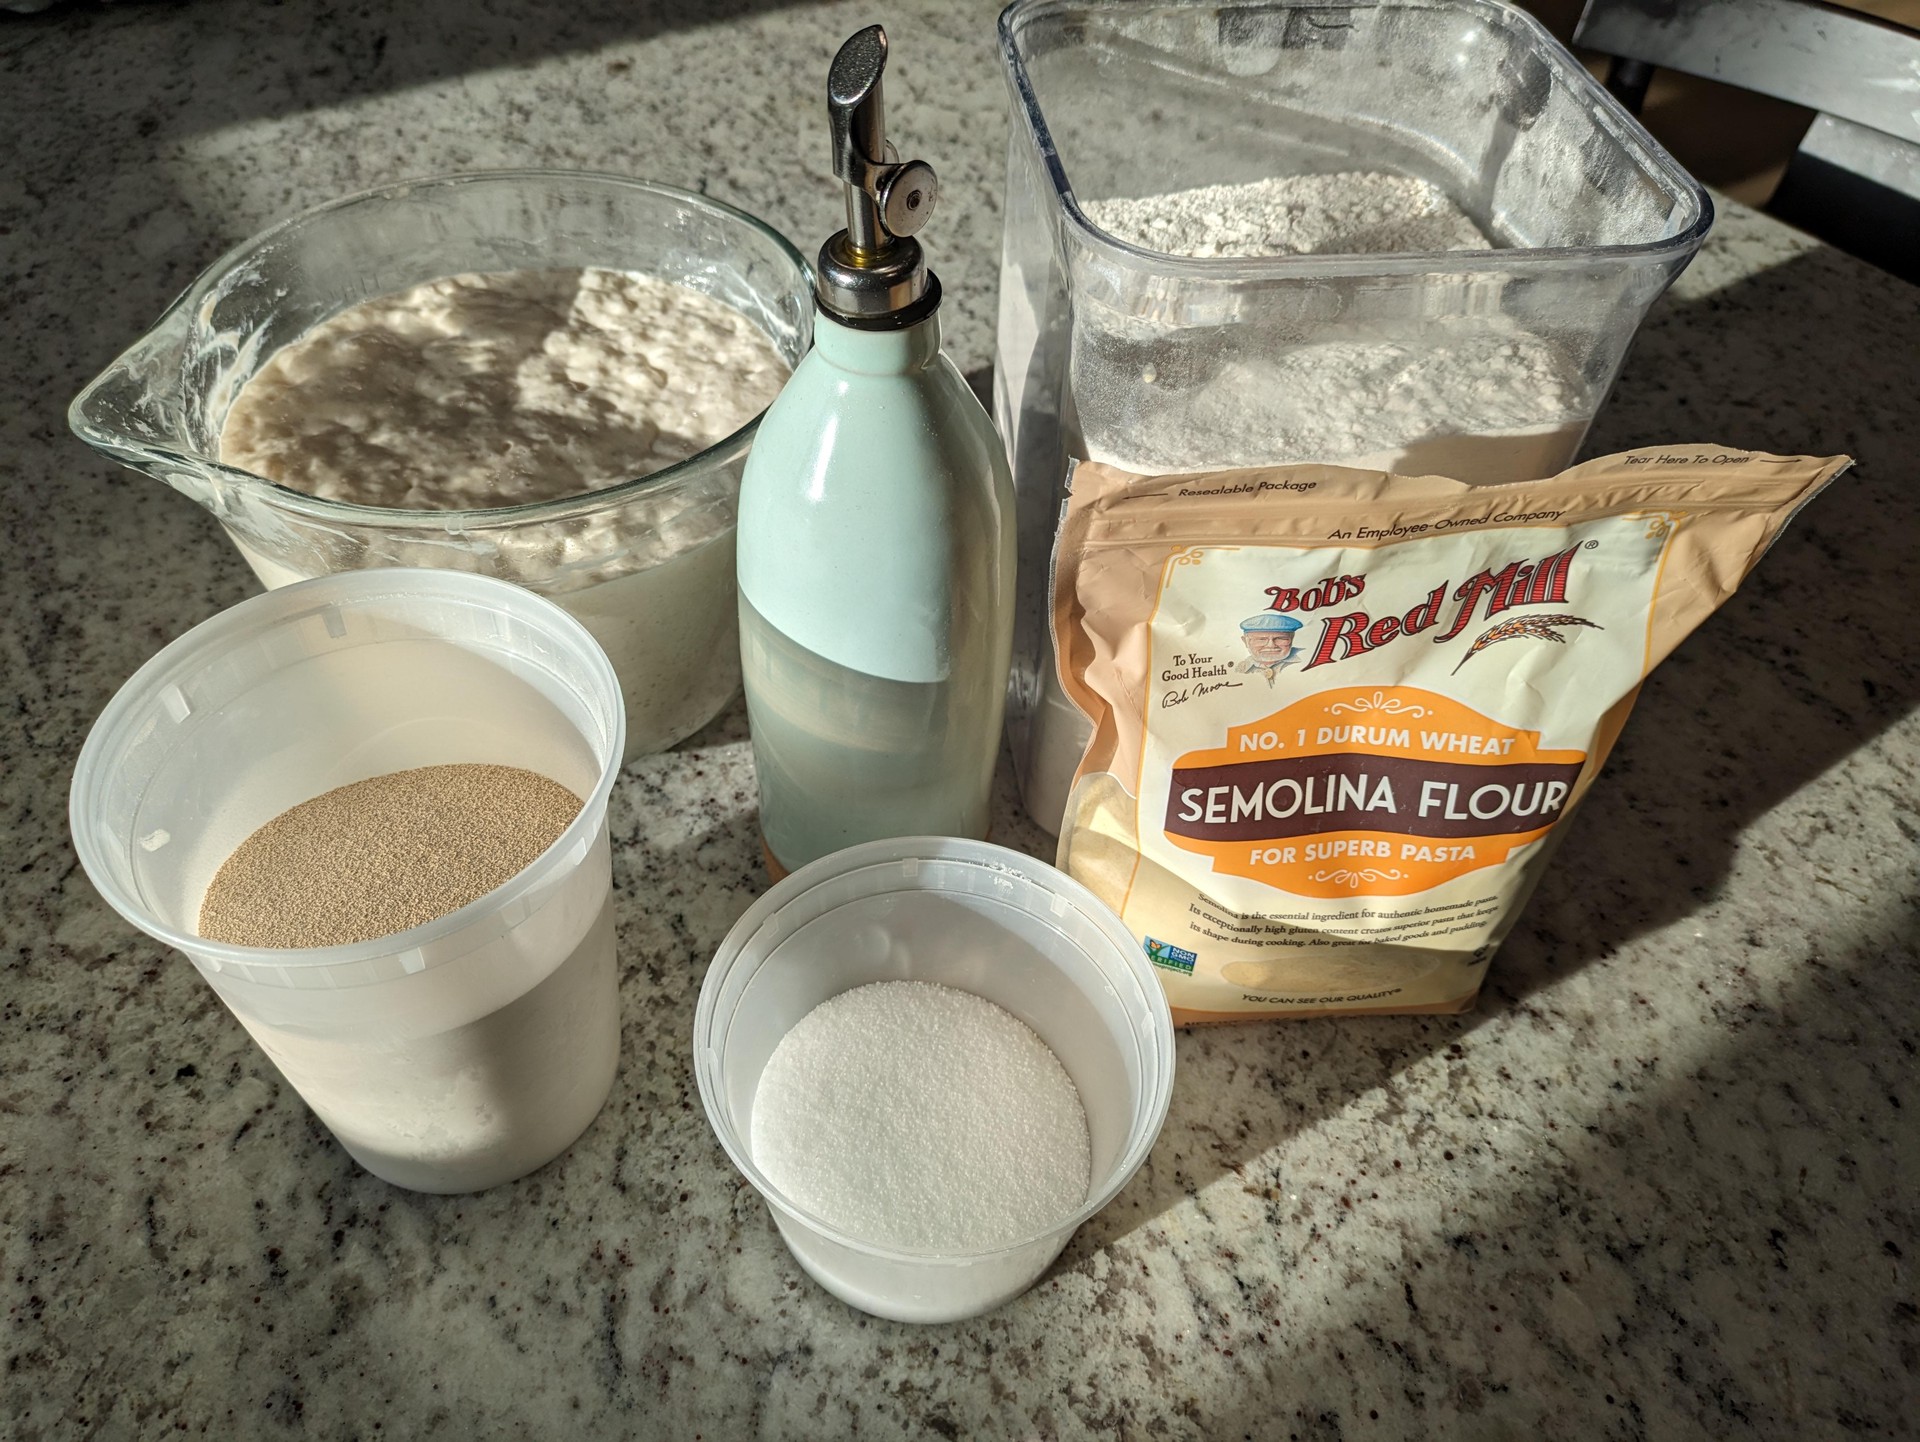
Ingredients
- 323 g water
- 125 g sourdough starter1
- 3/4 tsp instant yeast
- 11 g salt
- 24 g olive oil
- 490 g bread flour2
Scale
As listed, this dough adds up to 970g, which is suitable for
- 1 9"x13" focaccia, 2" height
- 1 13"x18" pizza (half-sheet pan), 1" height
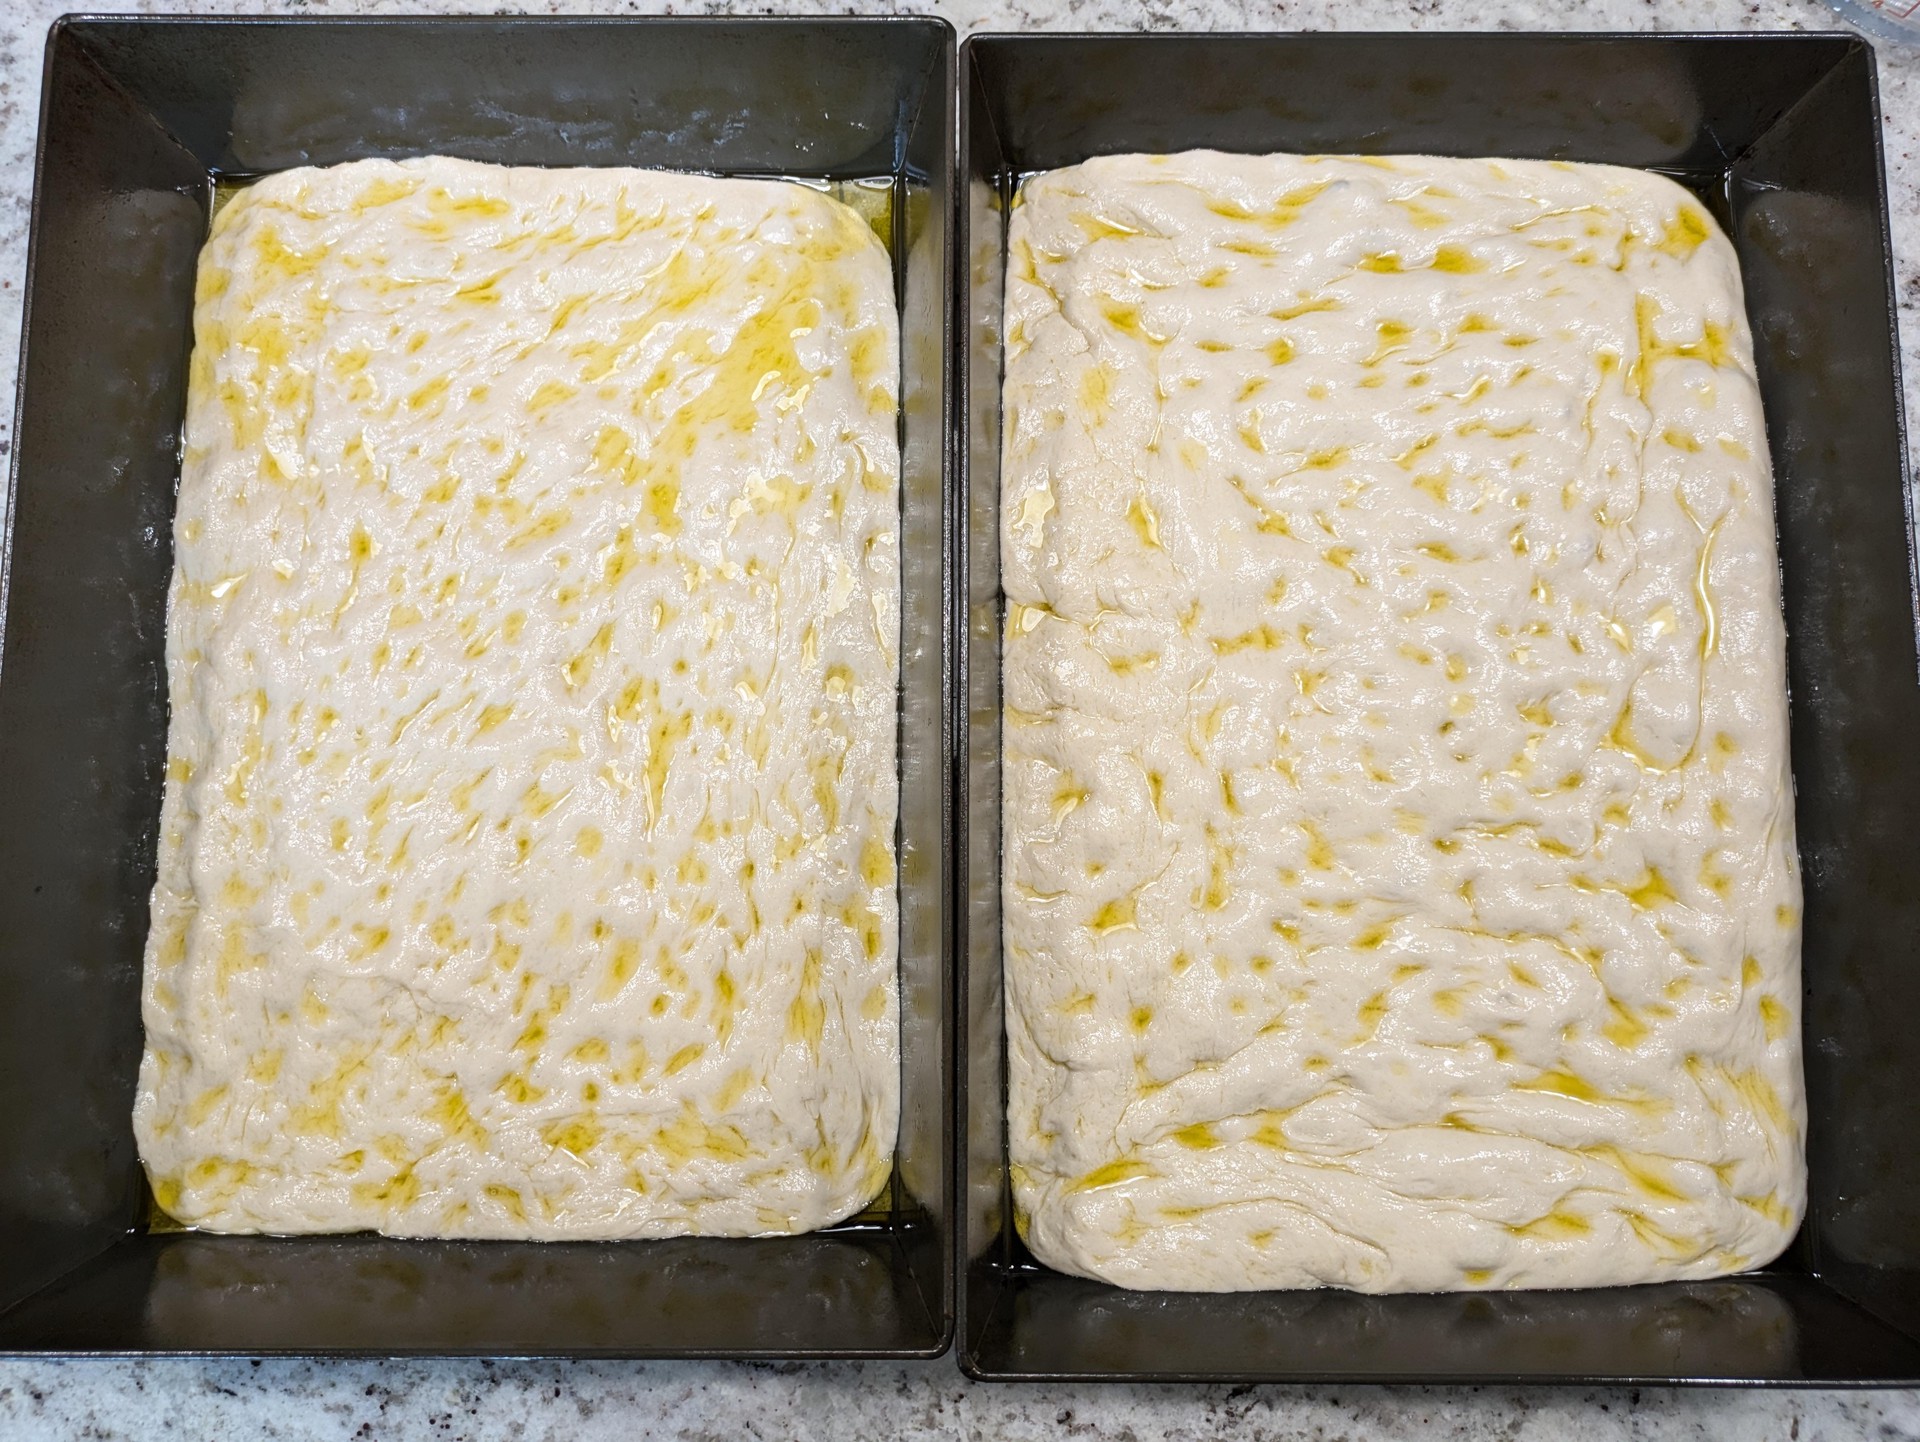
- 2 9"x13" pizzas. 1" height
Scale up or down depending on # of pizzas/focaccias, size of pans, and desired dough height
Timelines + Dough Tips
3 days is the sweet spot
On day 1, you make the dough and pan it out. This takes about an hour, mostly hands-off while the dough rests.
With the dough panned out, you get the best results moving it to the fridge for 3 days. This boosts the flavor of the dough. That said, nothing wrong with overnight or 2 days.
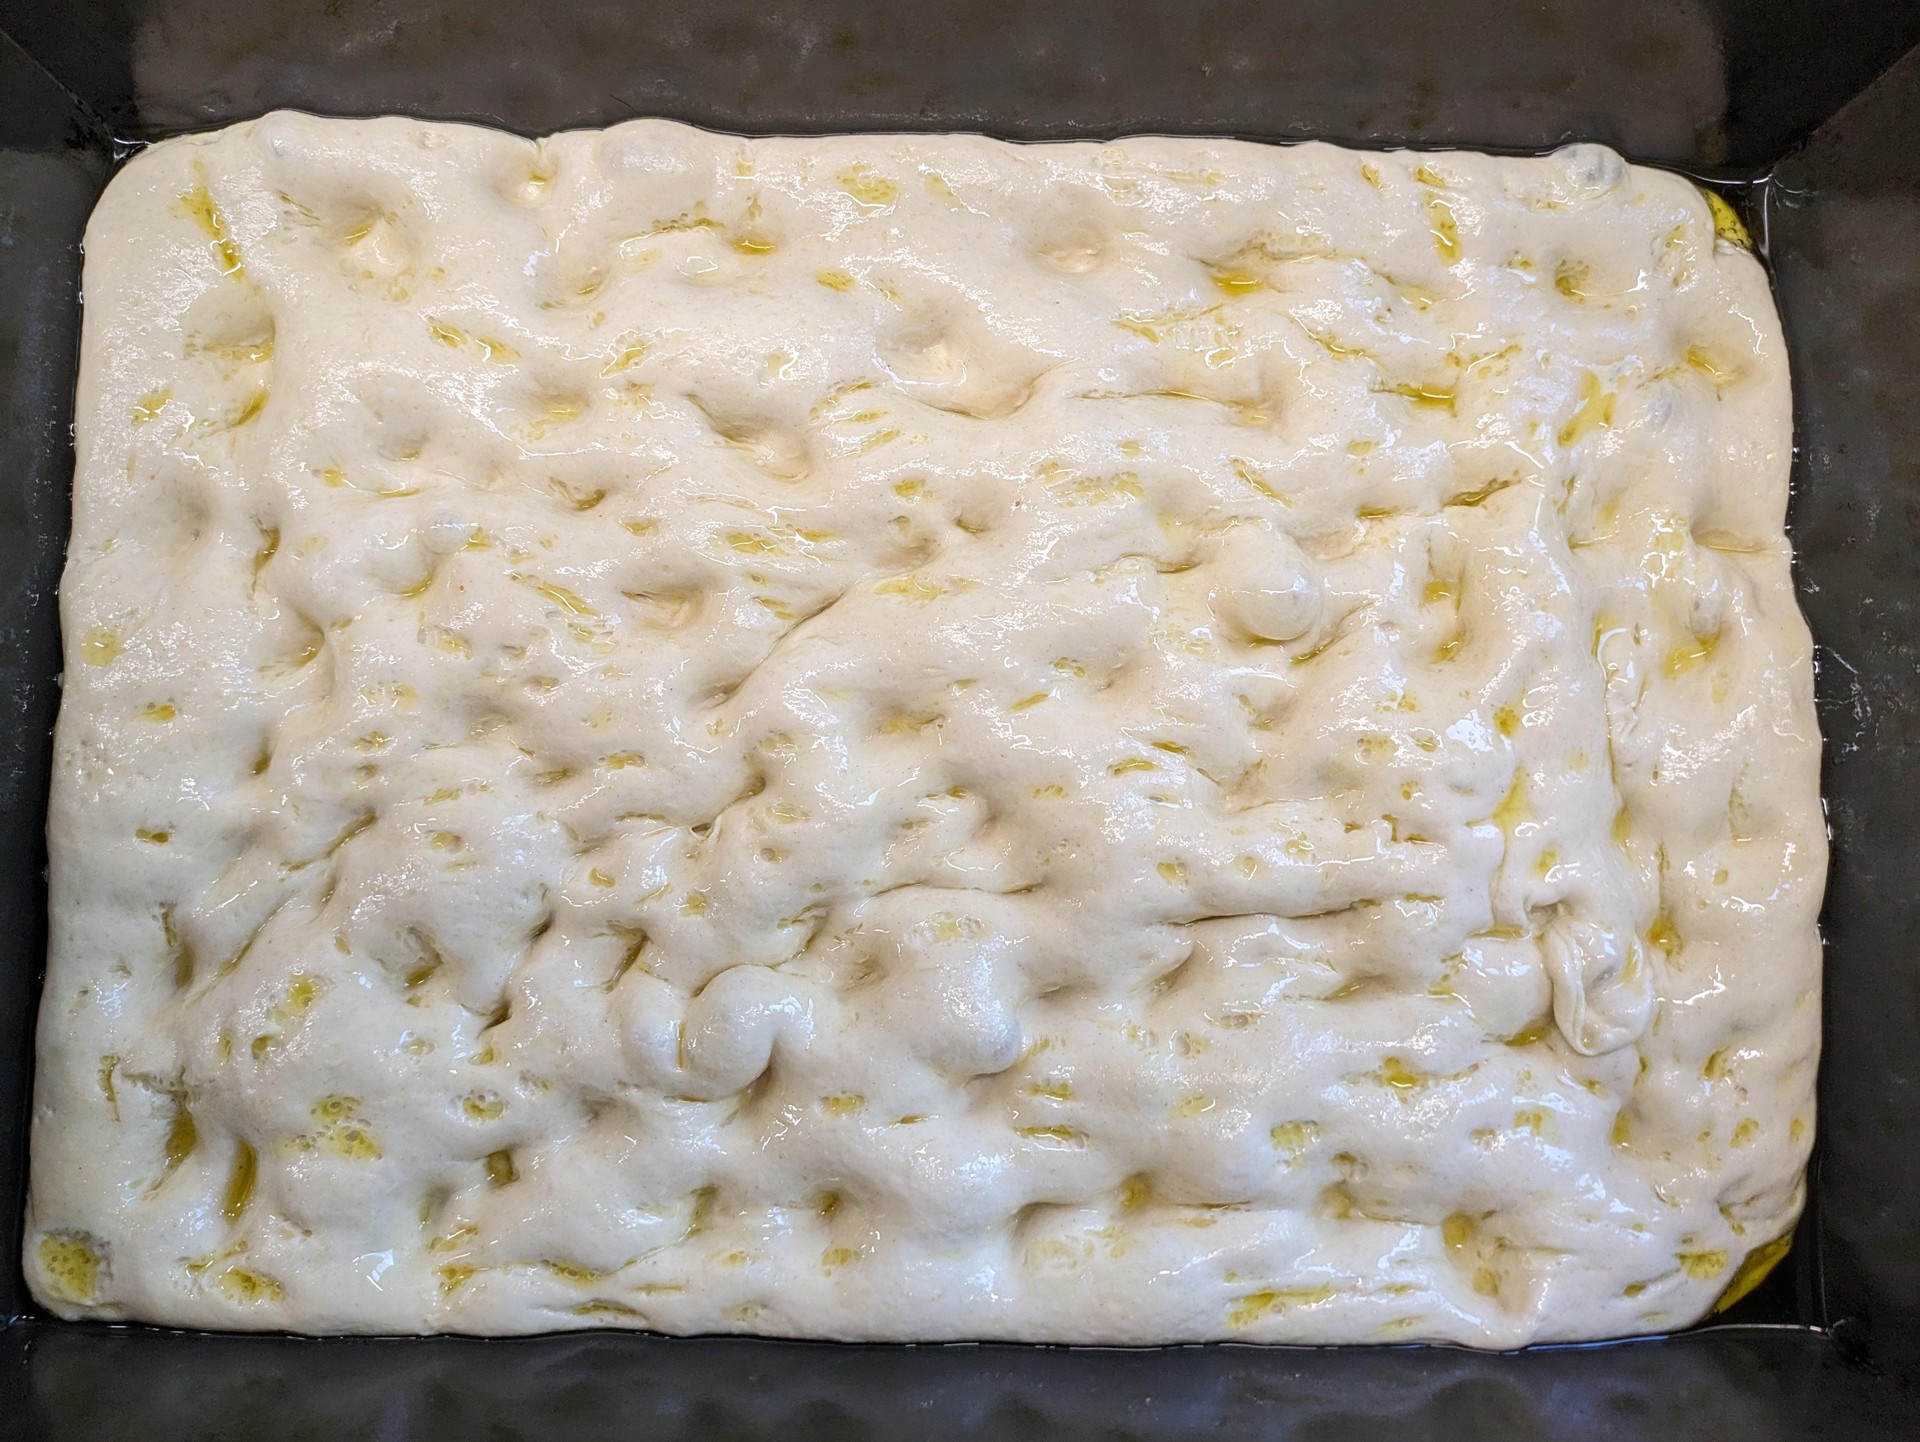
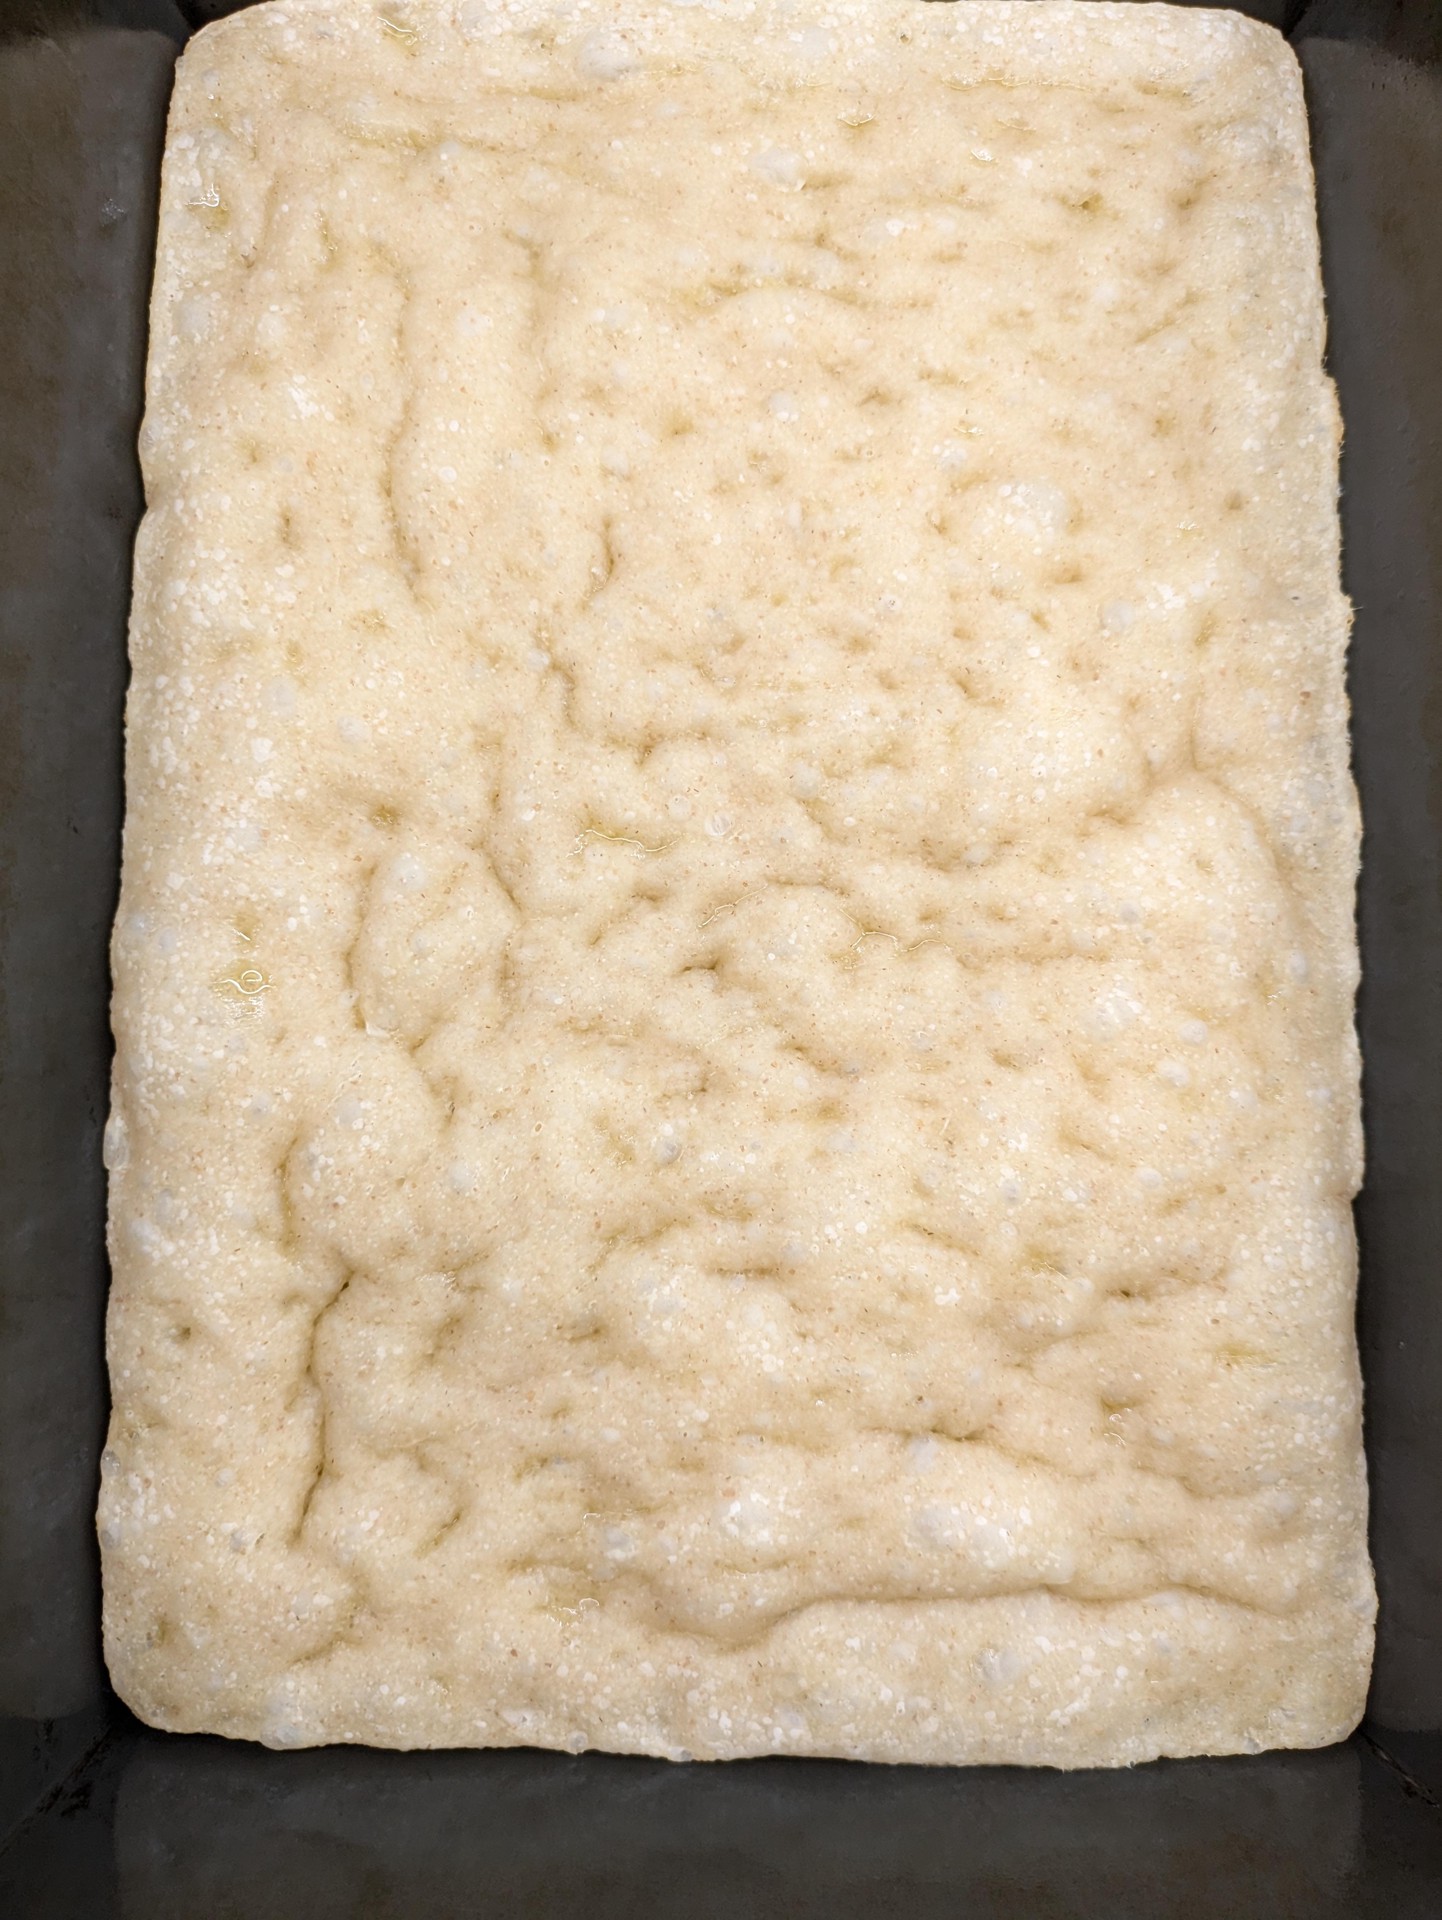
Pulled from the fridge, the dough will take 2-6 hours to rise, temp dependent (82°F-62°F). It’s ready to bake when there are bubbles and the dough jiggles when you gently jostle the pan.
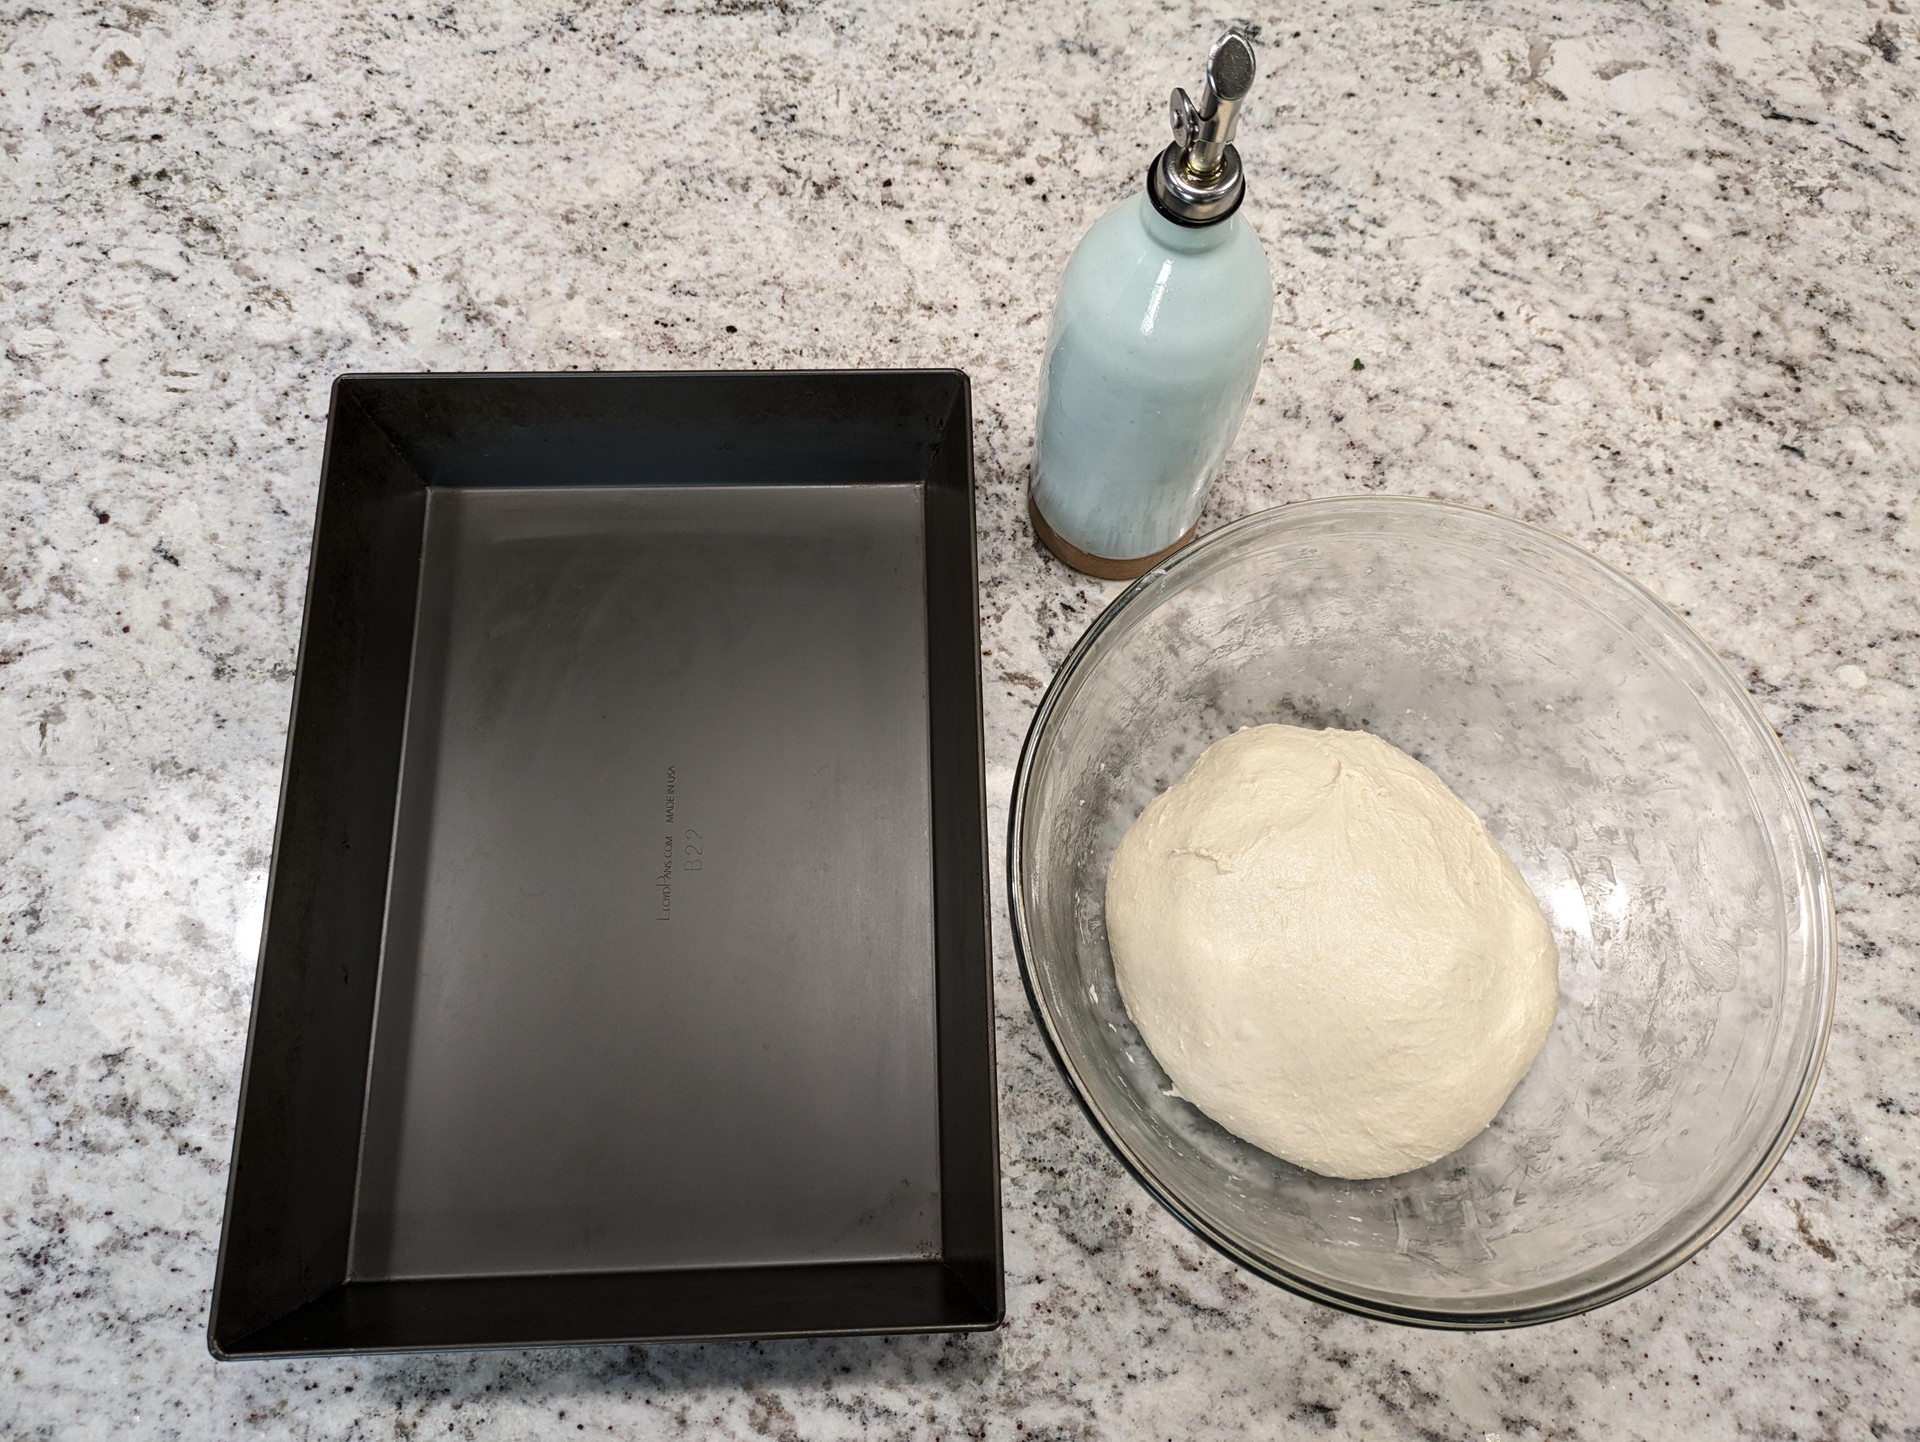
Make Dough
In large bowl, mix ingredients in listed order, using spatula and then switching to a hand, when the flour gets too difficult to mix. Switch between squeezing the dough between your fingers and scooping the bottom and sides to the top, for about a minute. Use butter knife and clean hand to scrape the dough off the other hand. The ingredients should all be well-mixed and the dough will be shaggy and sticky.

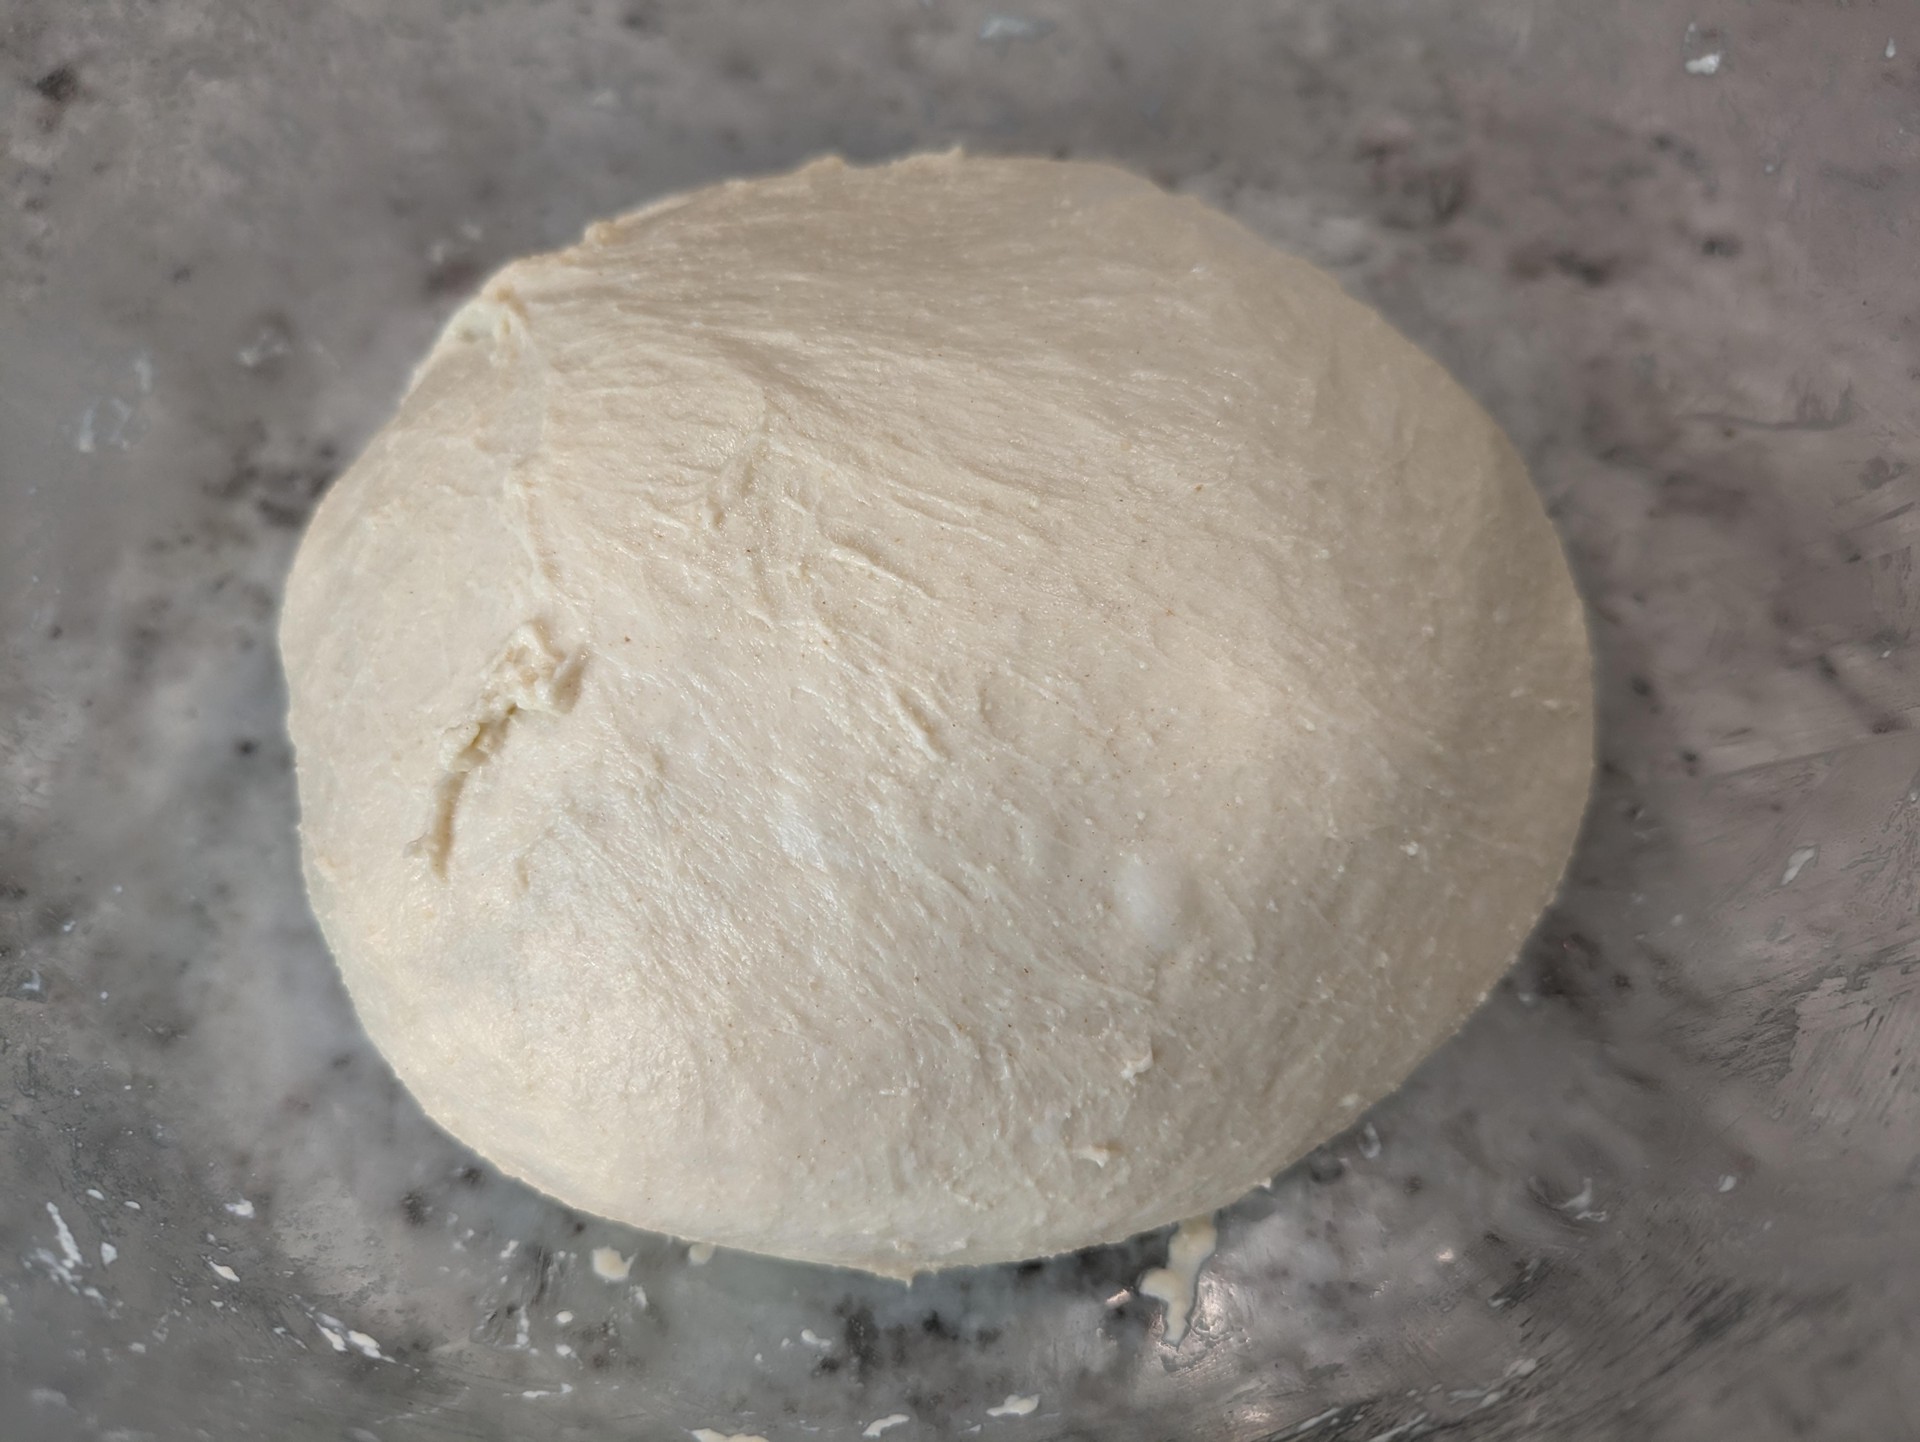
Cover and let rest for 5-10 minutes. Stretch and fold by reaching under the dough, pulling it up, and putting it down on the opposite side. Rotate the bowl 90 degrees and repeat, going around the bowl and building strength. Do 2 more rounds of 5-10 minute rests and stretch+folds. The dough should look smooth, strong, and ball-shaped at this point. Cover and let rest for 15 minutes.
Pan Out + Move to Fridge
Grab pans + olive oil + parchment paper3.
Cut parchment paper to size of pan. Drizzle pan with a couple tbsp of olive oil, and use hand to coat bottom and sides. Put down parchment paper and add 1/4 cup olive oil for a half-sheet pan and 2-3 tbsp for smaller pans, as a baseline to go up from, to taste.
Dividing the dough => dump onto oiled counter and use oily hands to stretch into a rectangle or close enough. This makes it easier to eyeball where to cut with a dough knife (or whatever you have). Use oiled hands to coax the cut pieces to match the pan’s shape.
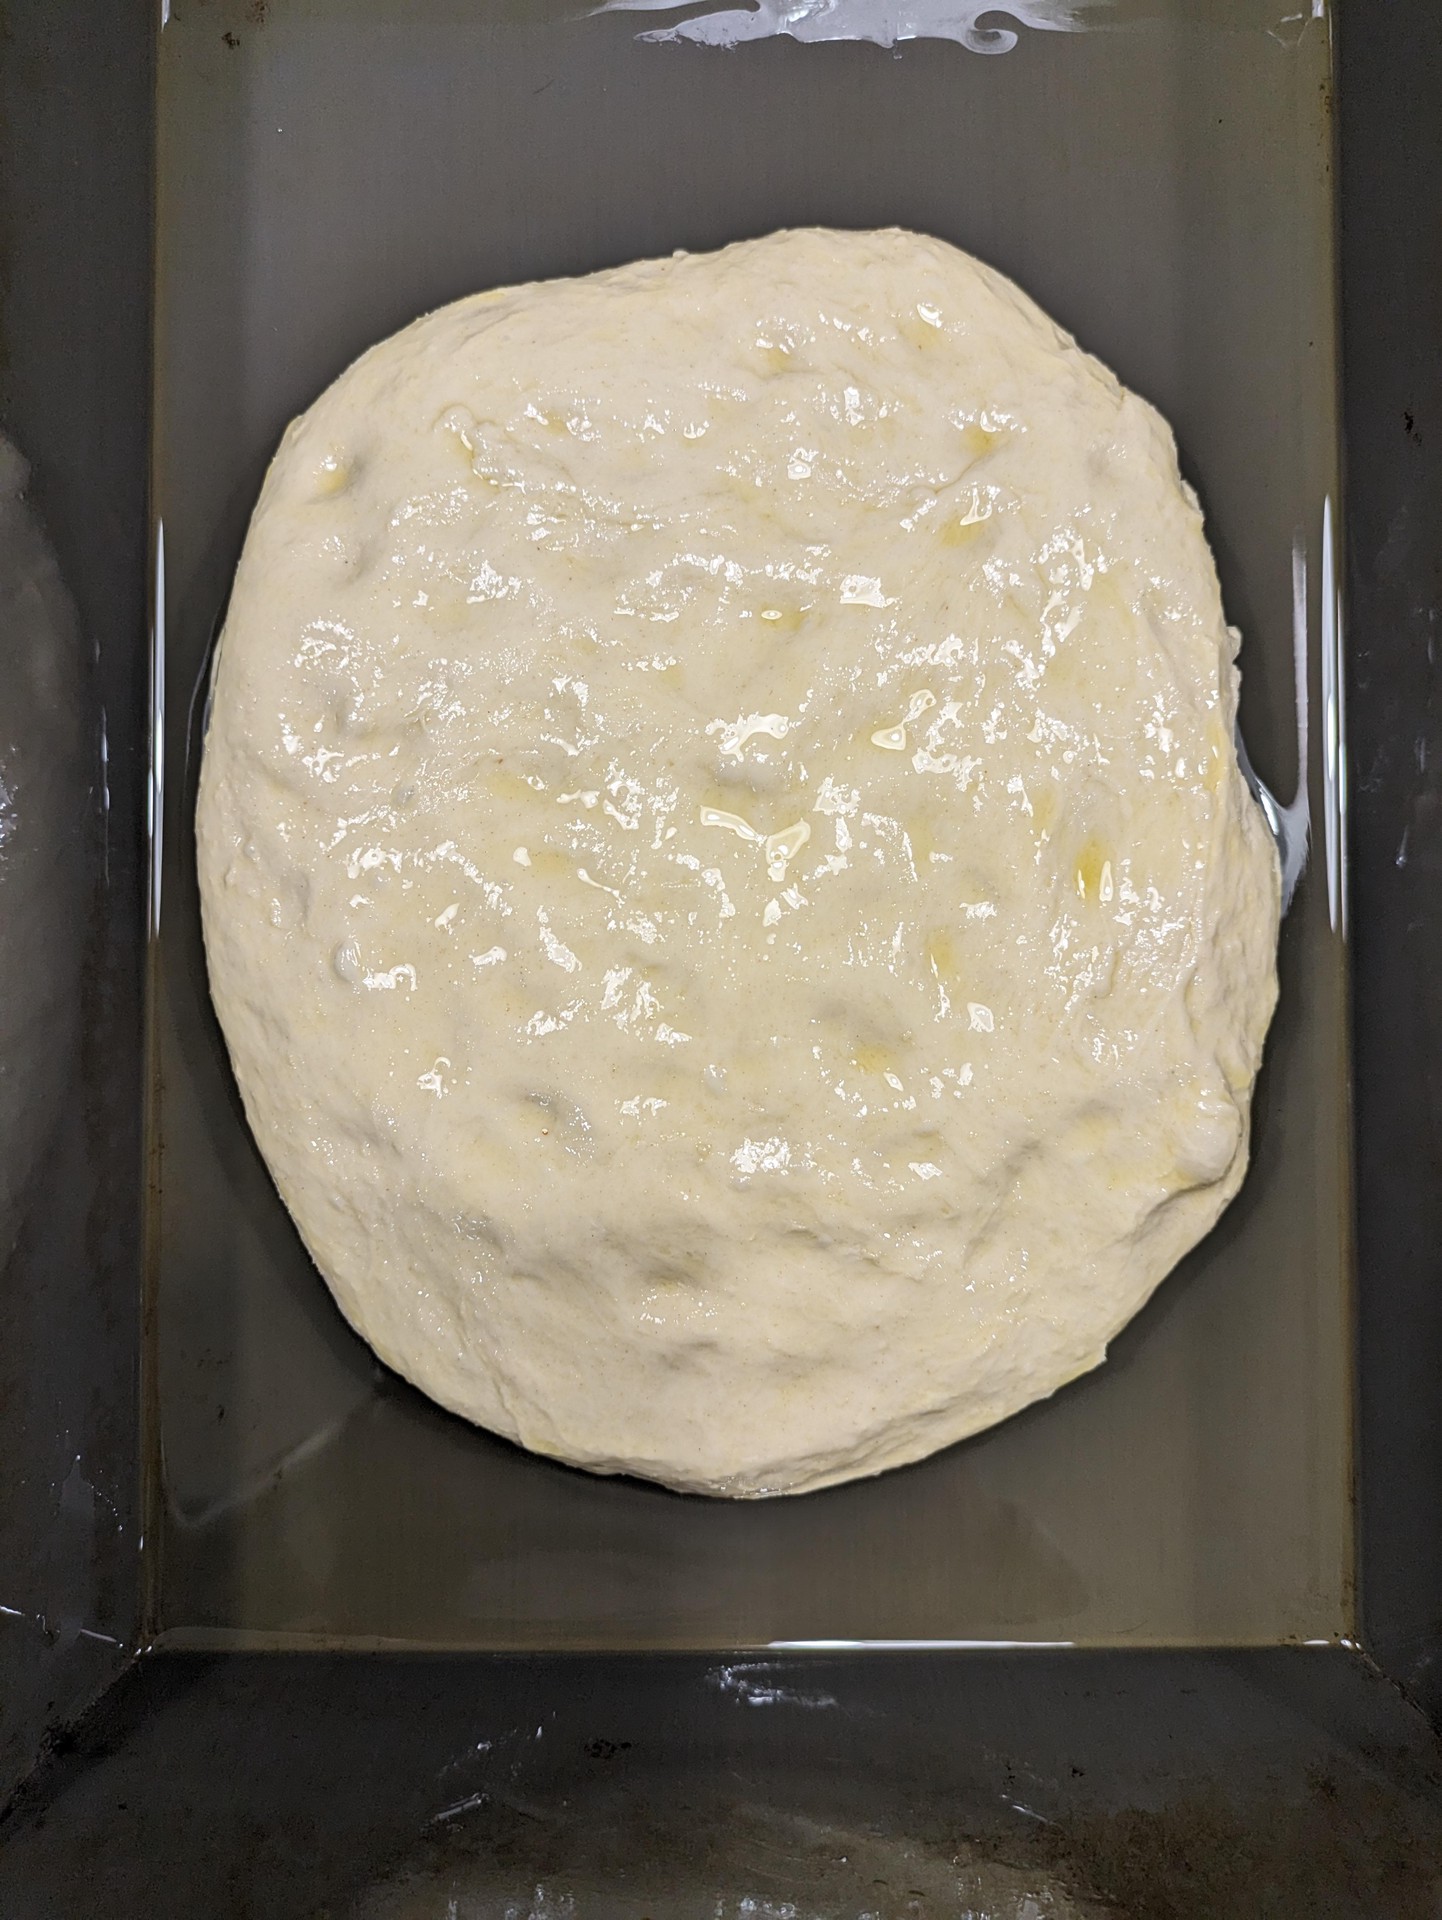
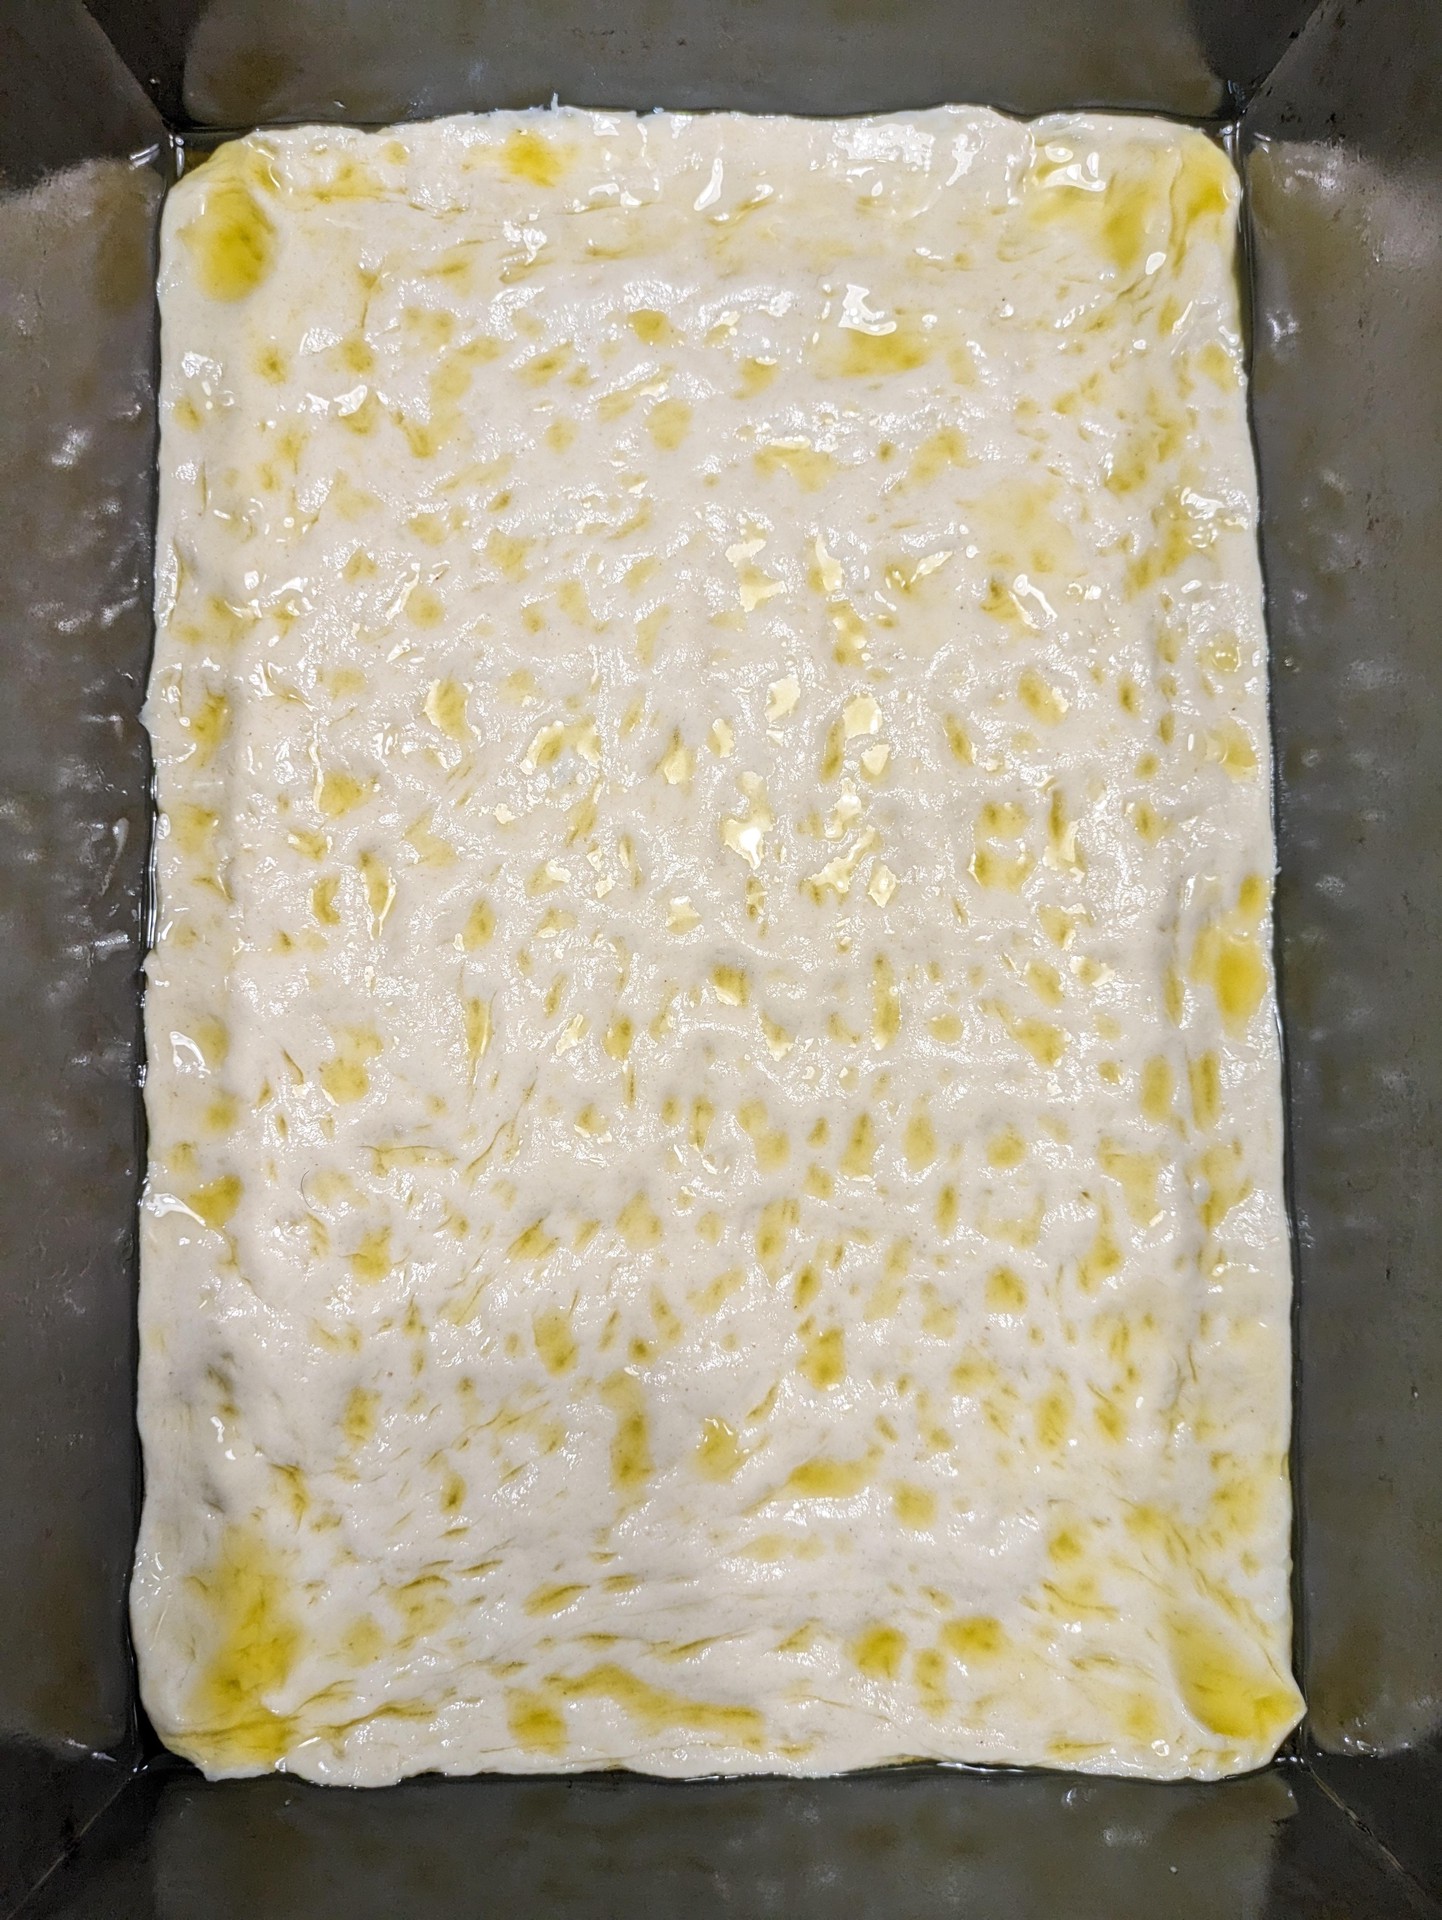
With oiled hands, place dough in oiled pan and start to pan out. Switch between pushing down with your palms and fingertips, going from the middle out to corners. But only for a minute or so, don’t fight the dough or push it too hard.
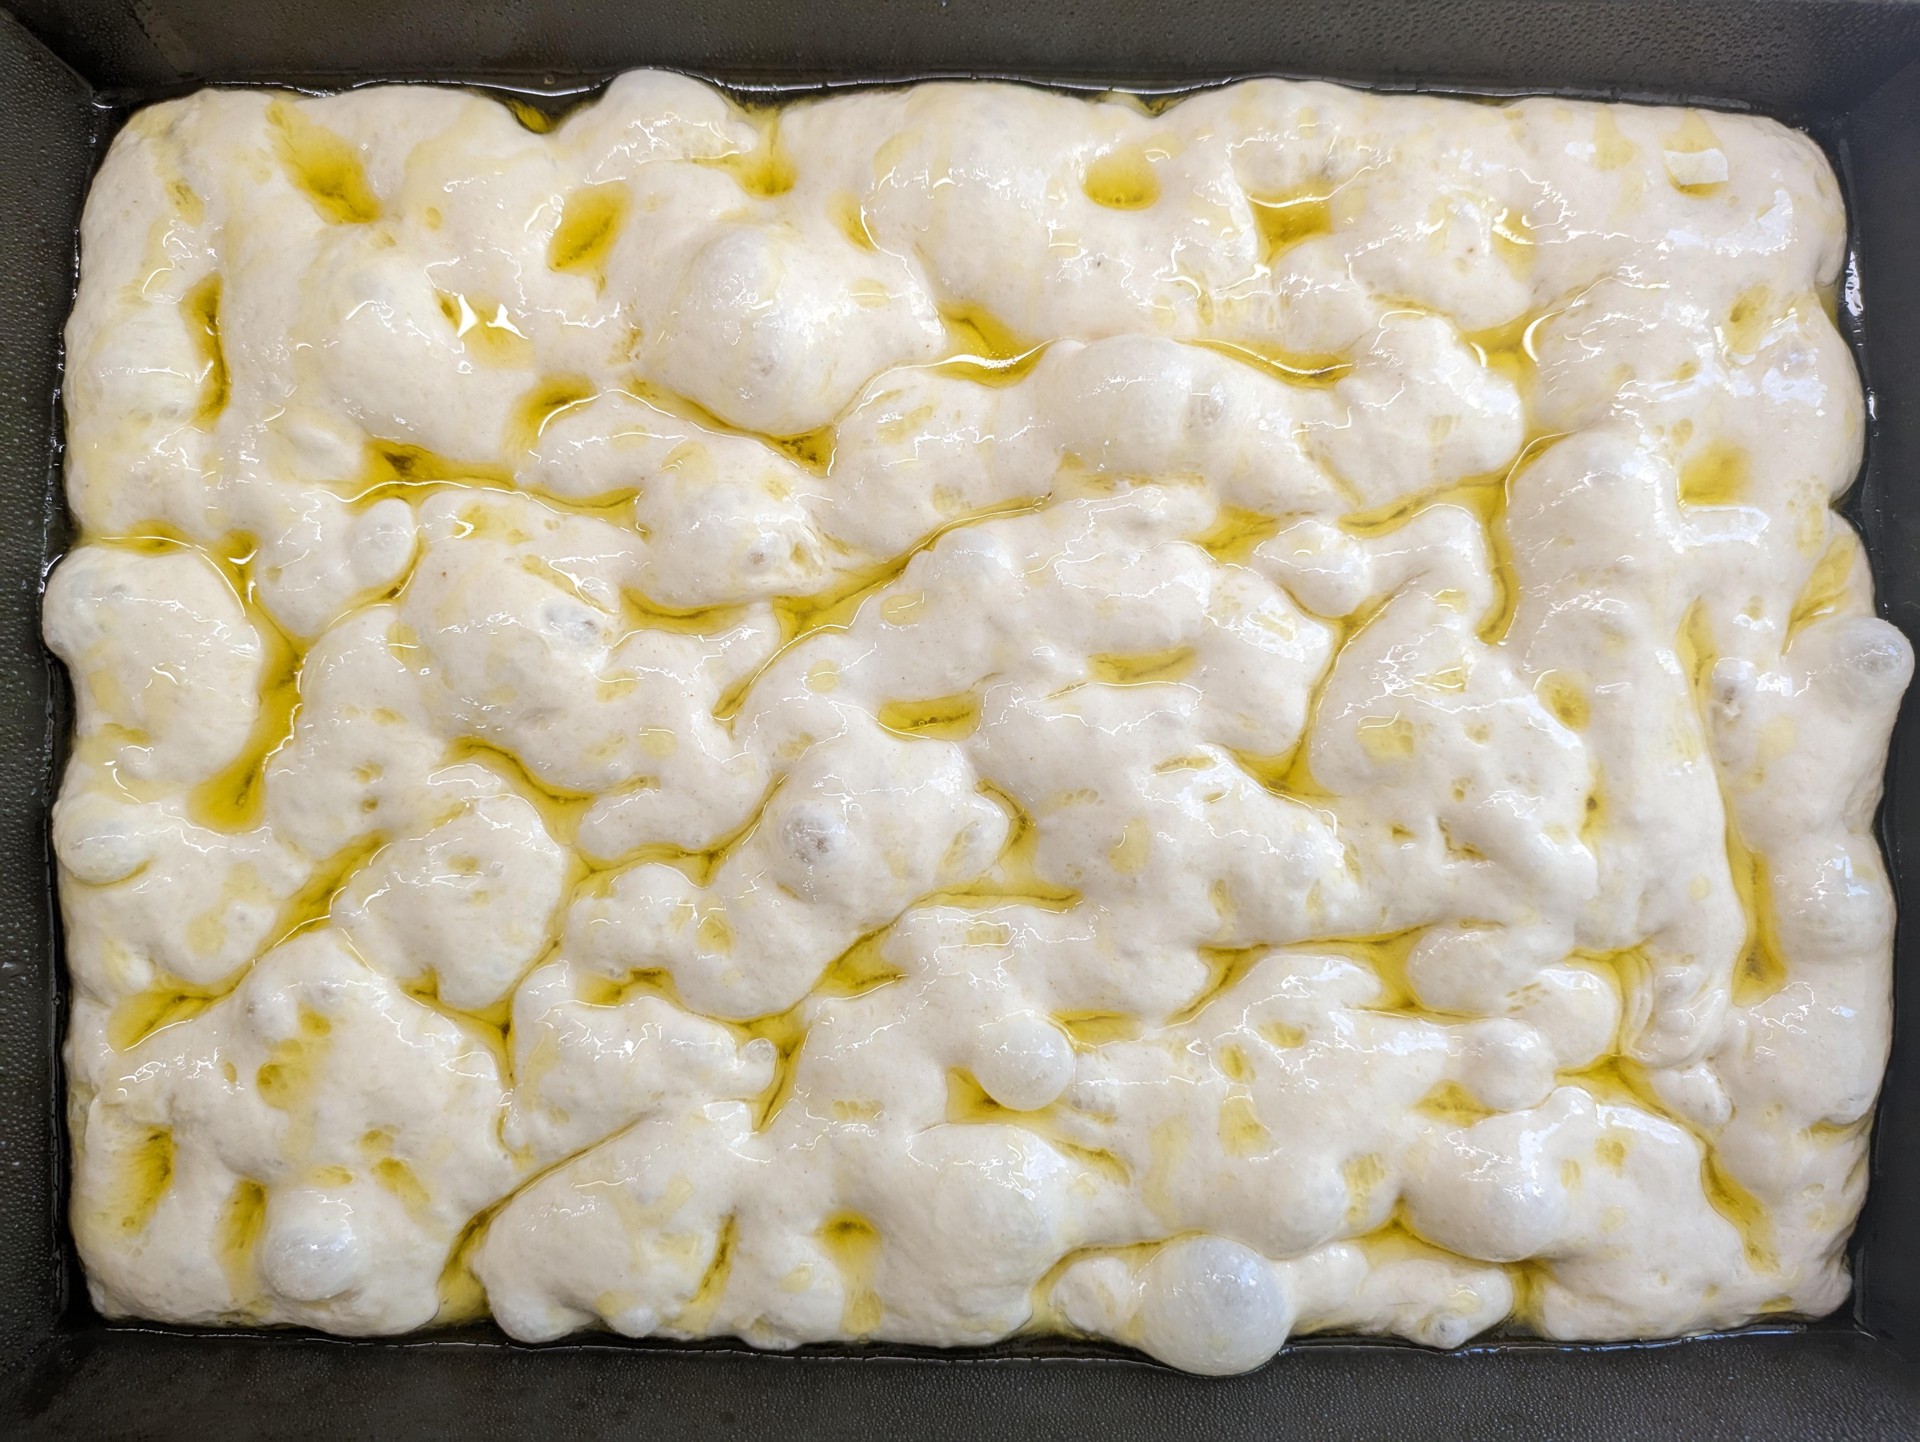
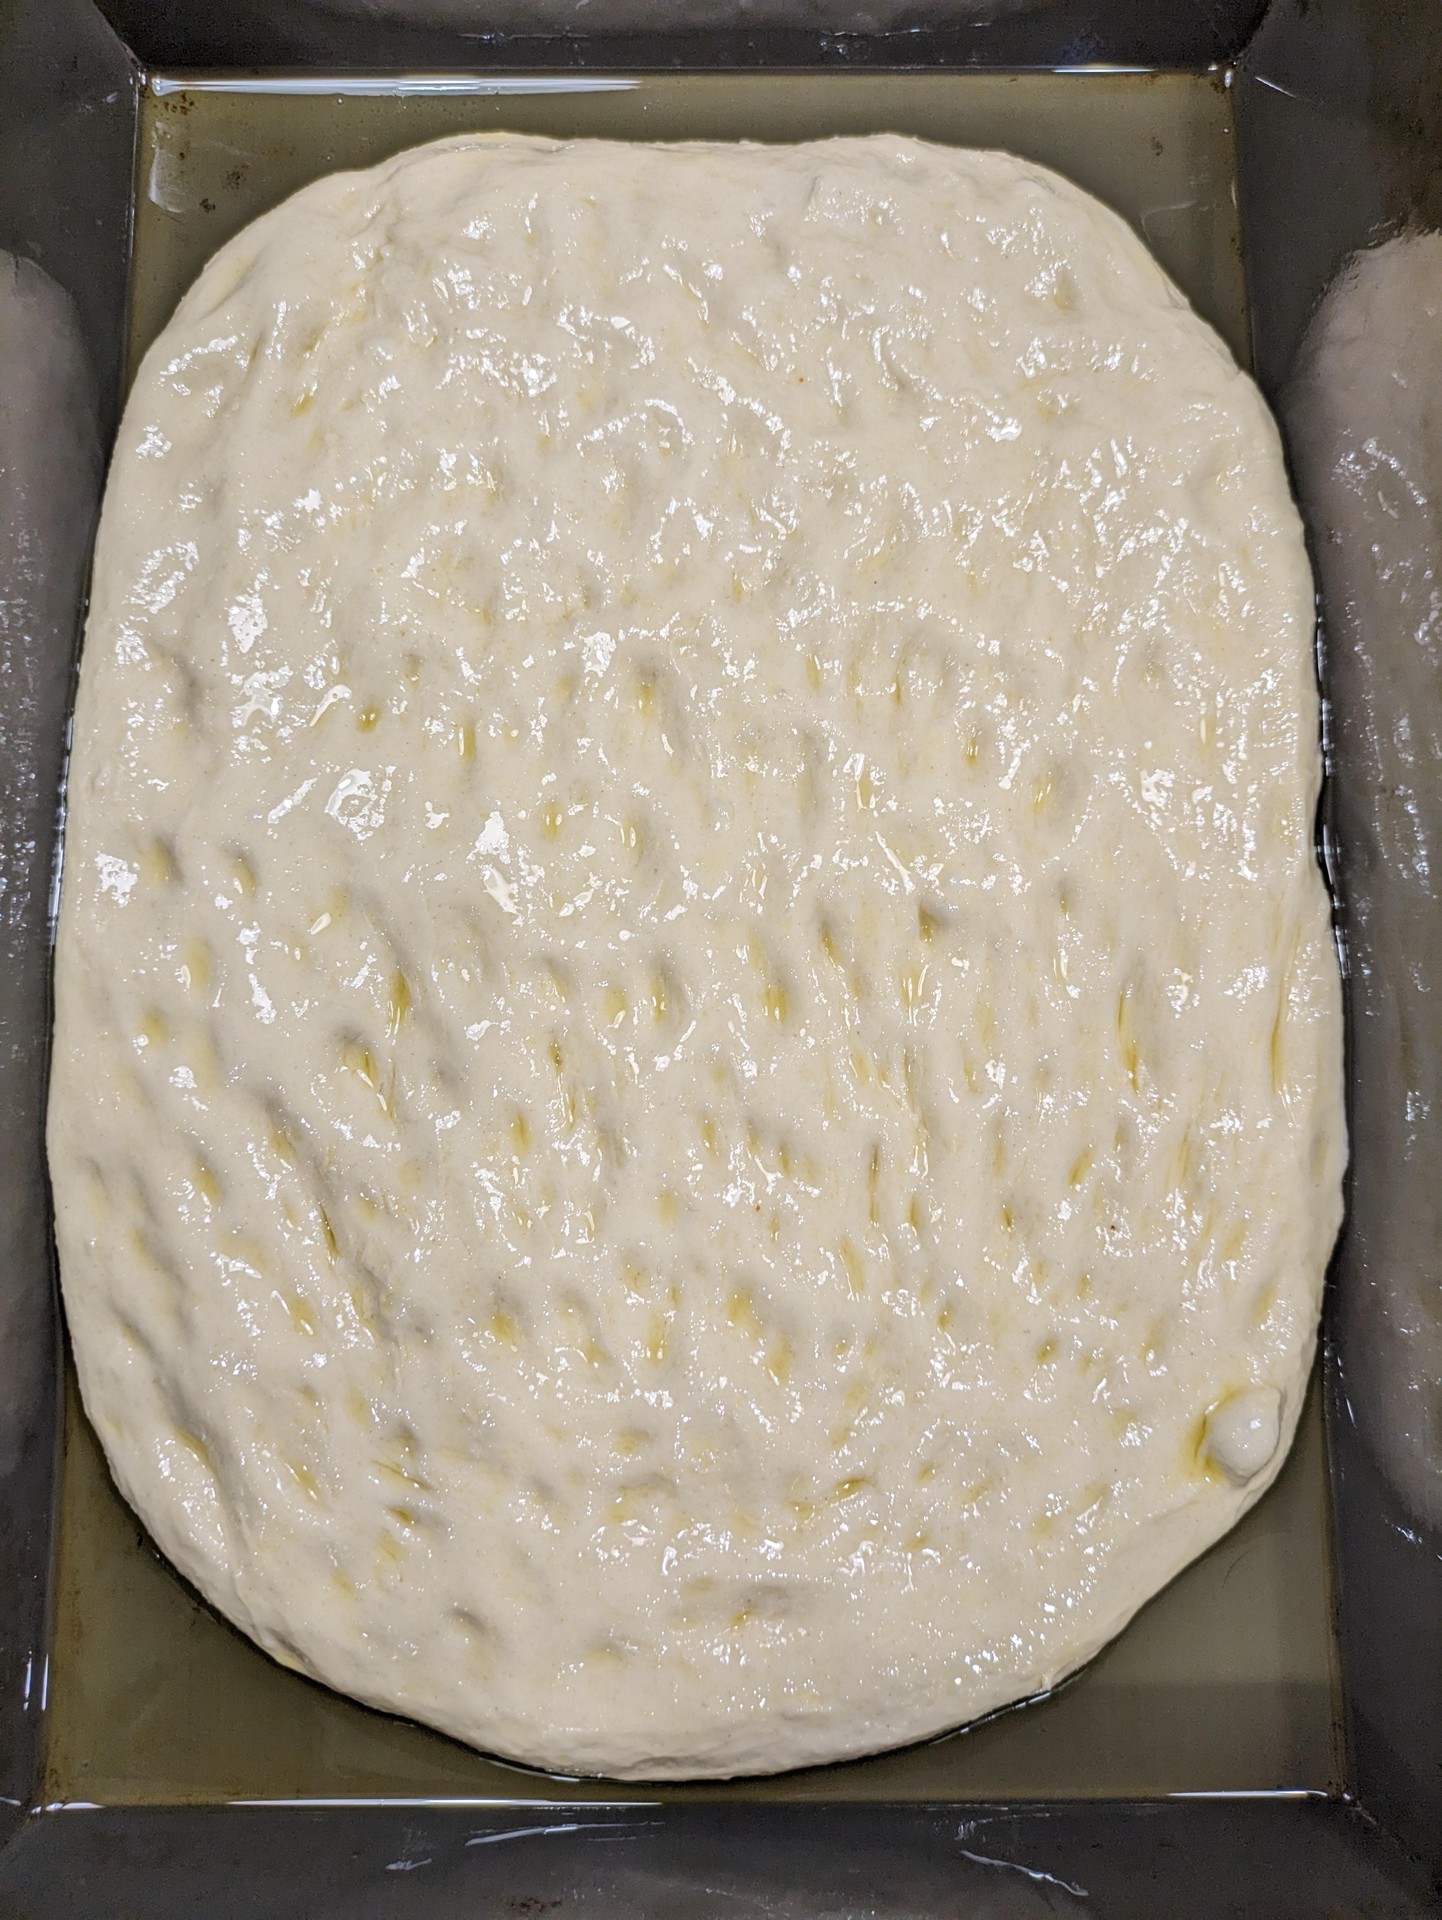
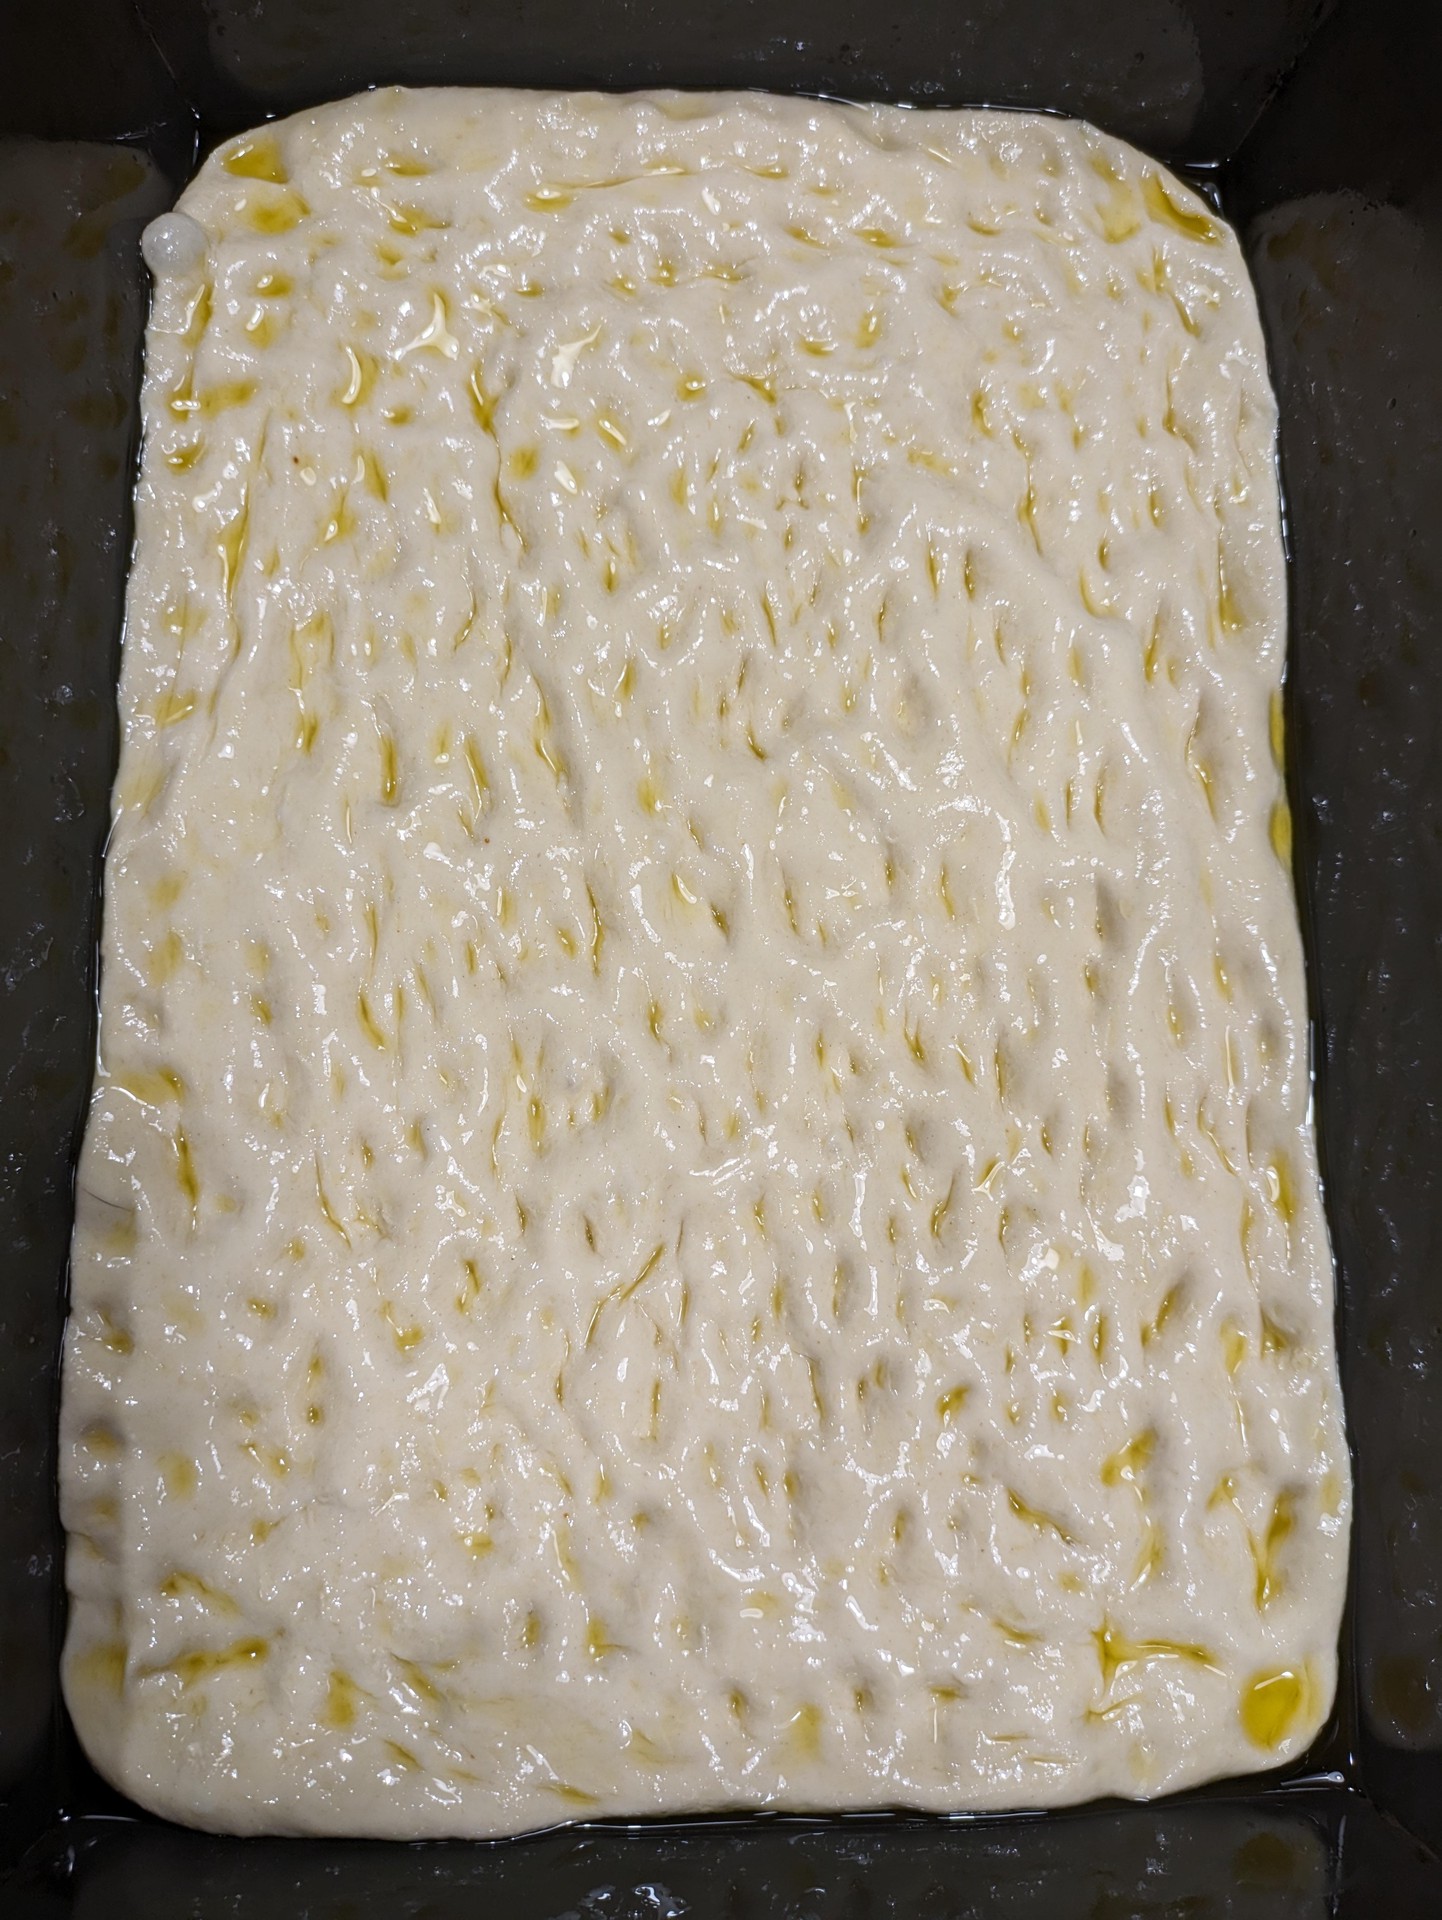
Cover the dough and let it rest for 15 minutes. Then repeating the panning, working to get the thicker middle parts to the corners, and generally evening it out. Oil will pool in the corners, which you can flick under or over the dough to spread back out. Panning usually takes 3-4 rounds, with 15 minute rests in between.
Cover pan and move to fridge. 3-day cold fermentation brings out the most flavor, but overnight and 2-day are also good.
Remove from Fridge + Rise
It’s bake day. Remove pans from fridge before dinner
- cold weather => 4-6 hours ahead
- hot weather => 2-4 hours ahead
This is a good time to prep ingredients and clean the kitchen ahead of time, for a more relaxing bake.
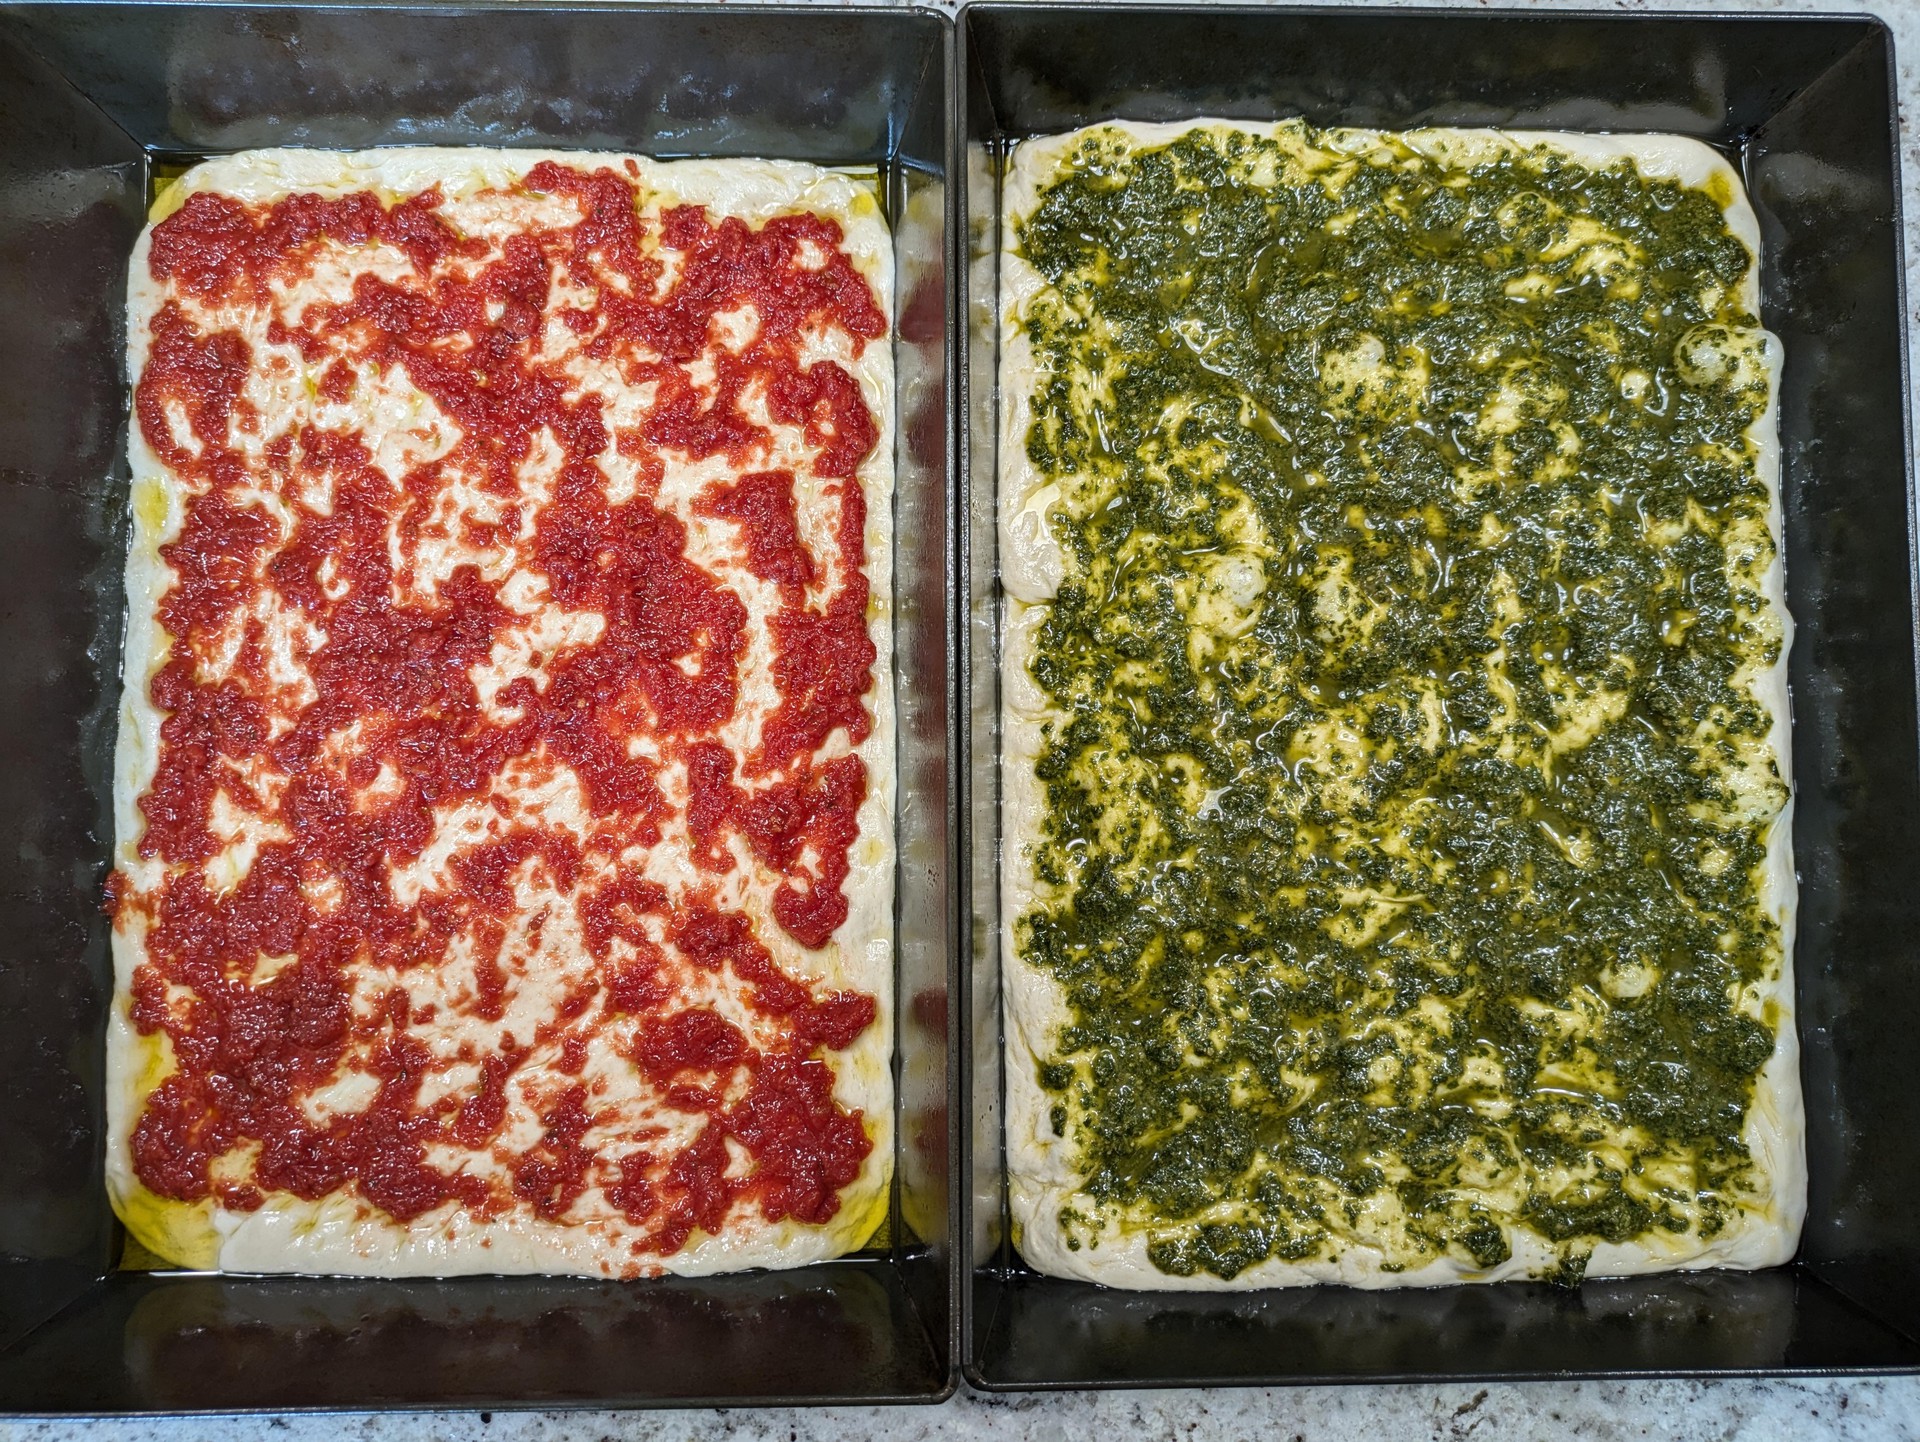
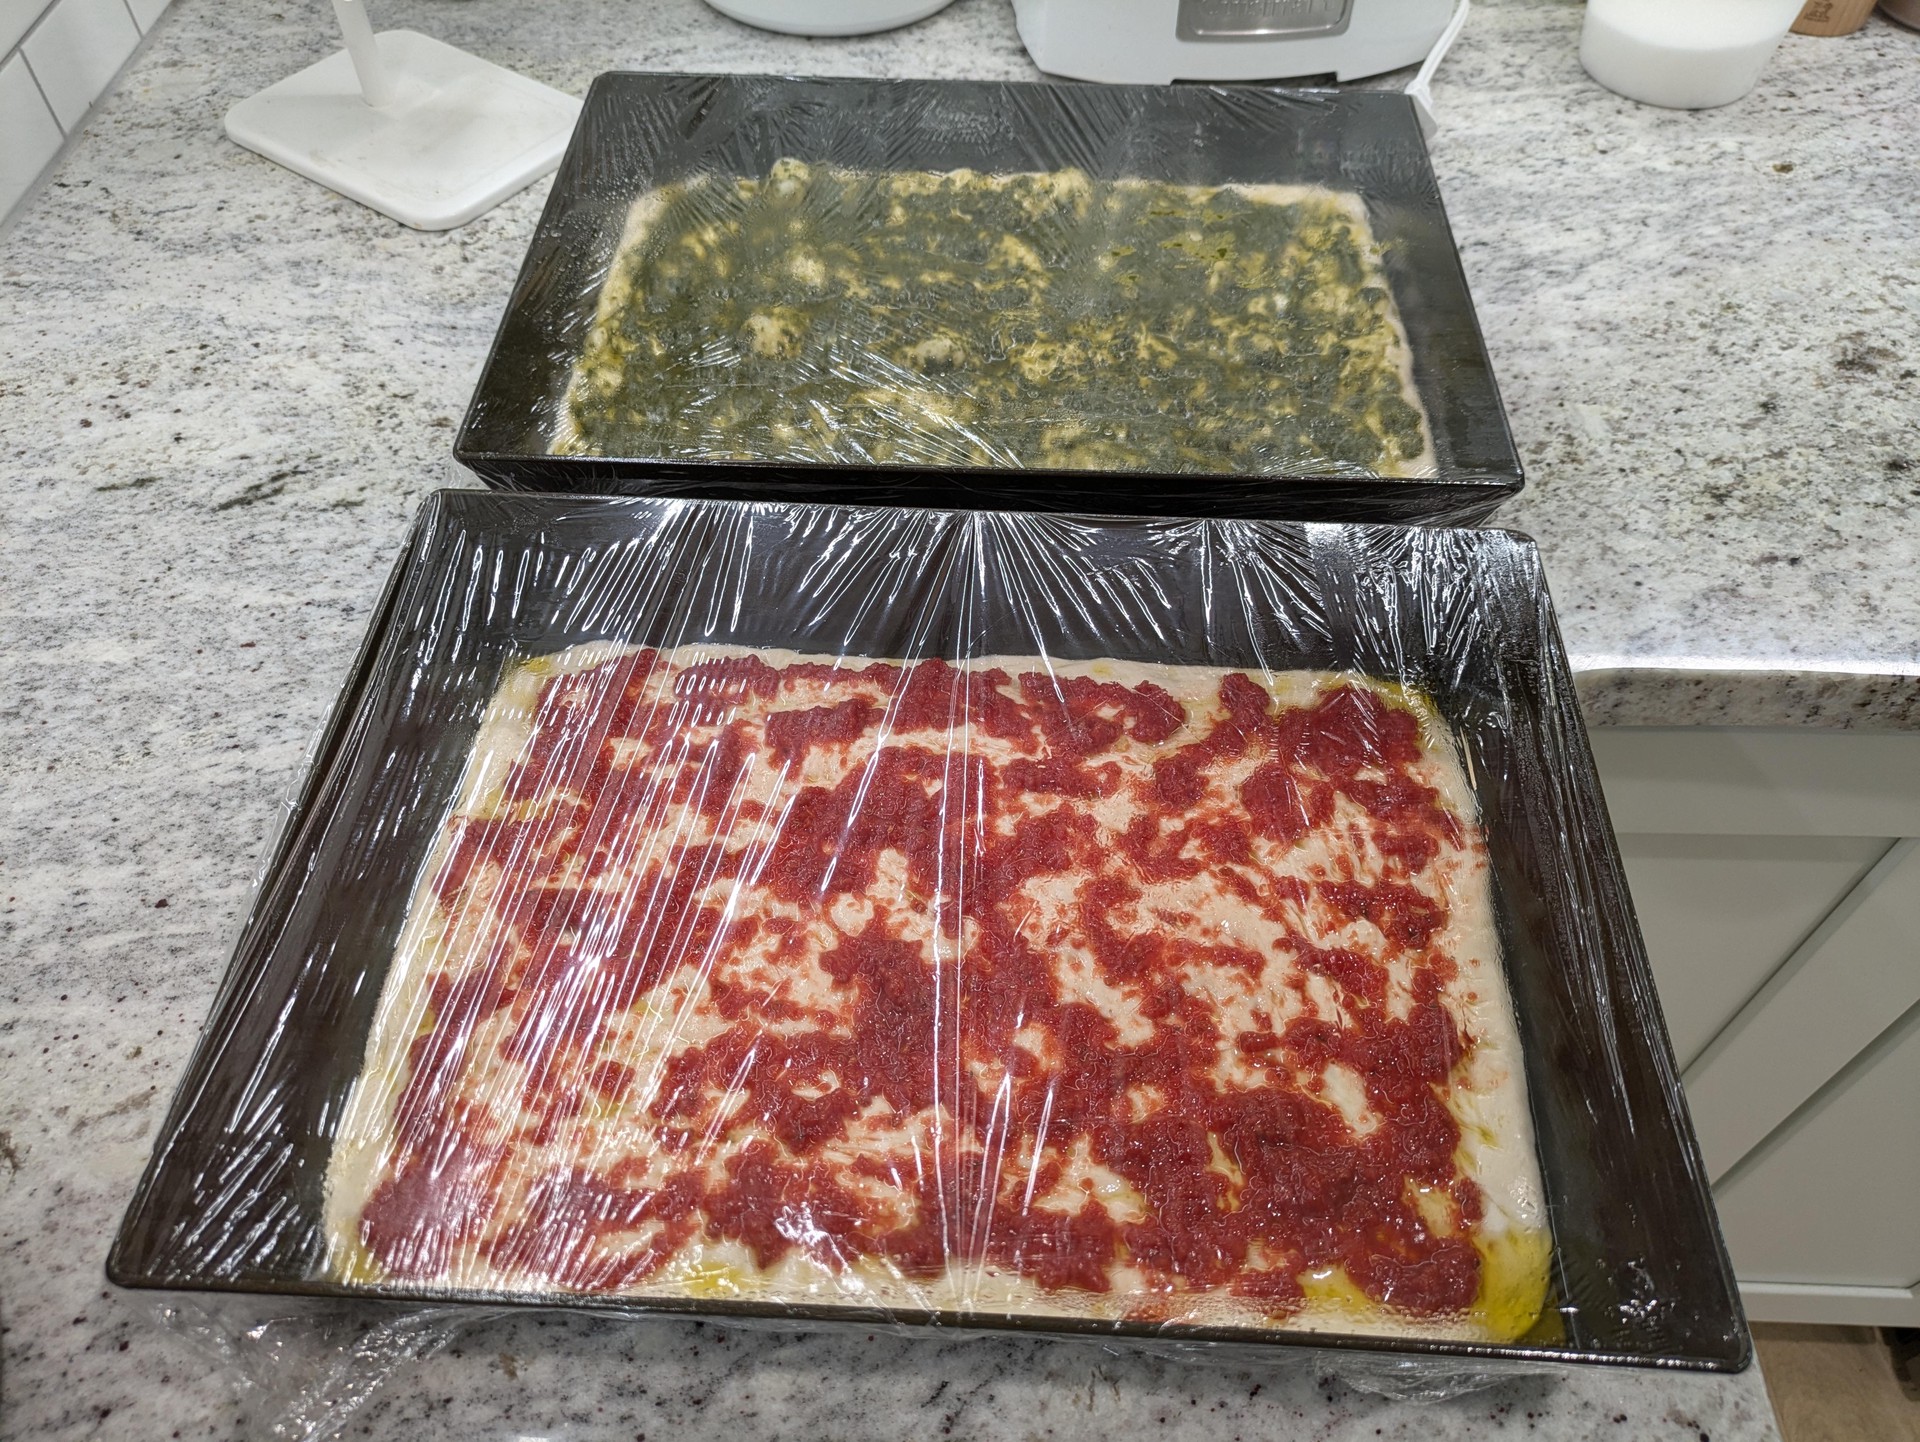
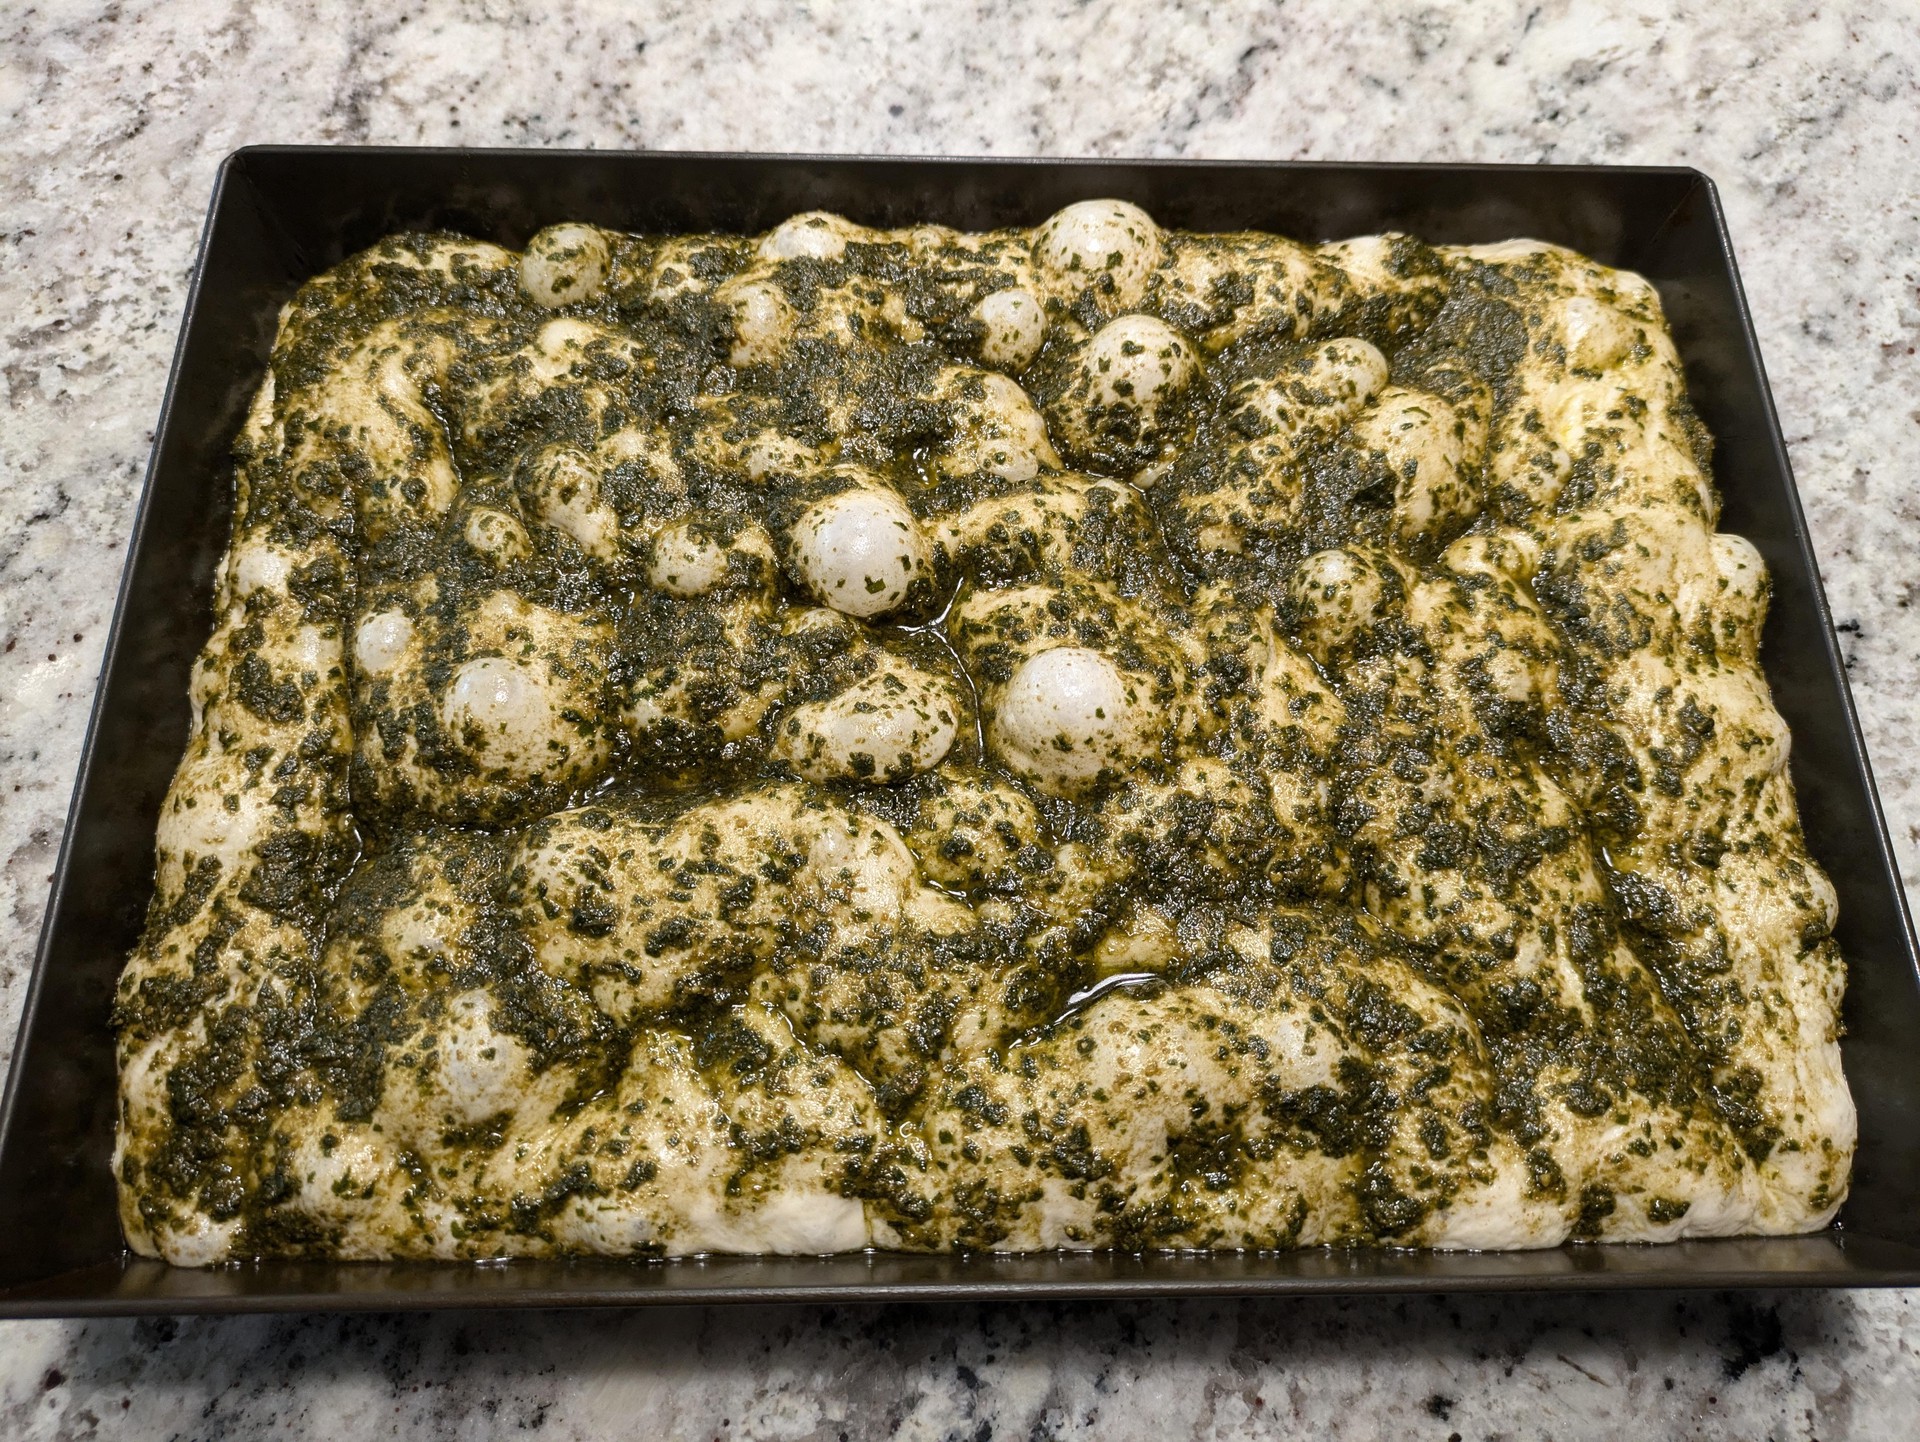
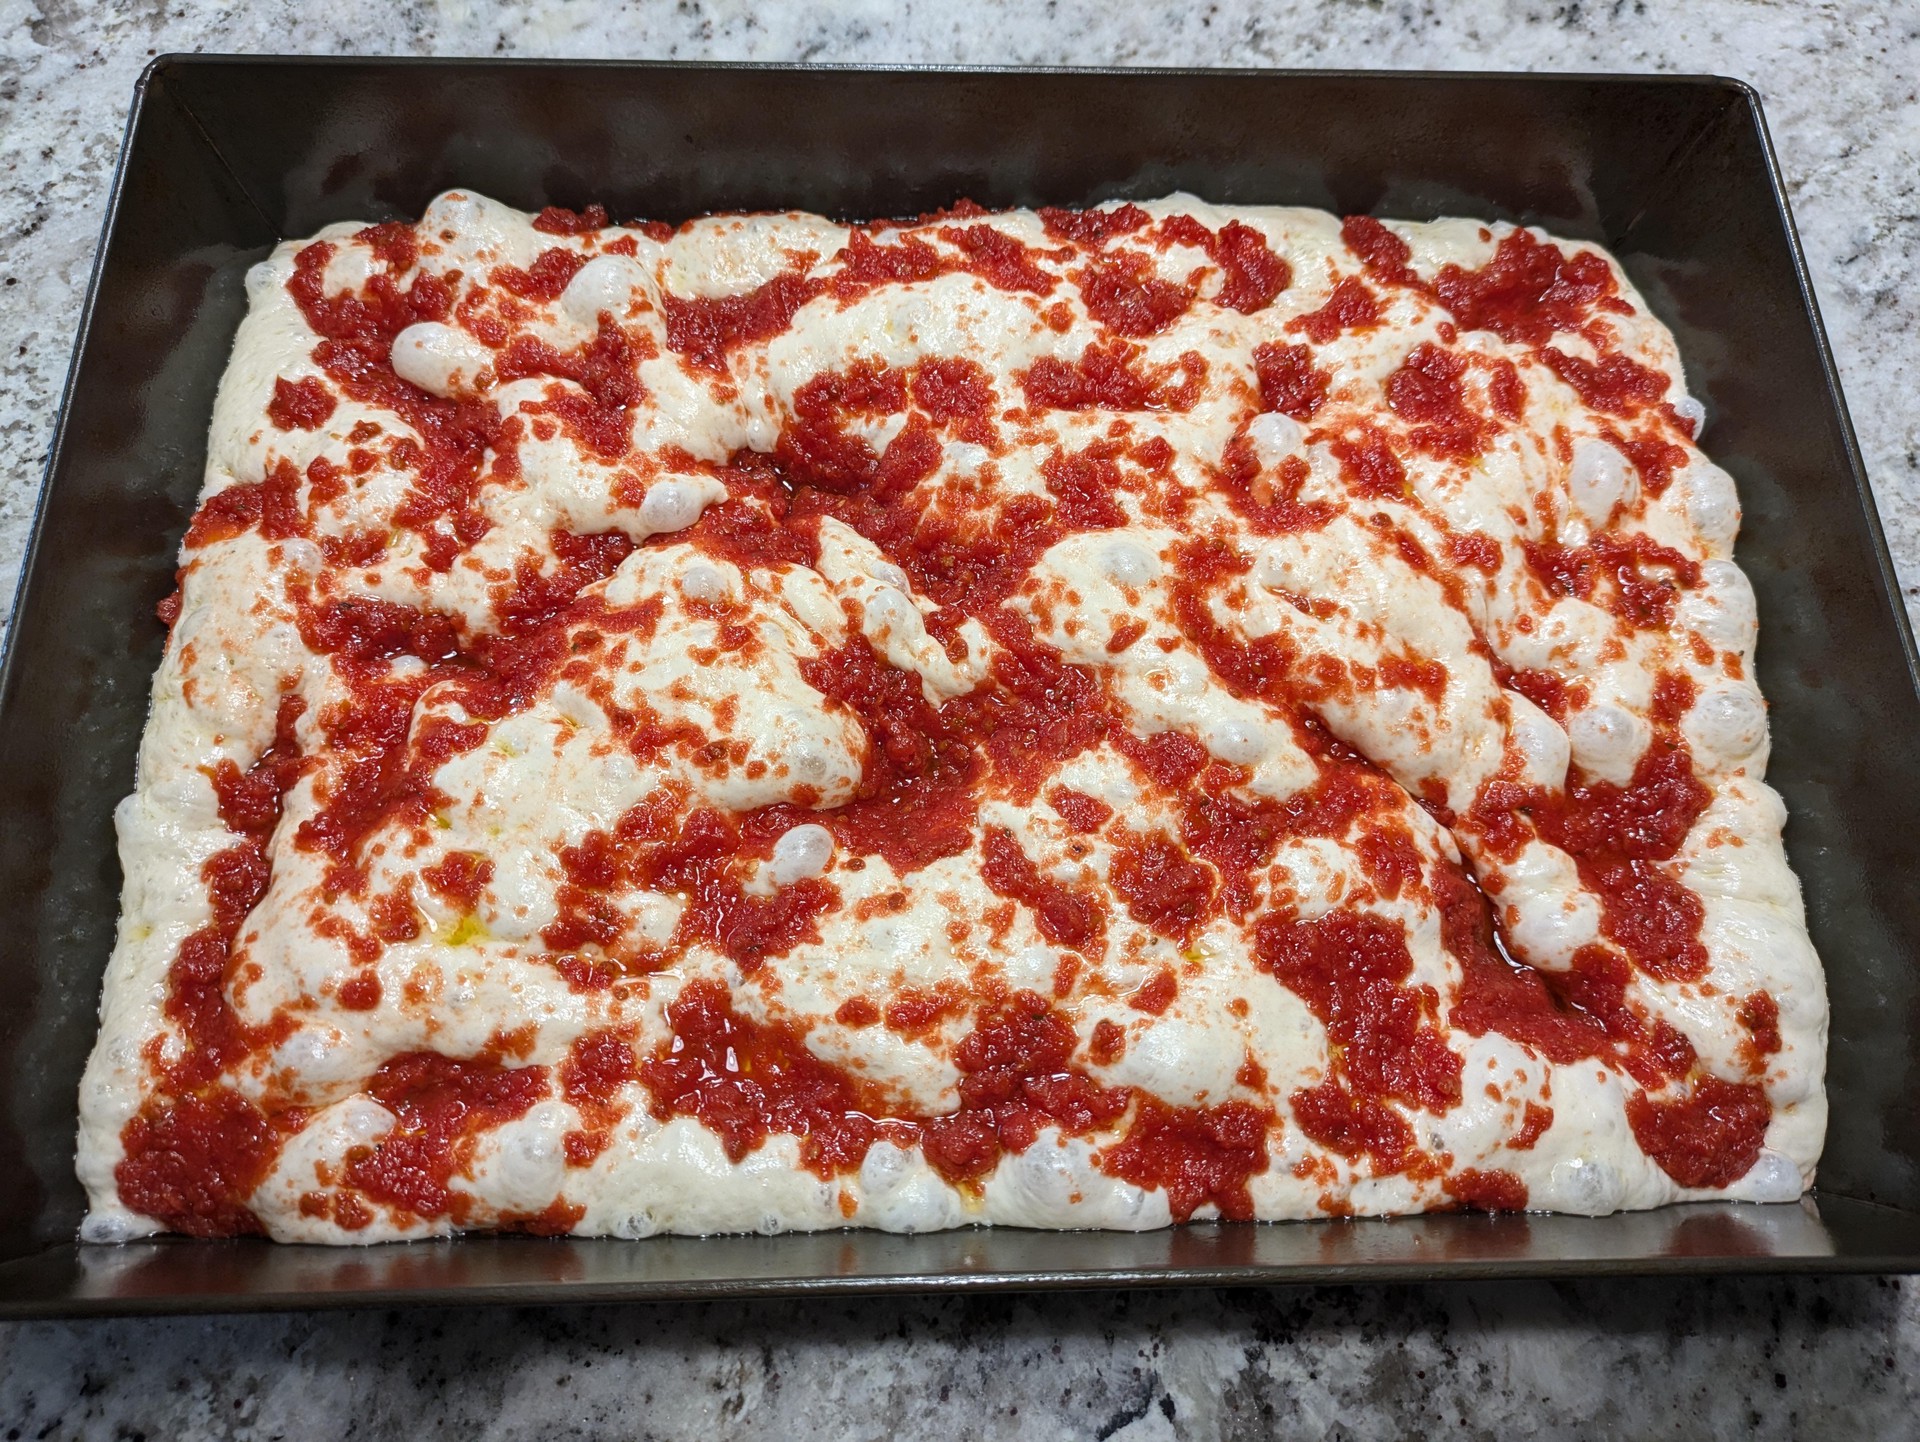
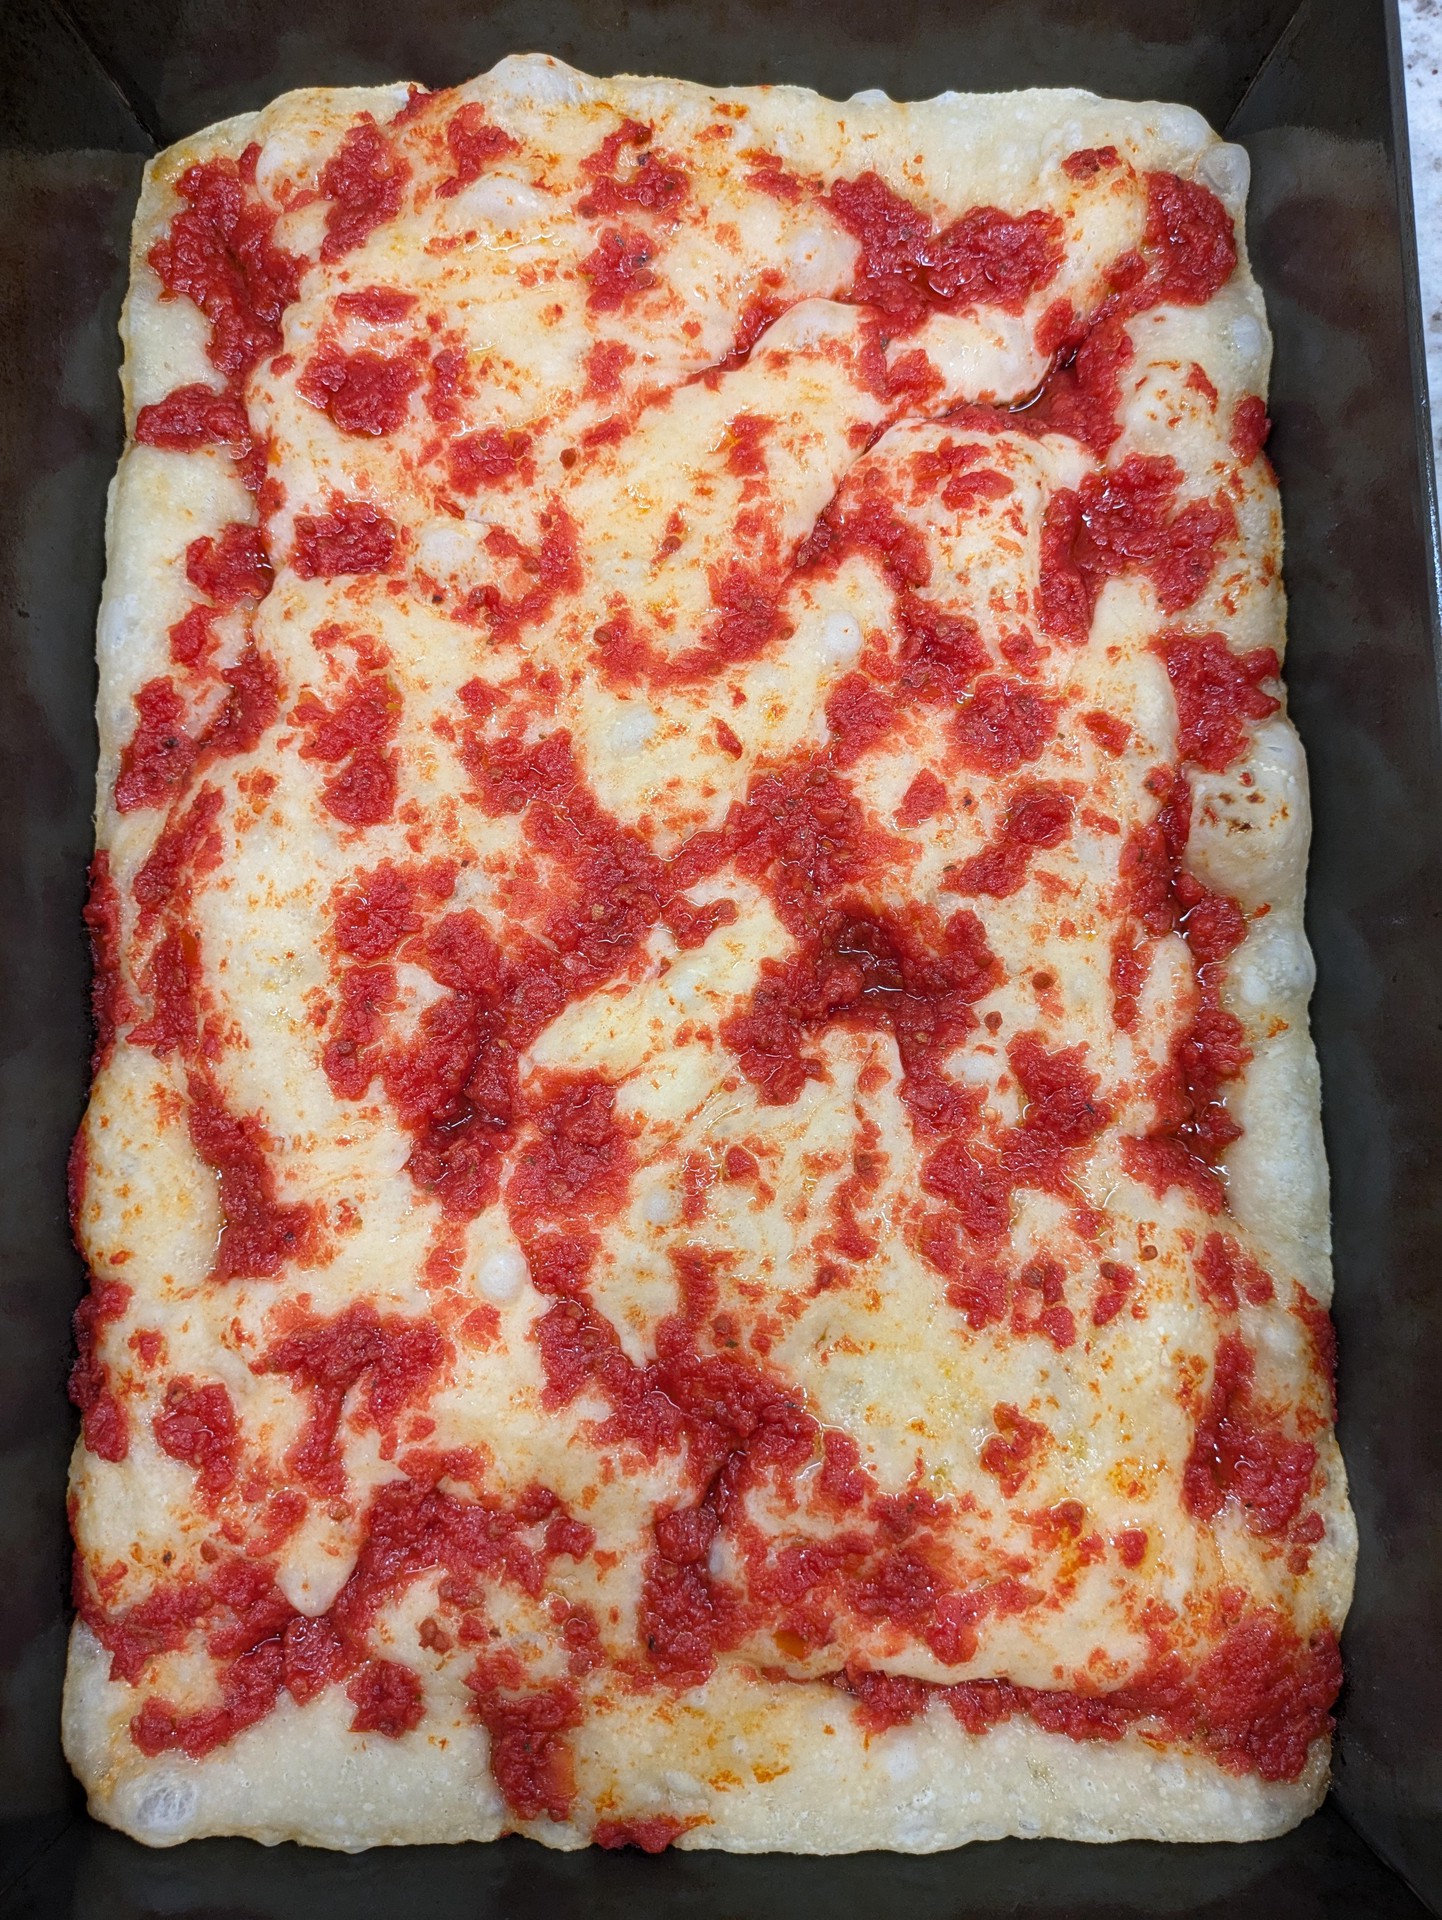
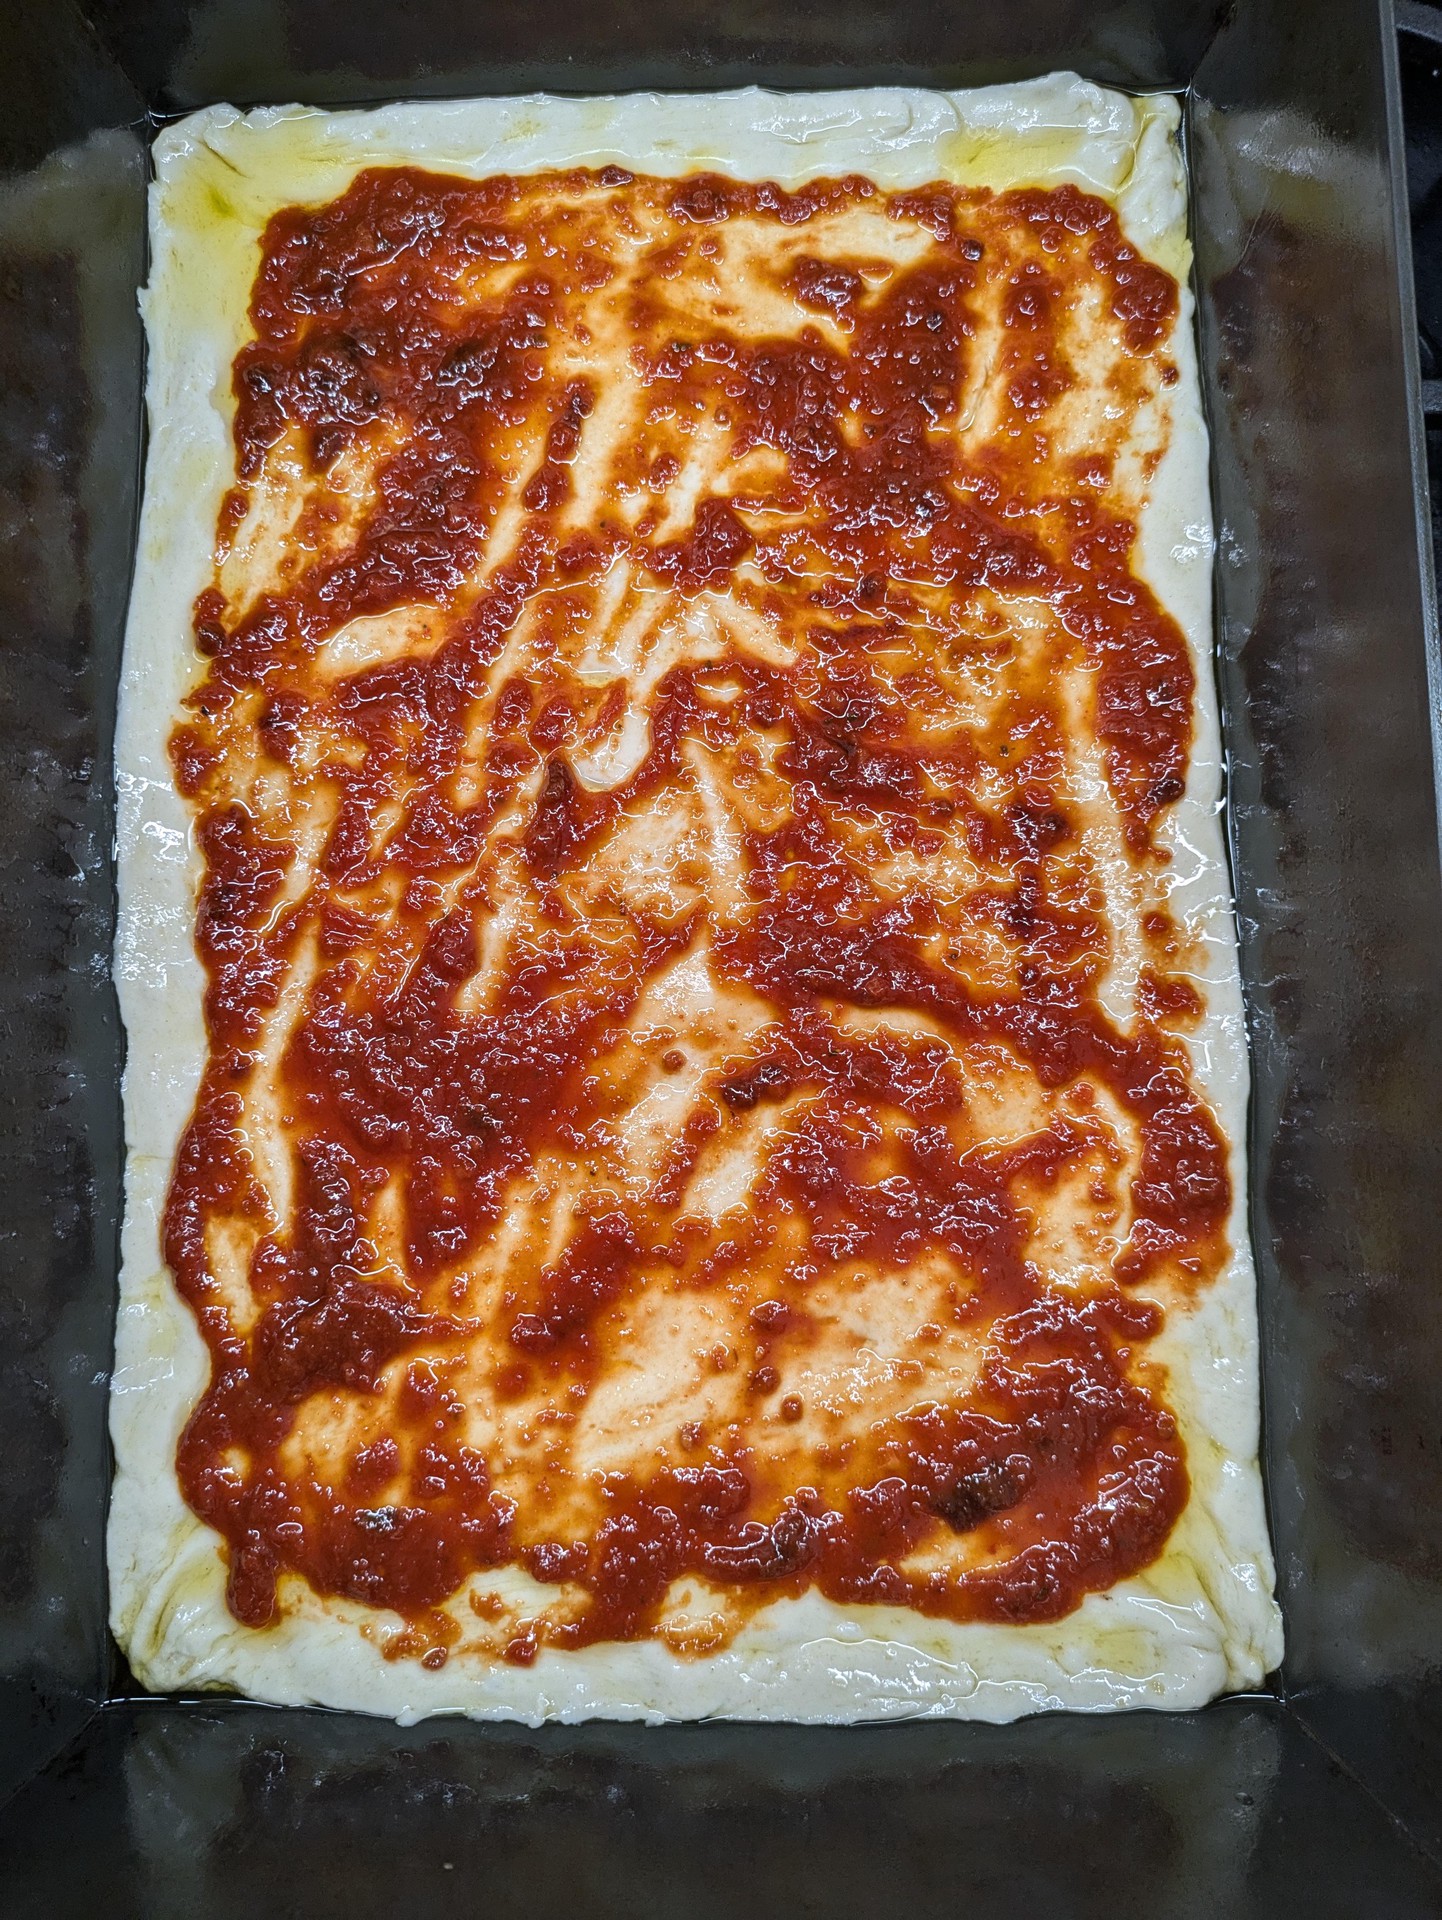
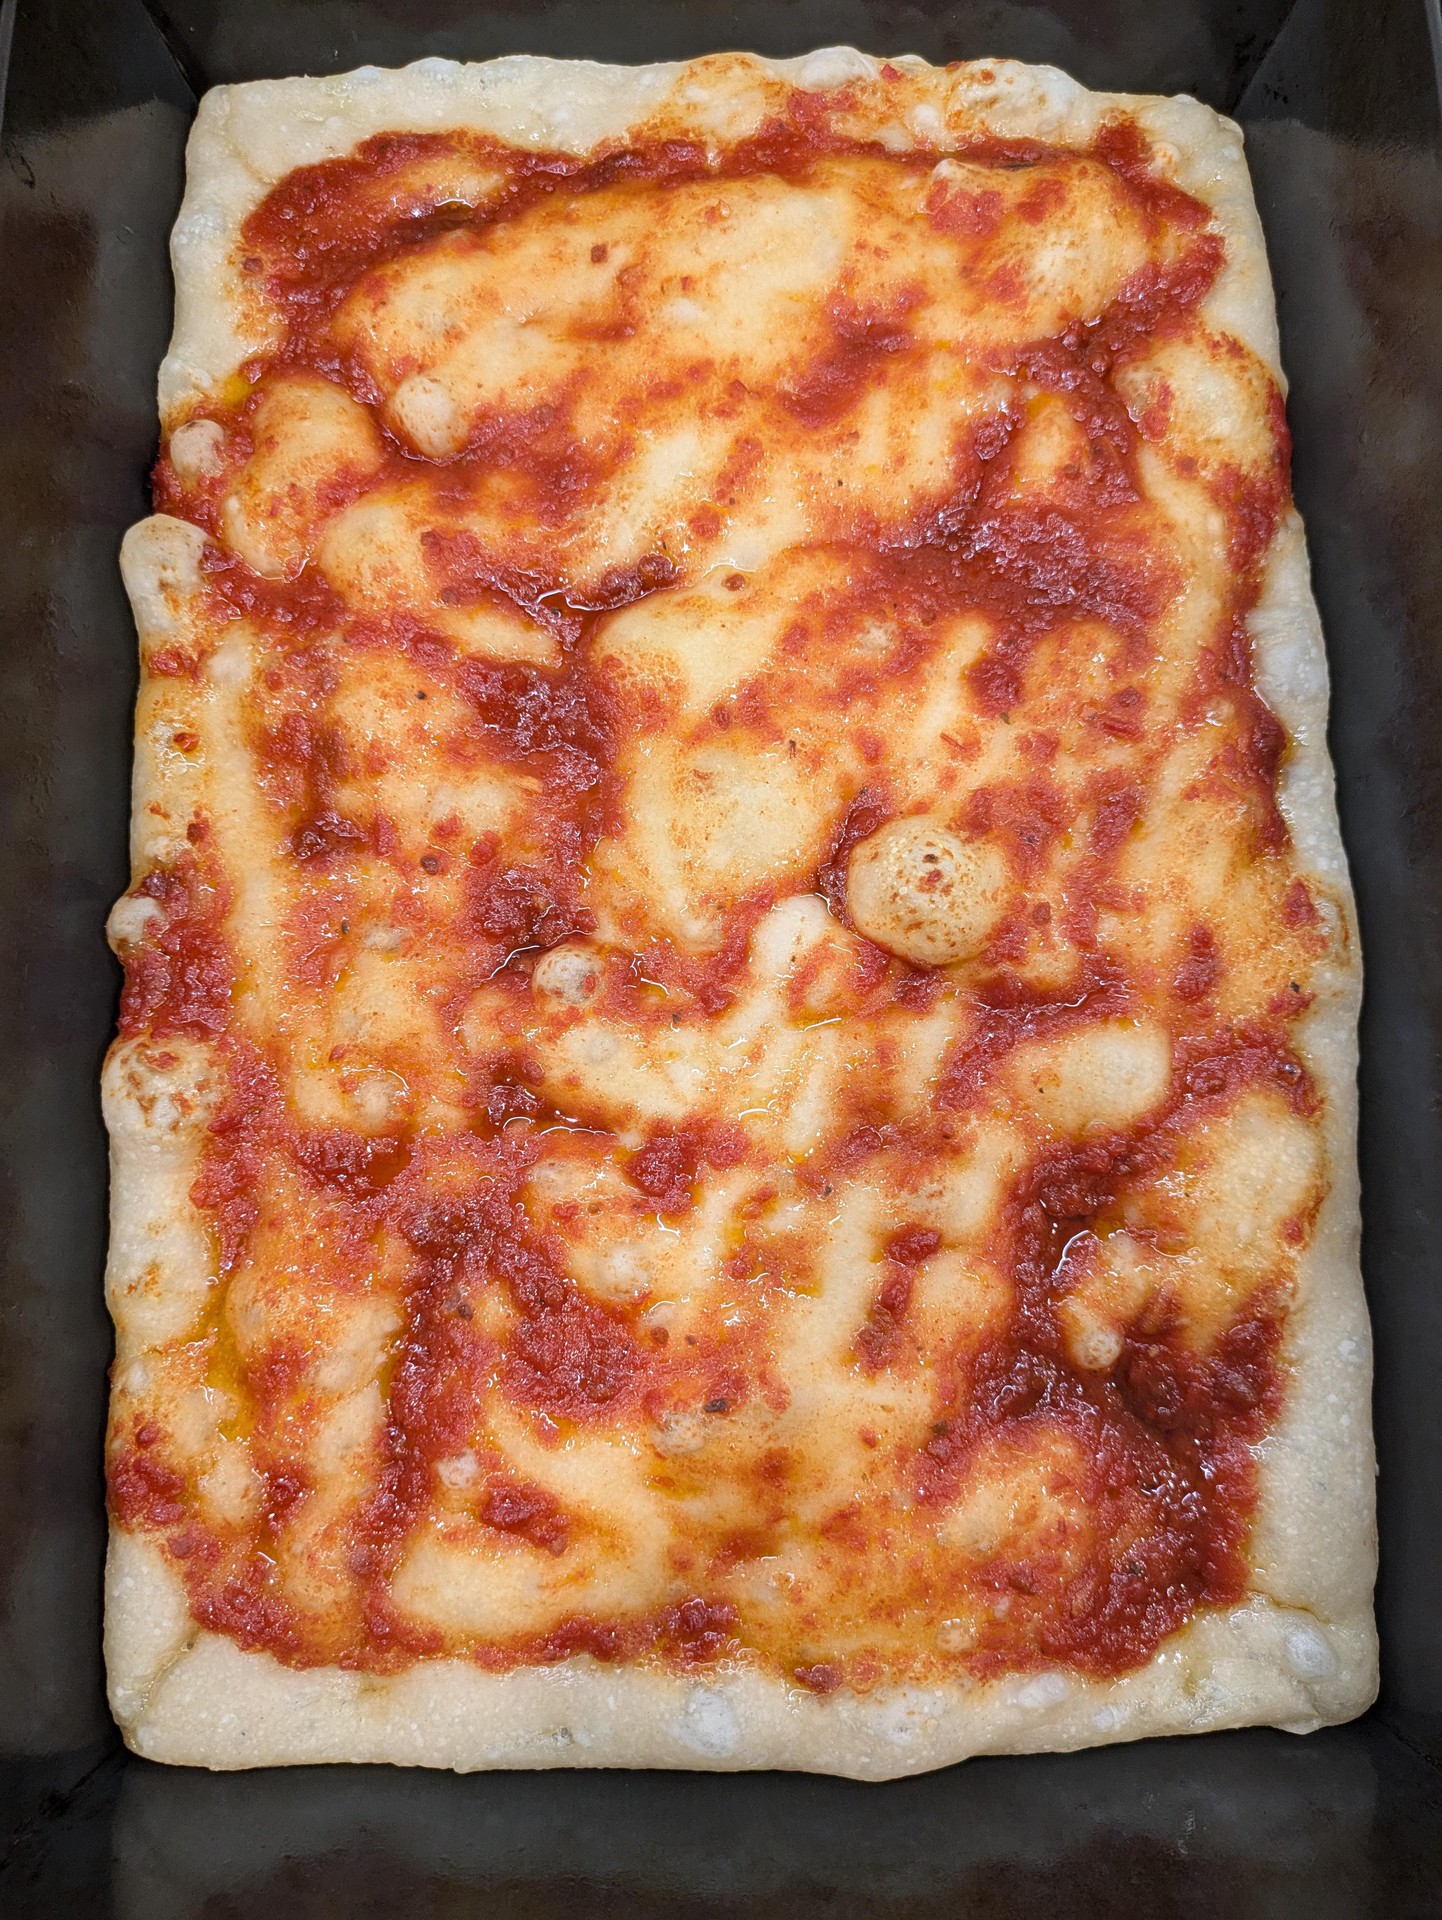
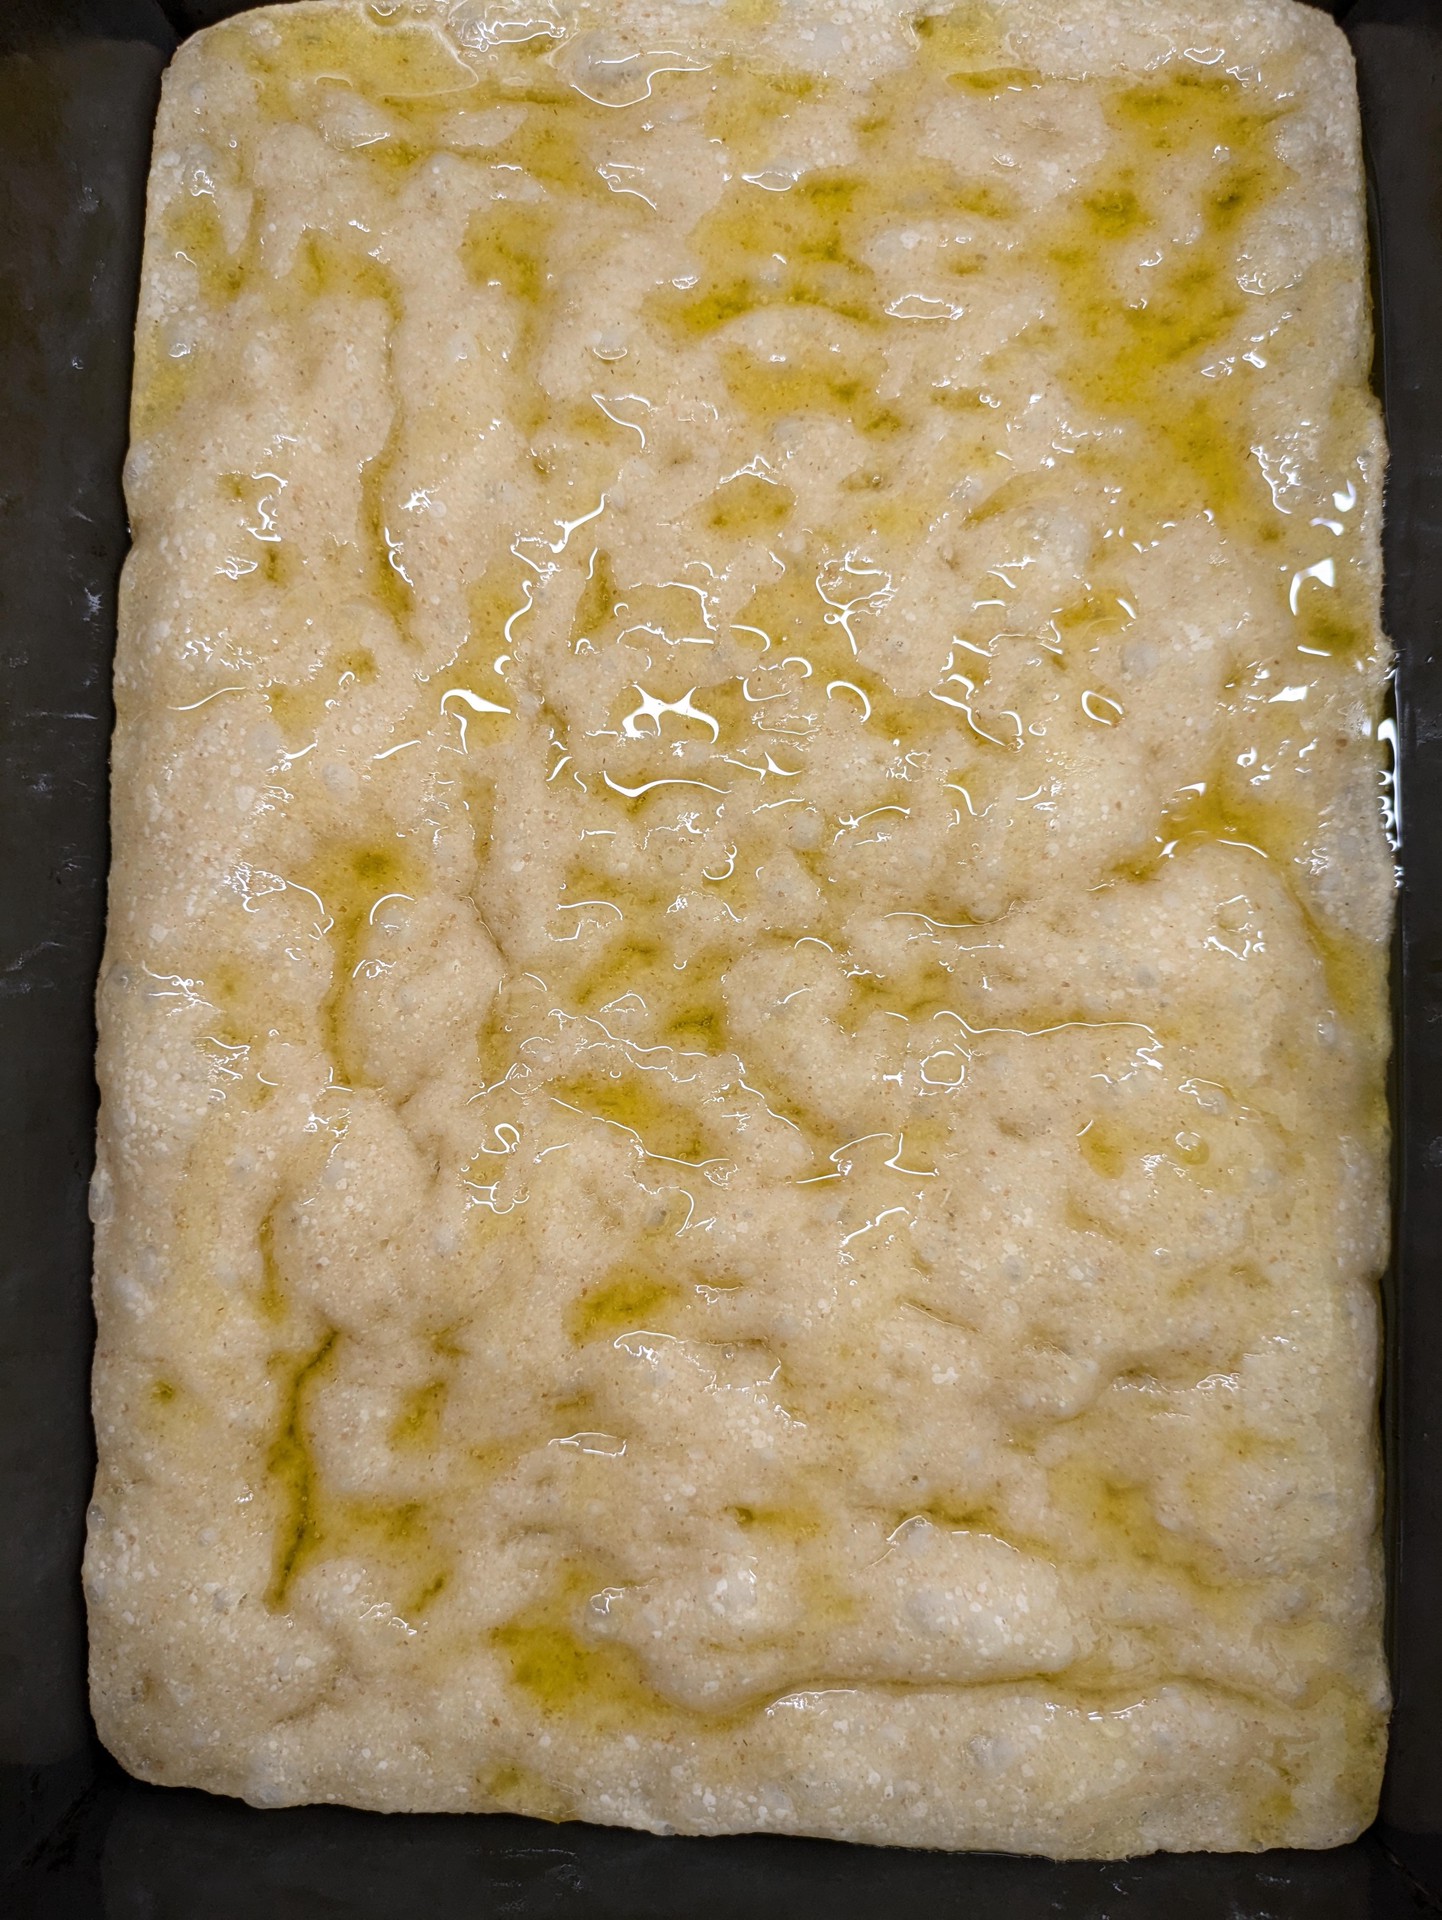
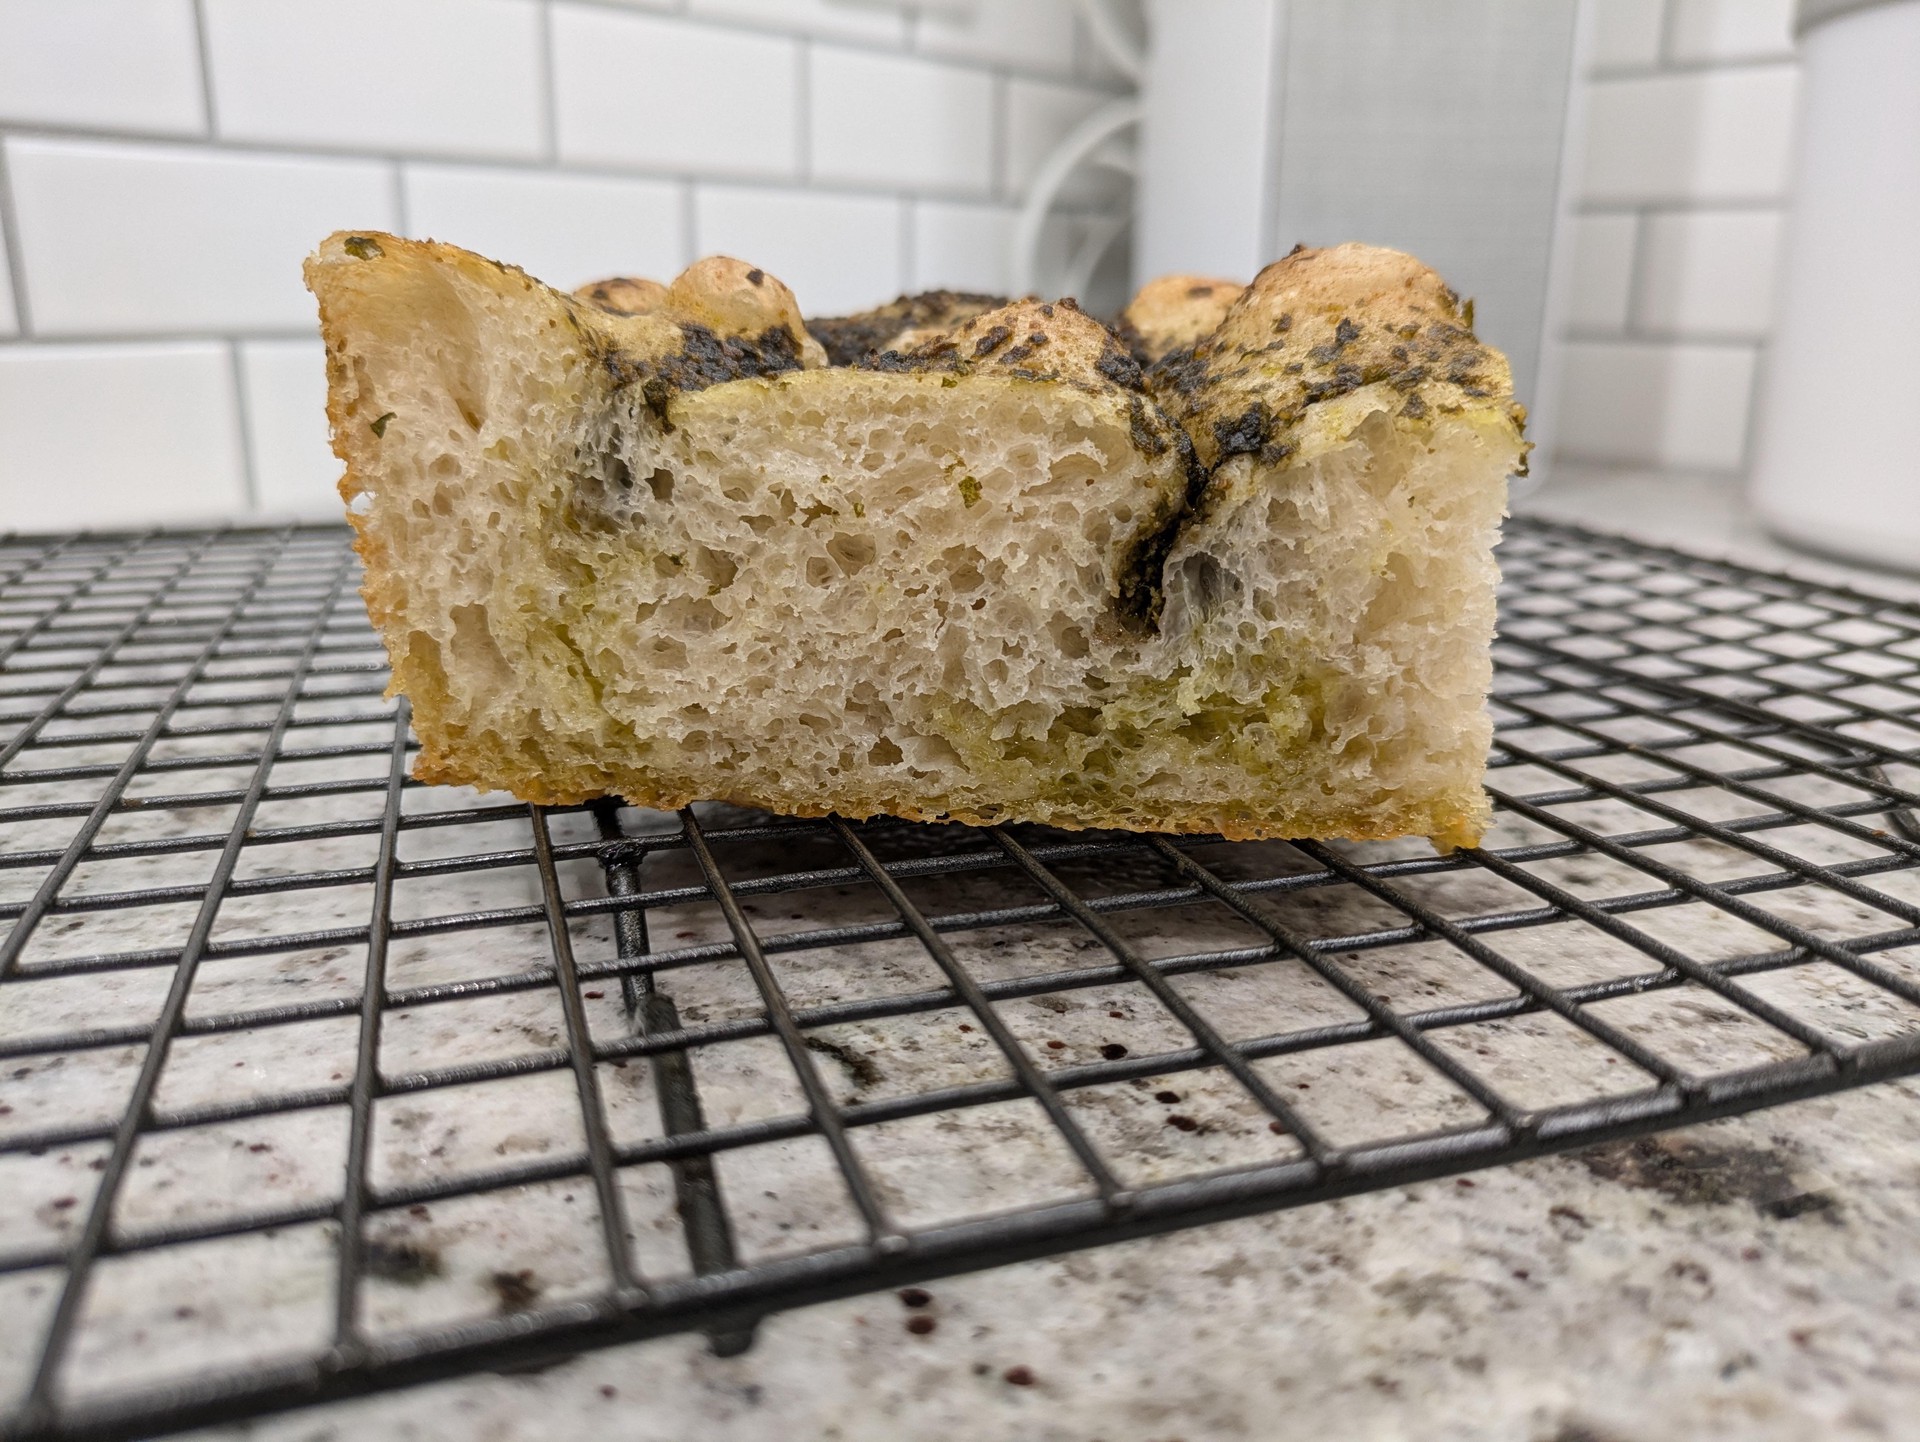
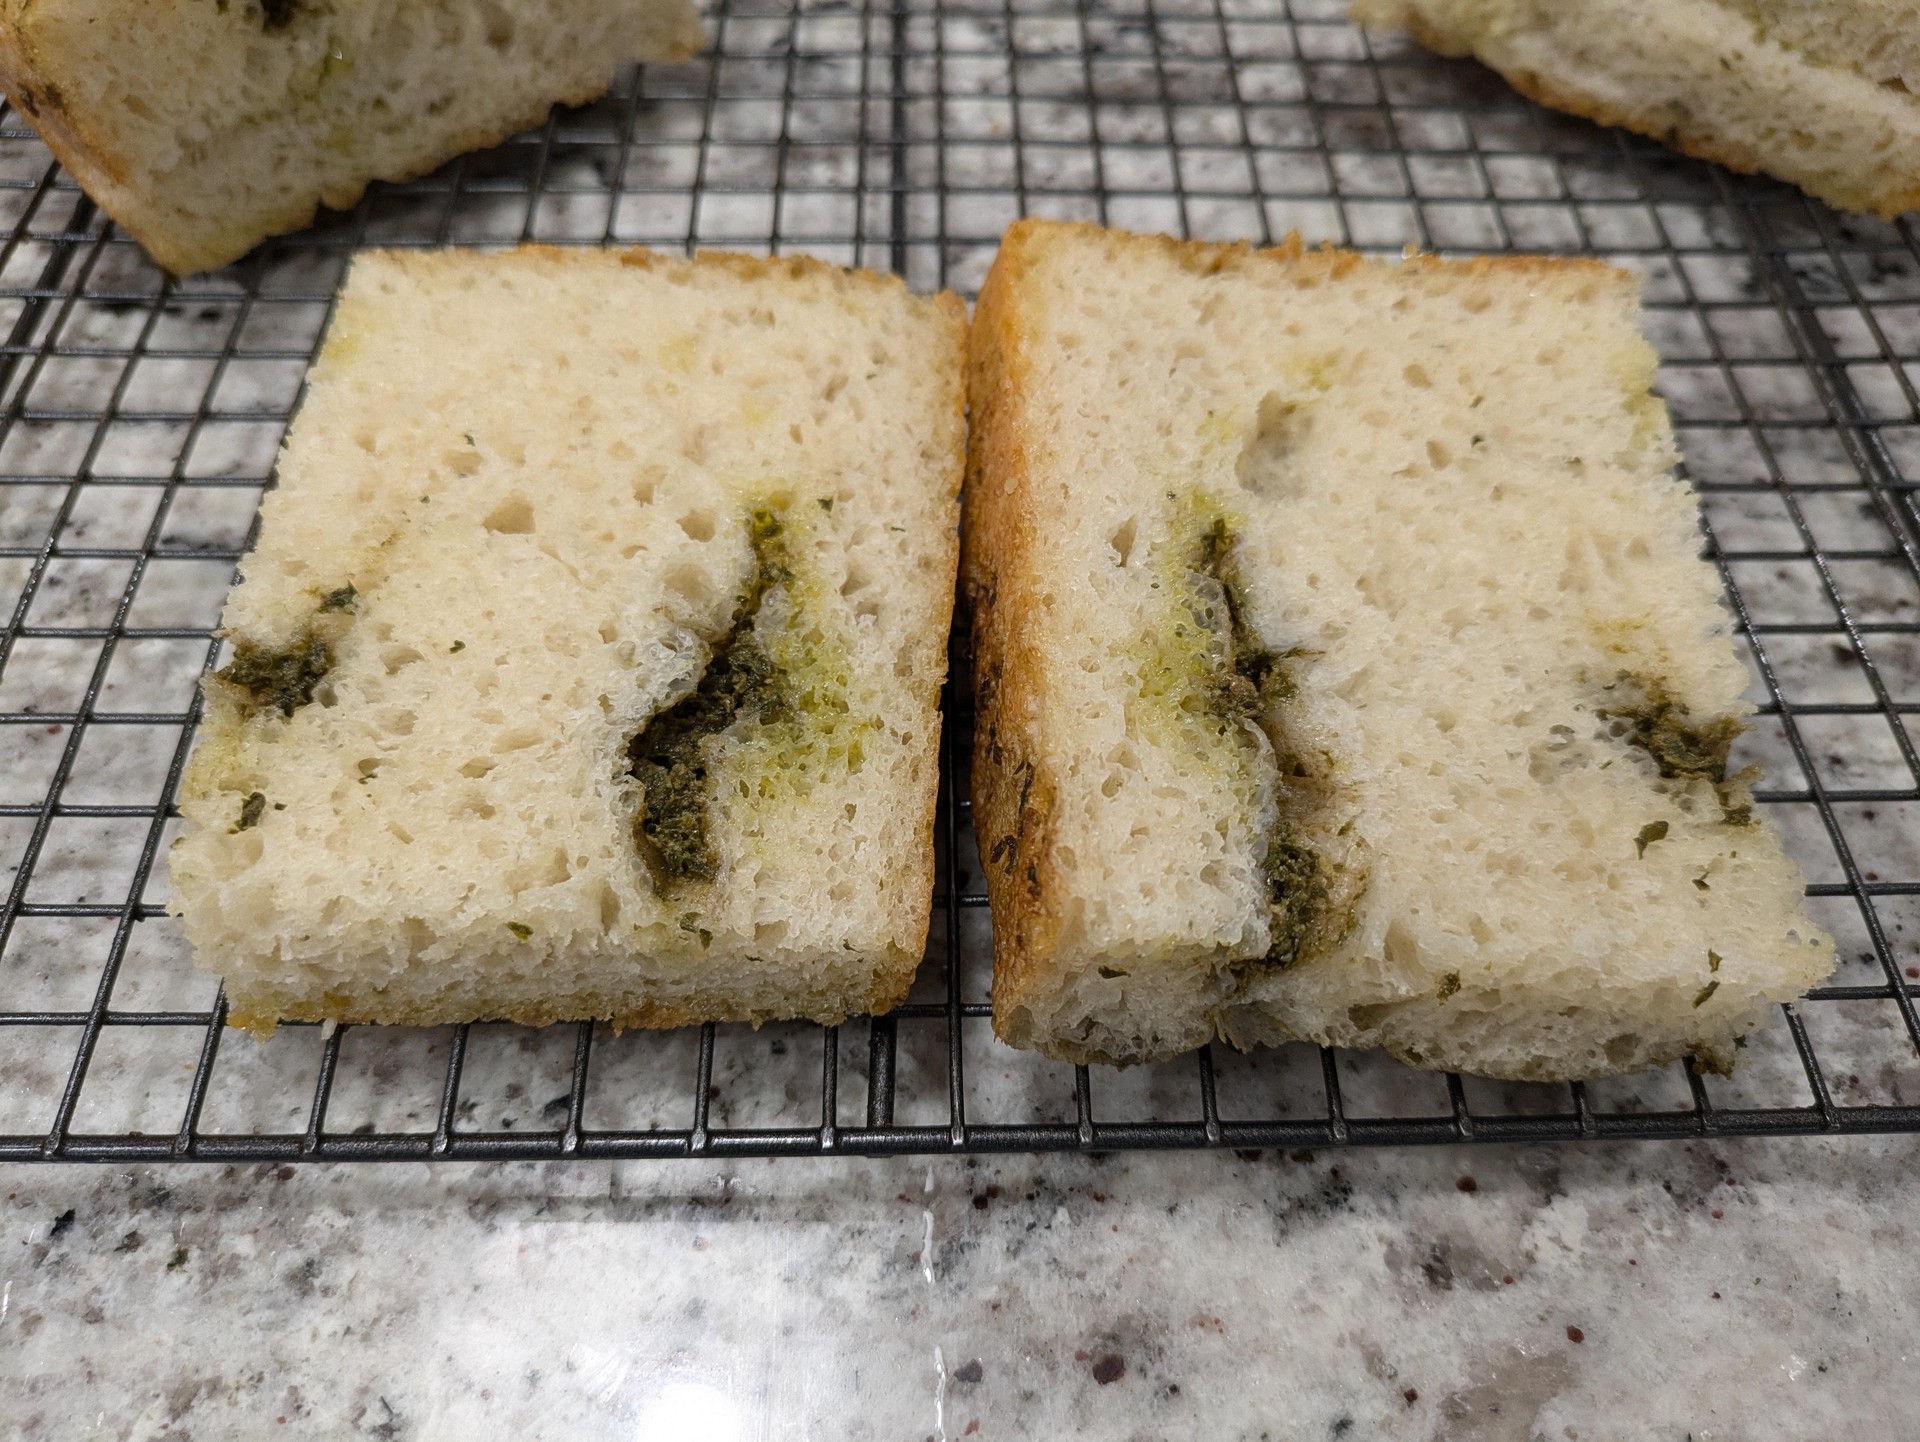
Sauce before rise => if topping with red sauce, pesto, or anything reasonably safe at room temp during the rise, adding a thin layer of sauce on the cold dough is easy and adds a neat effect to the rise. The weight of the sauce creates grooves and dimples for you. Recommended for pesto focaccia and sauce-heavy pizzas.
Bake
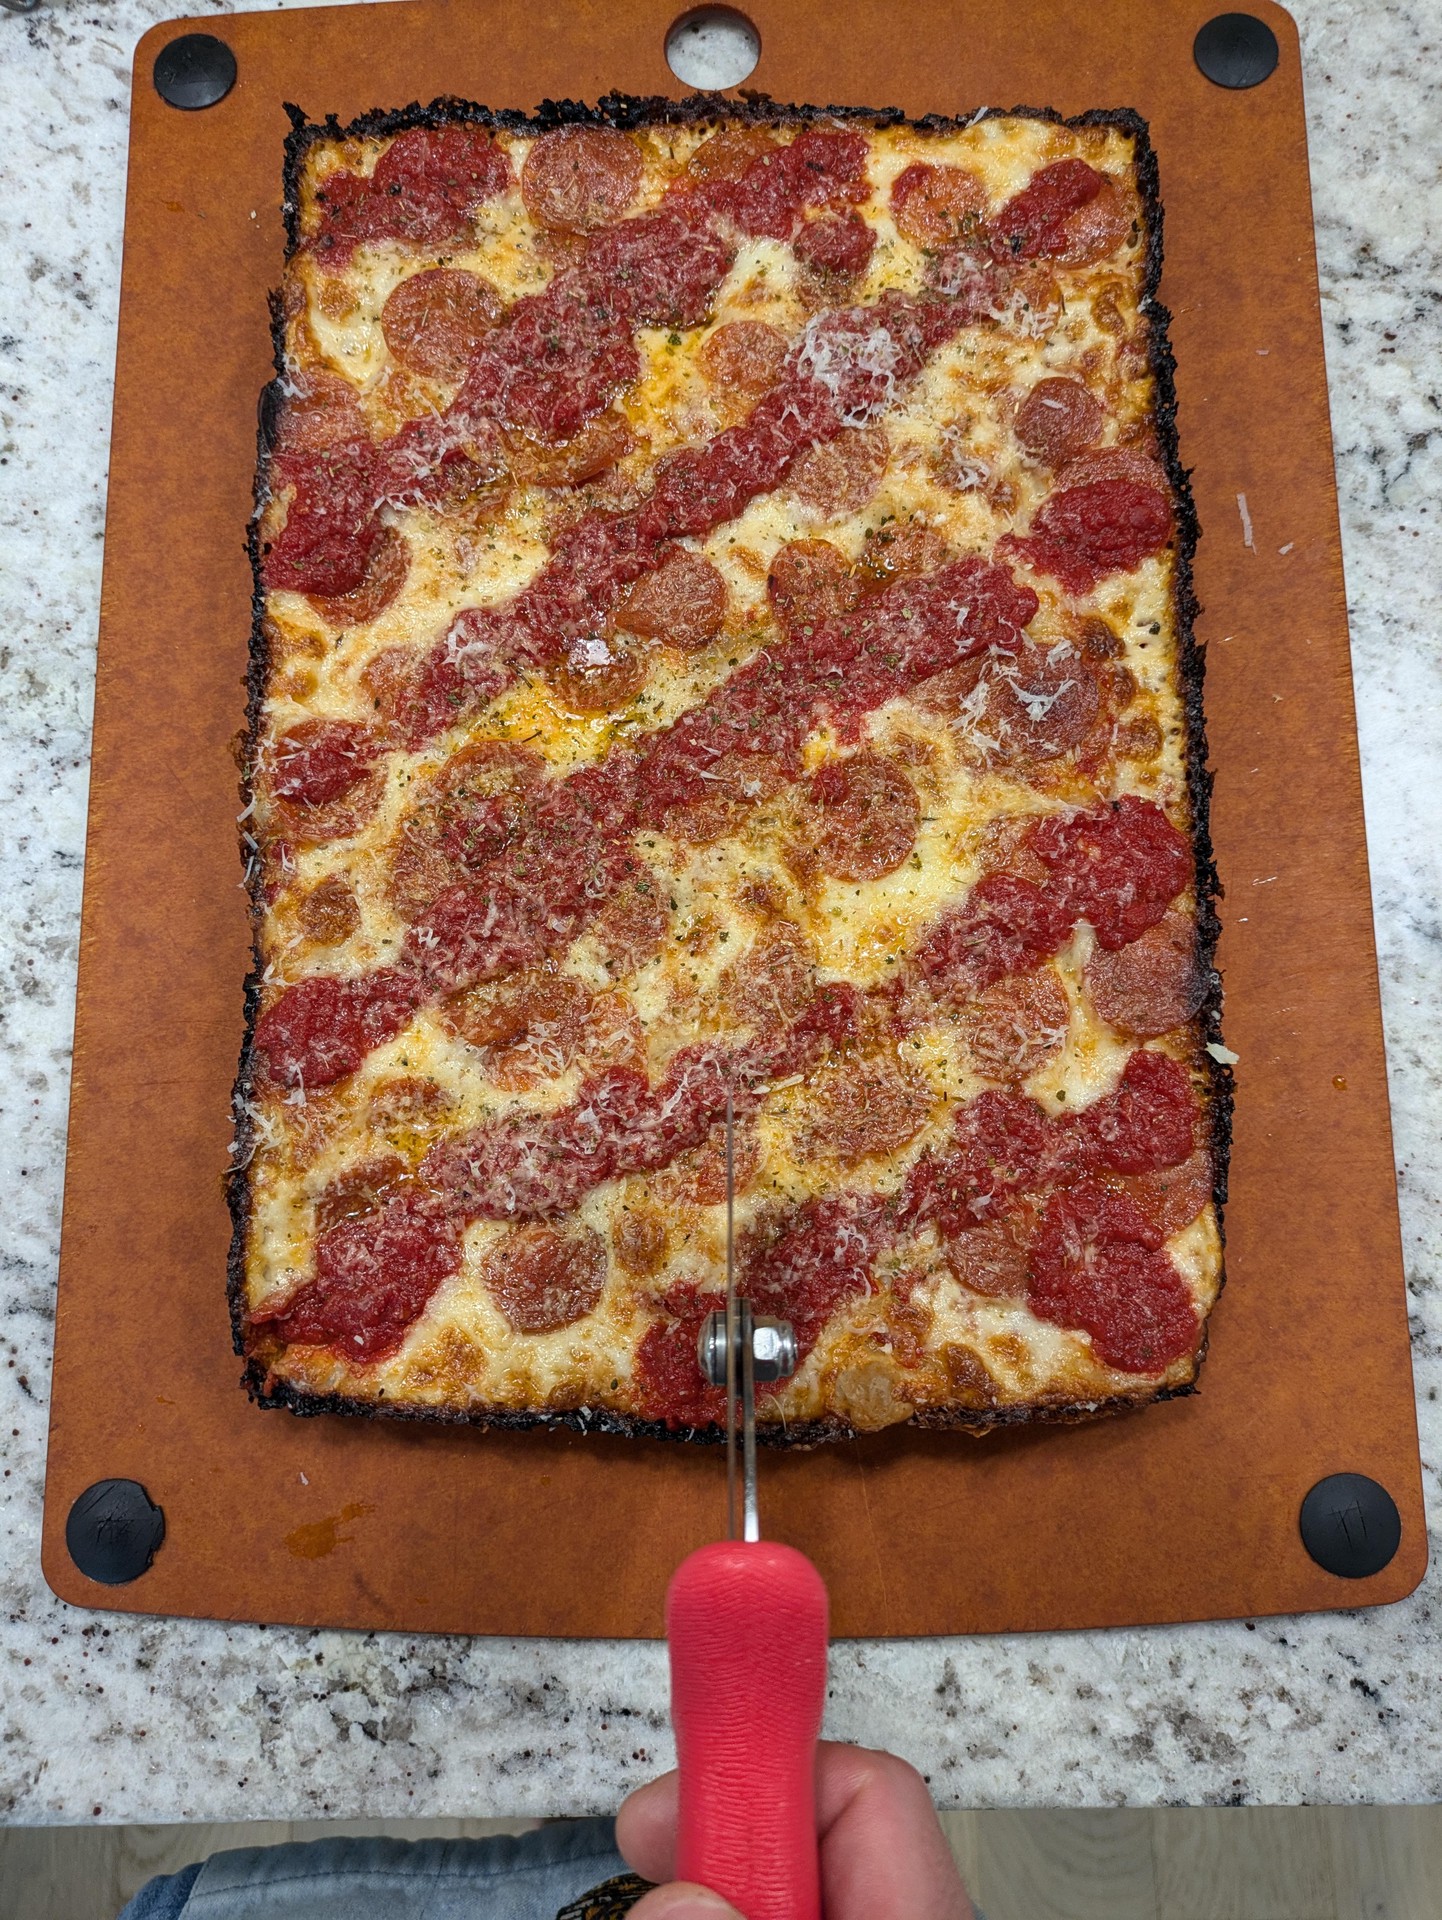
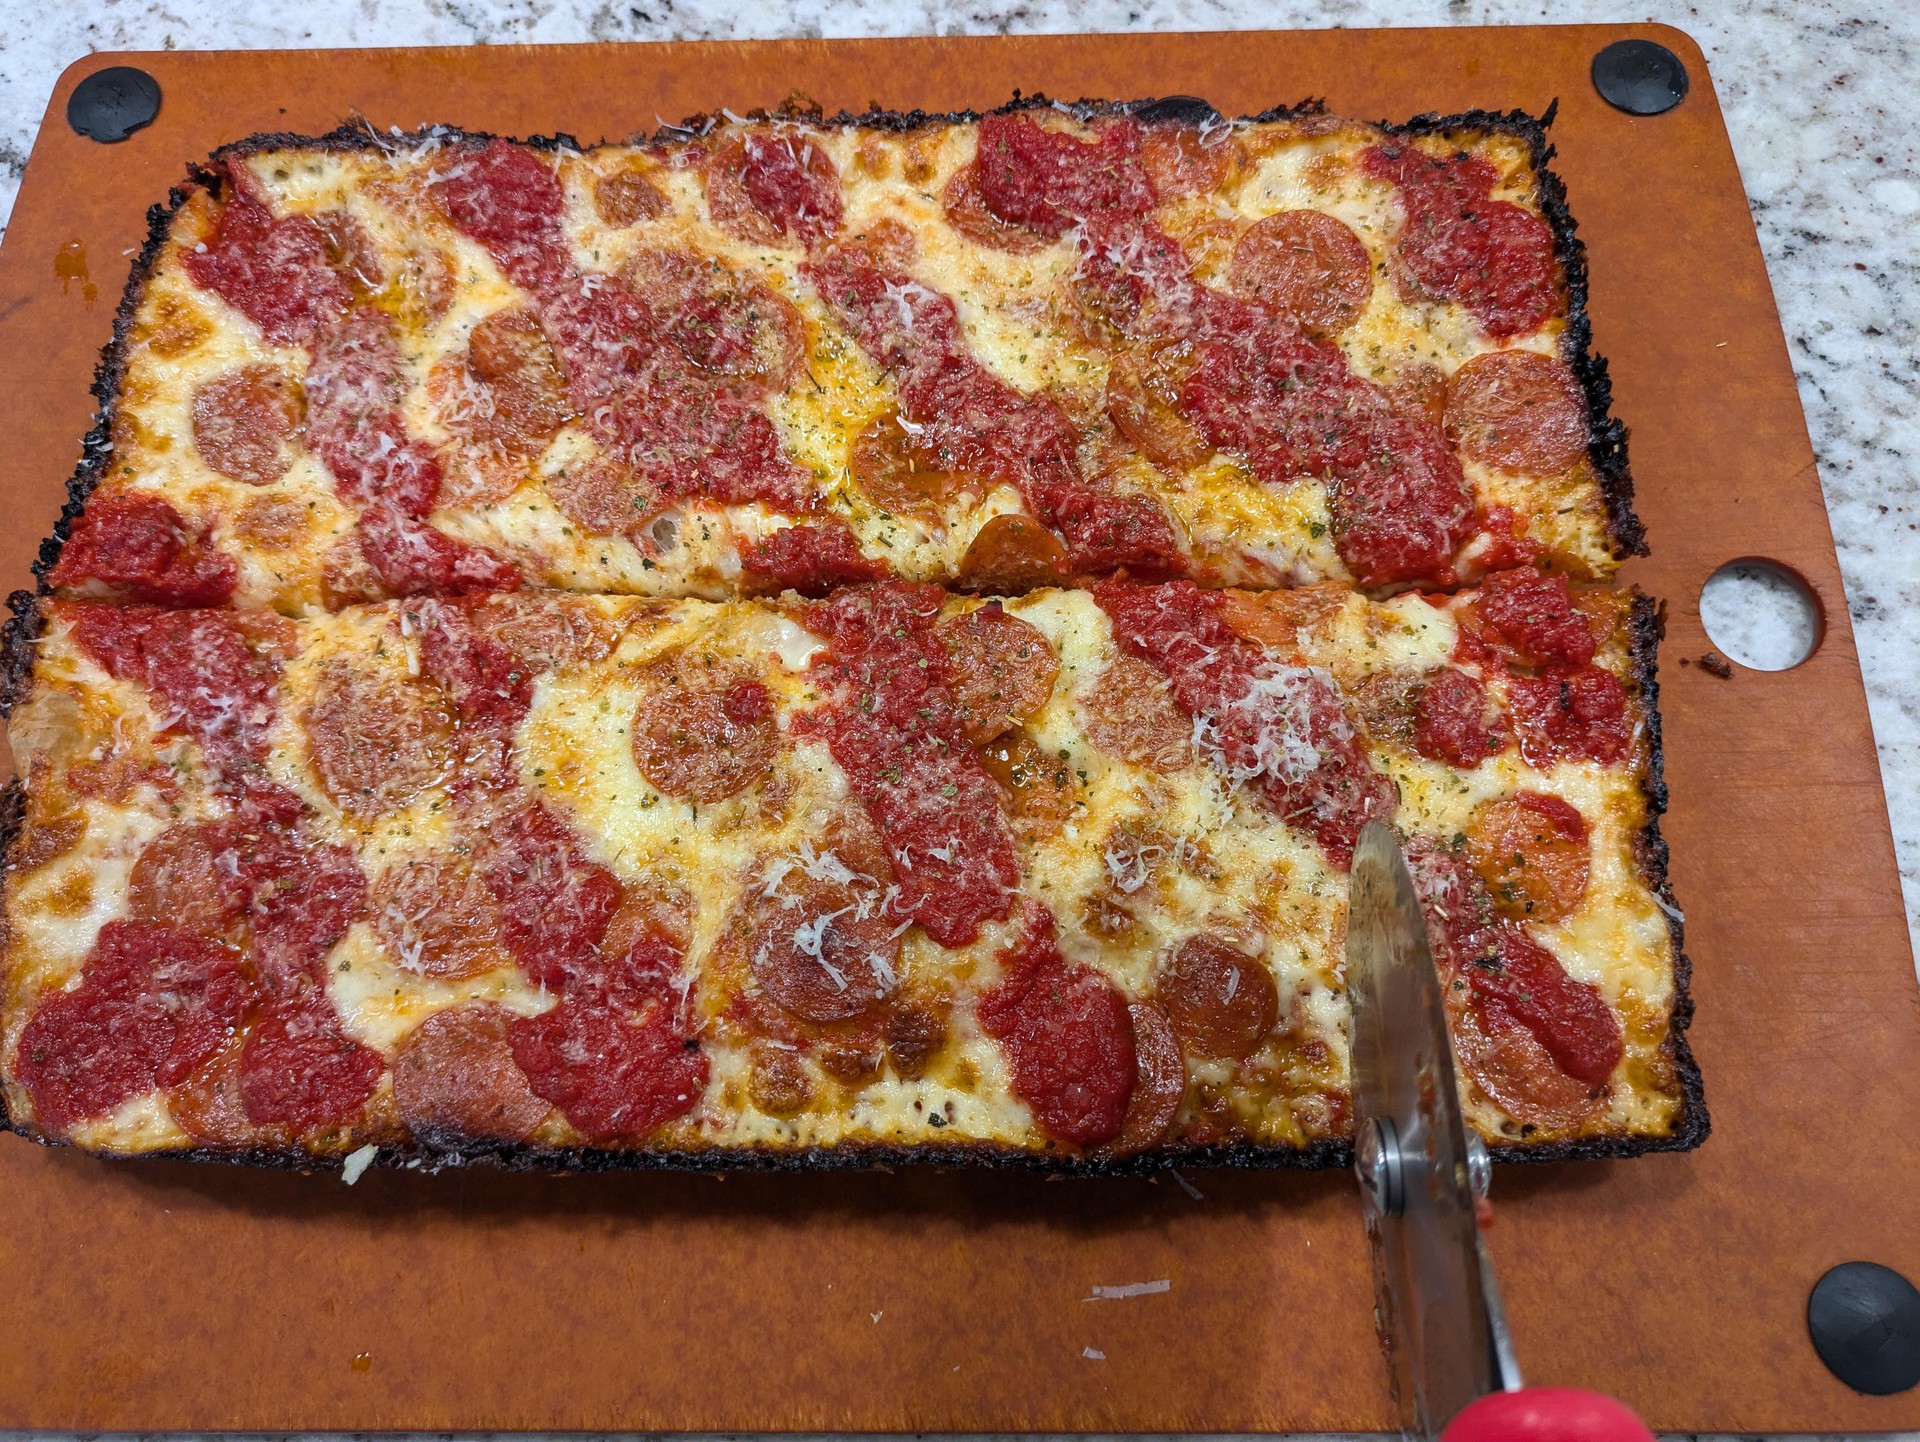
Double-Sauce Pepperoni Pizza
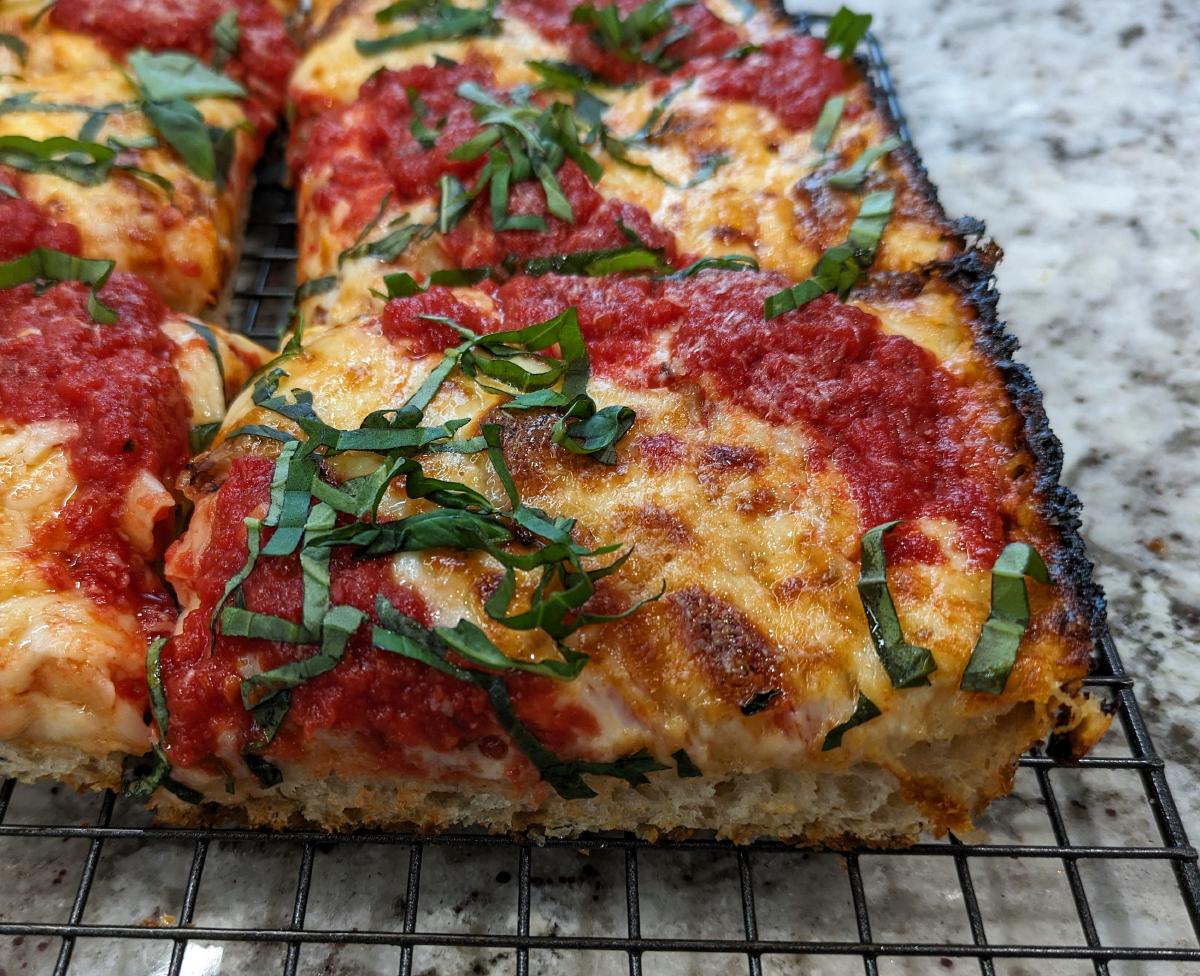
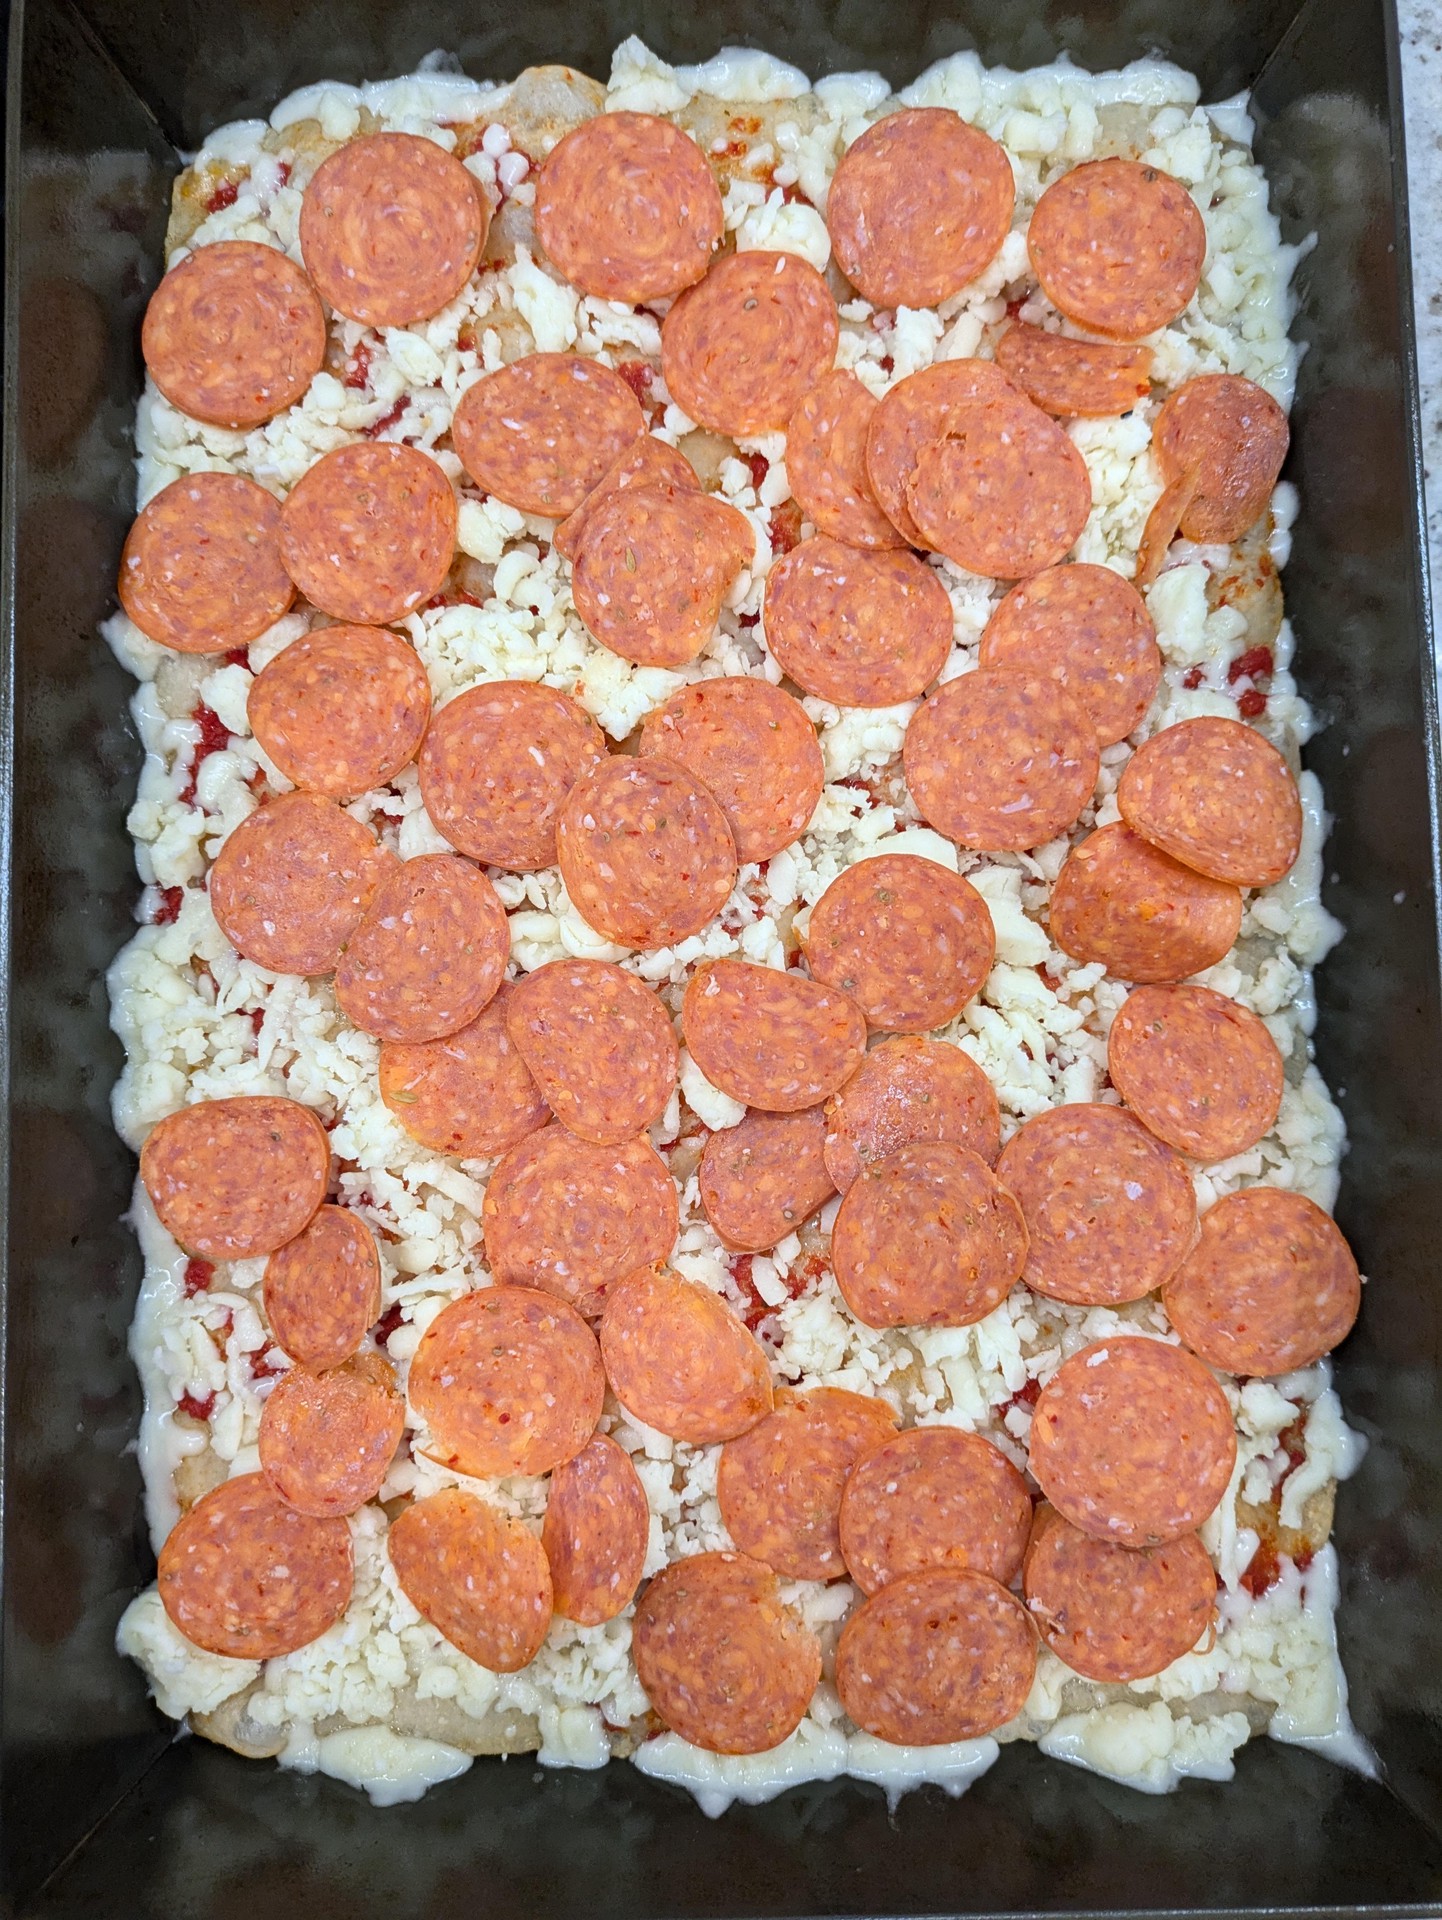
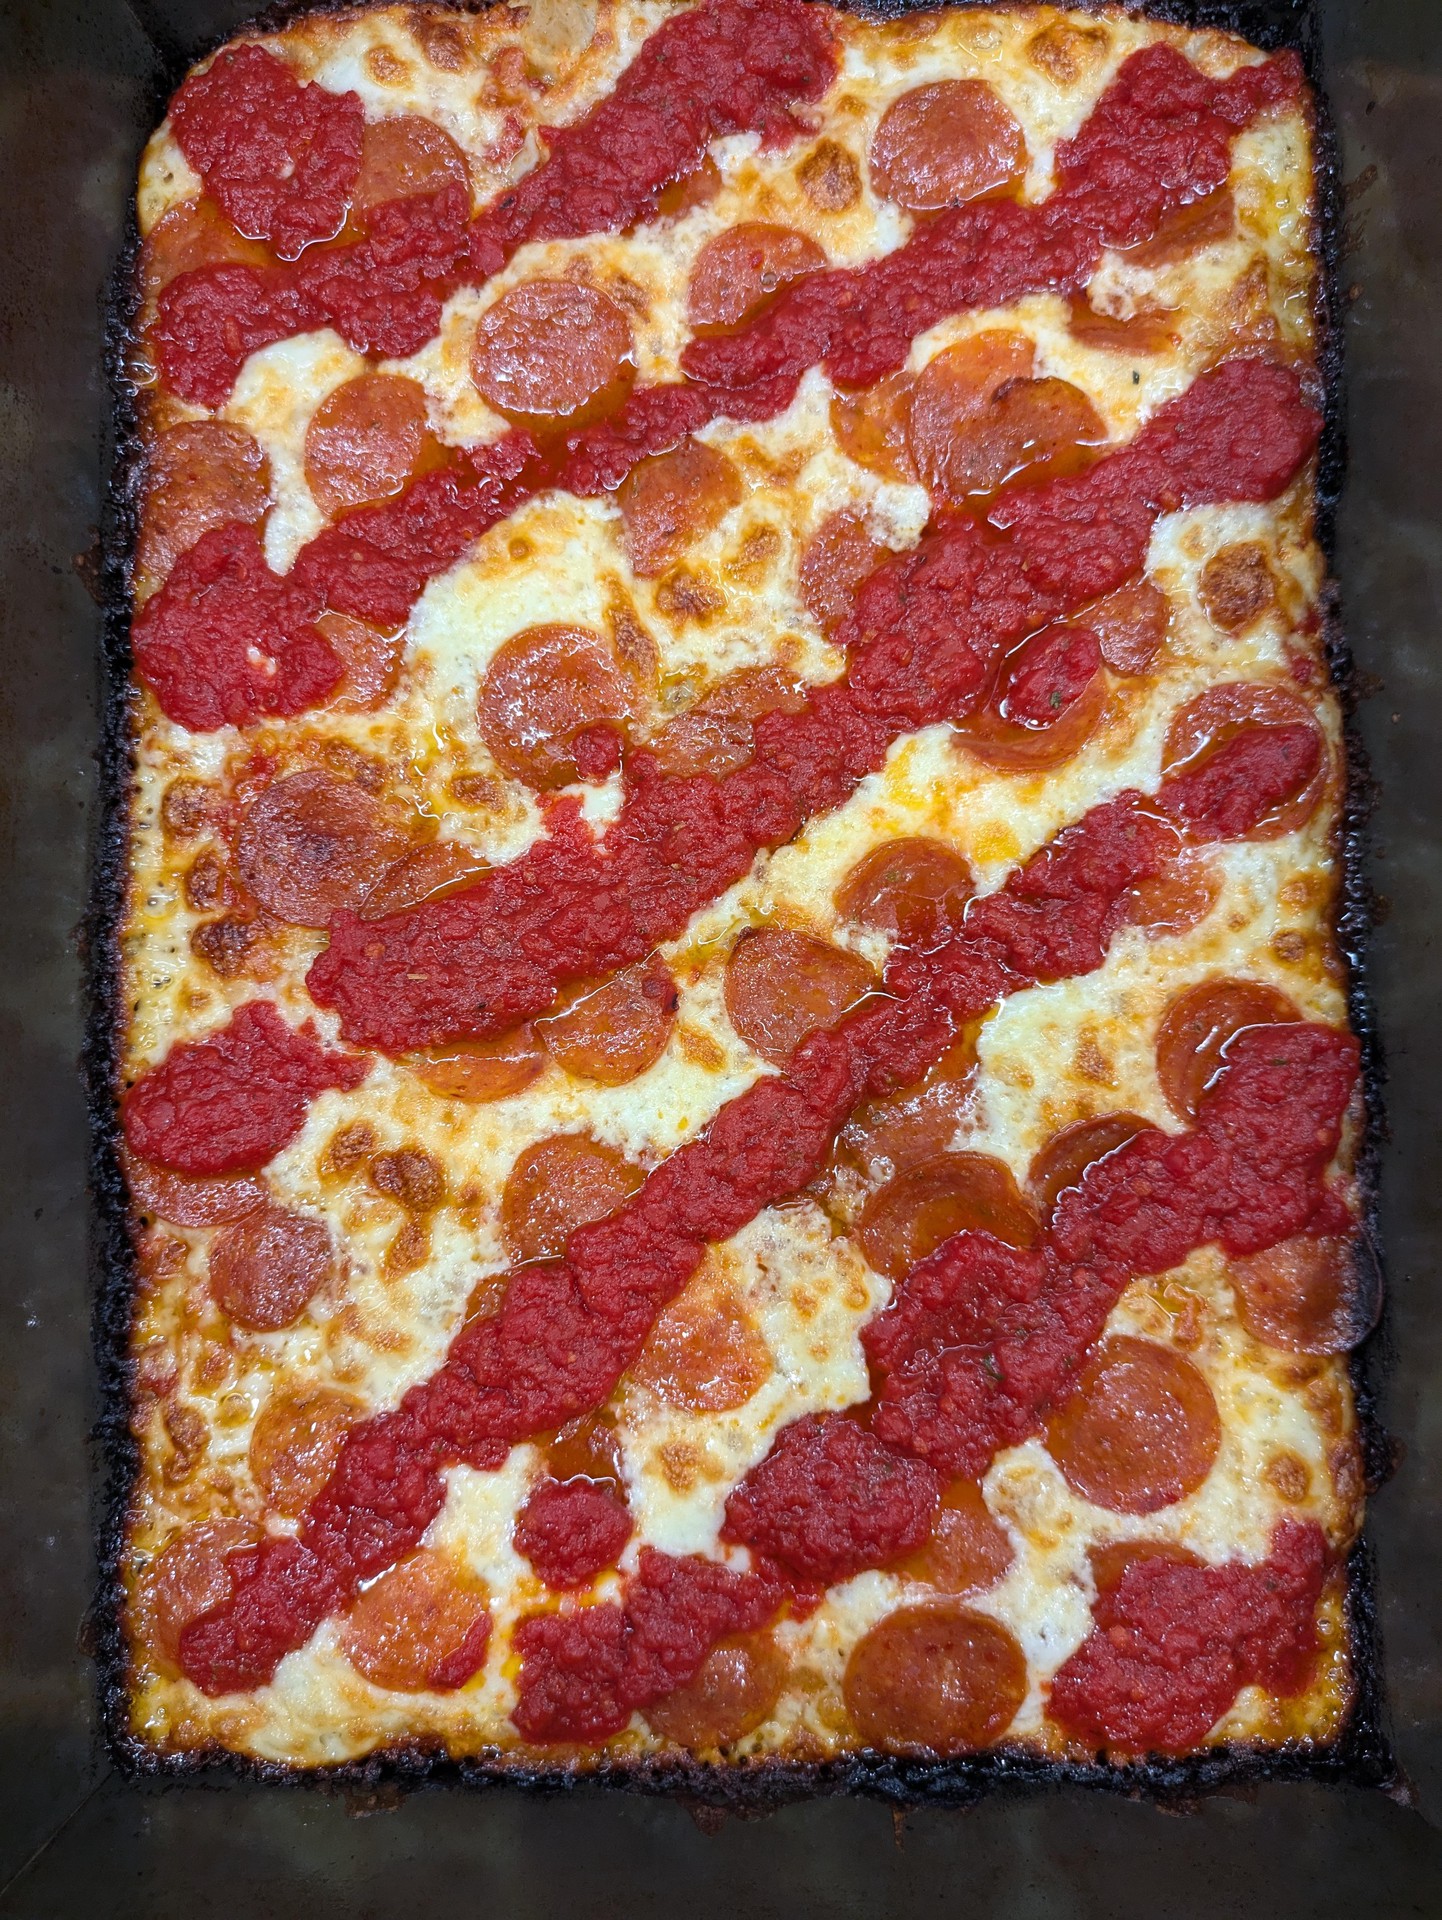
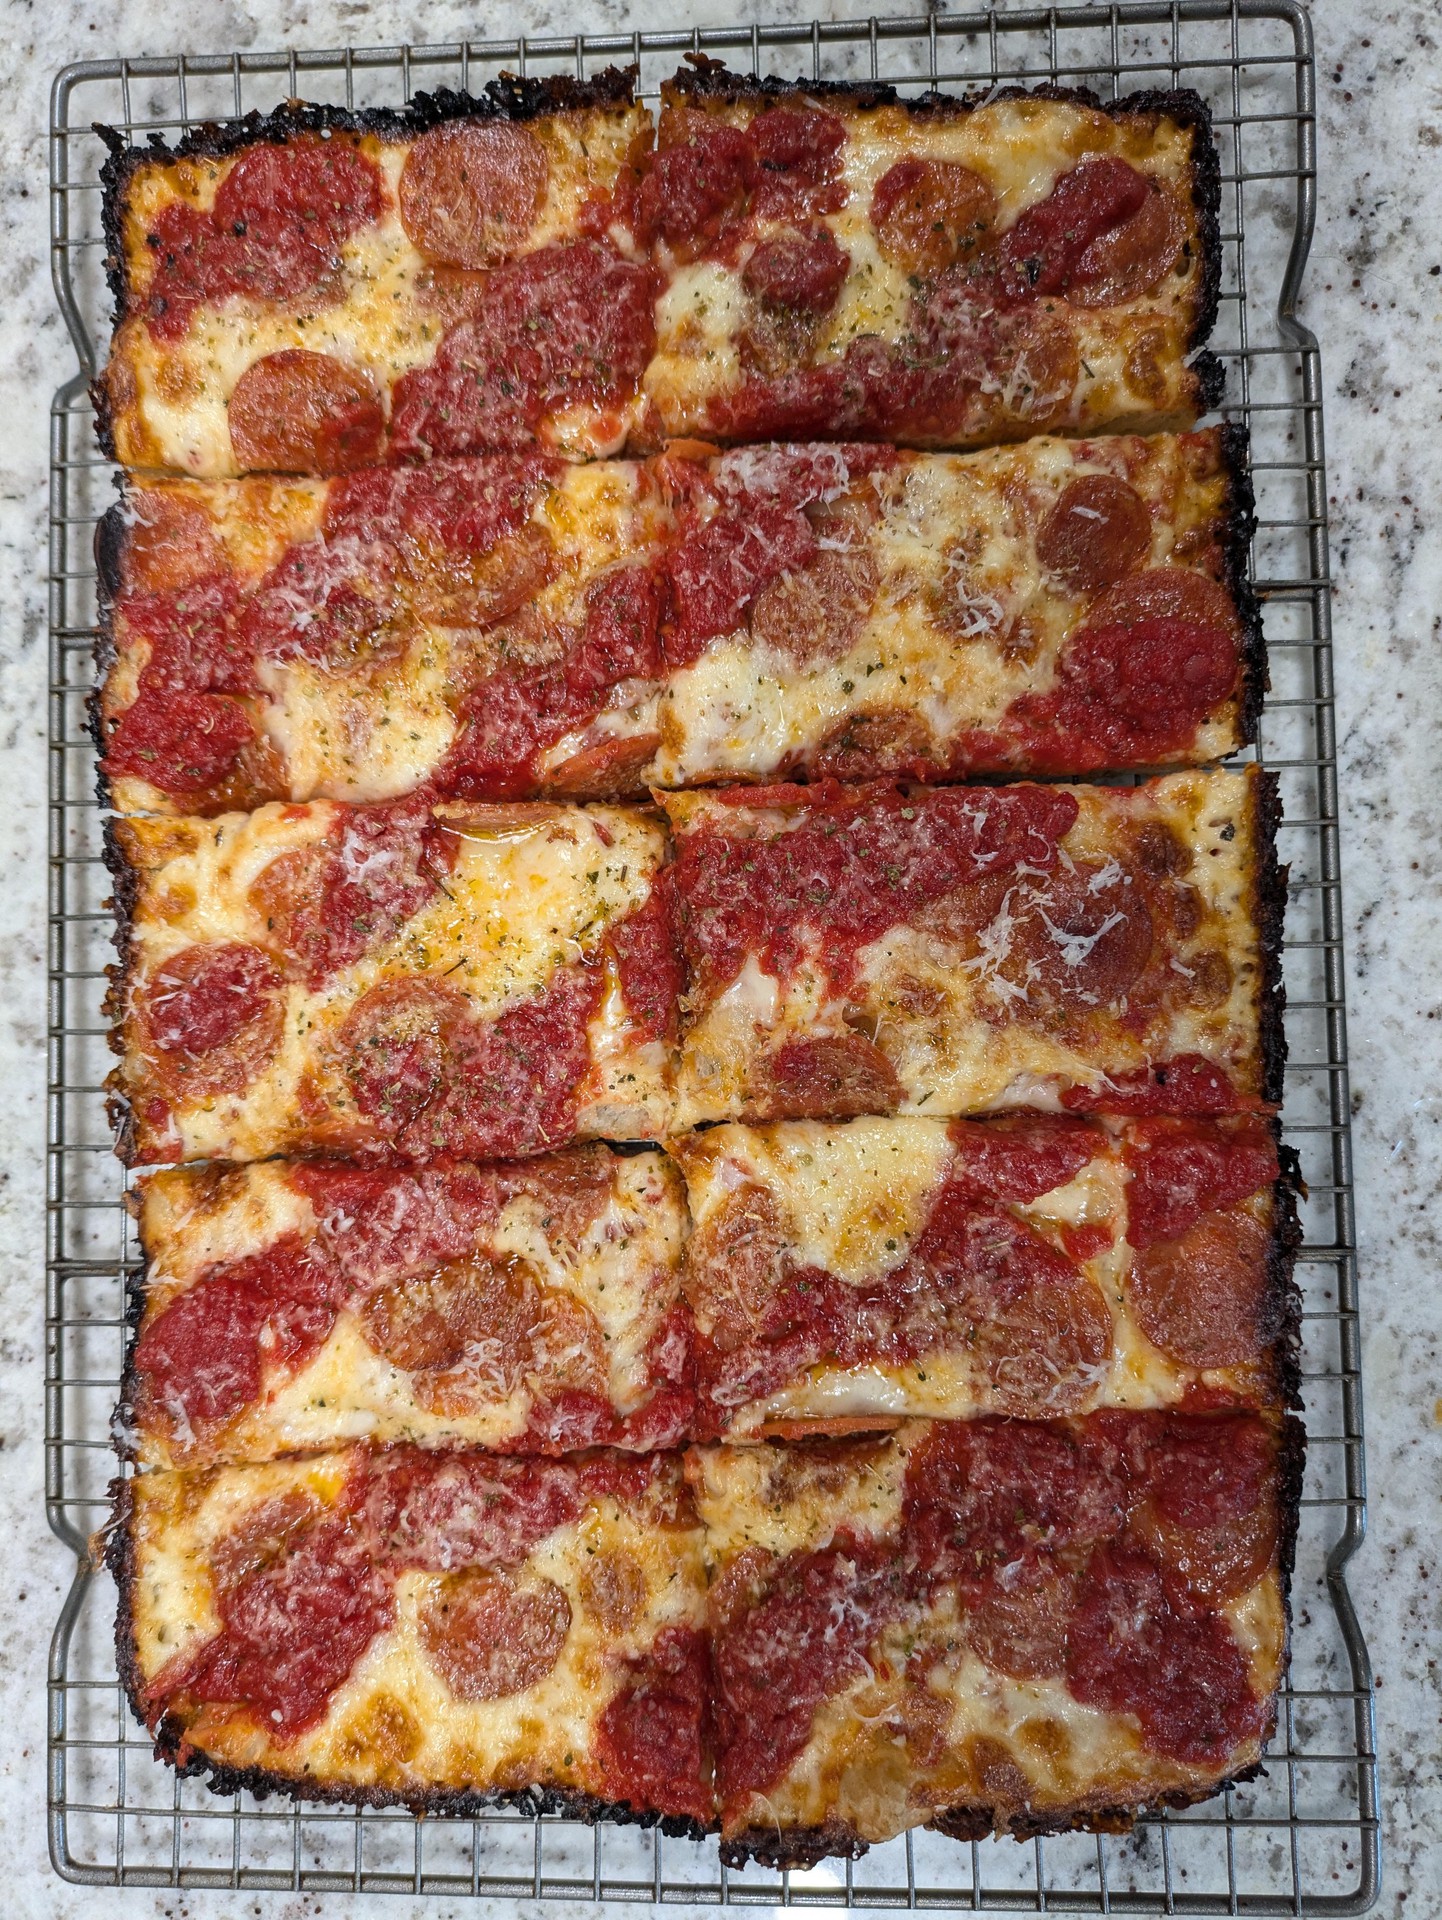
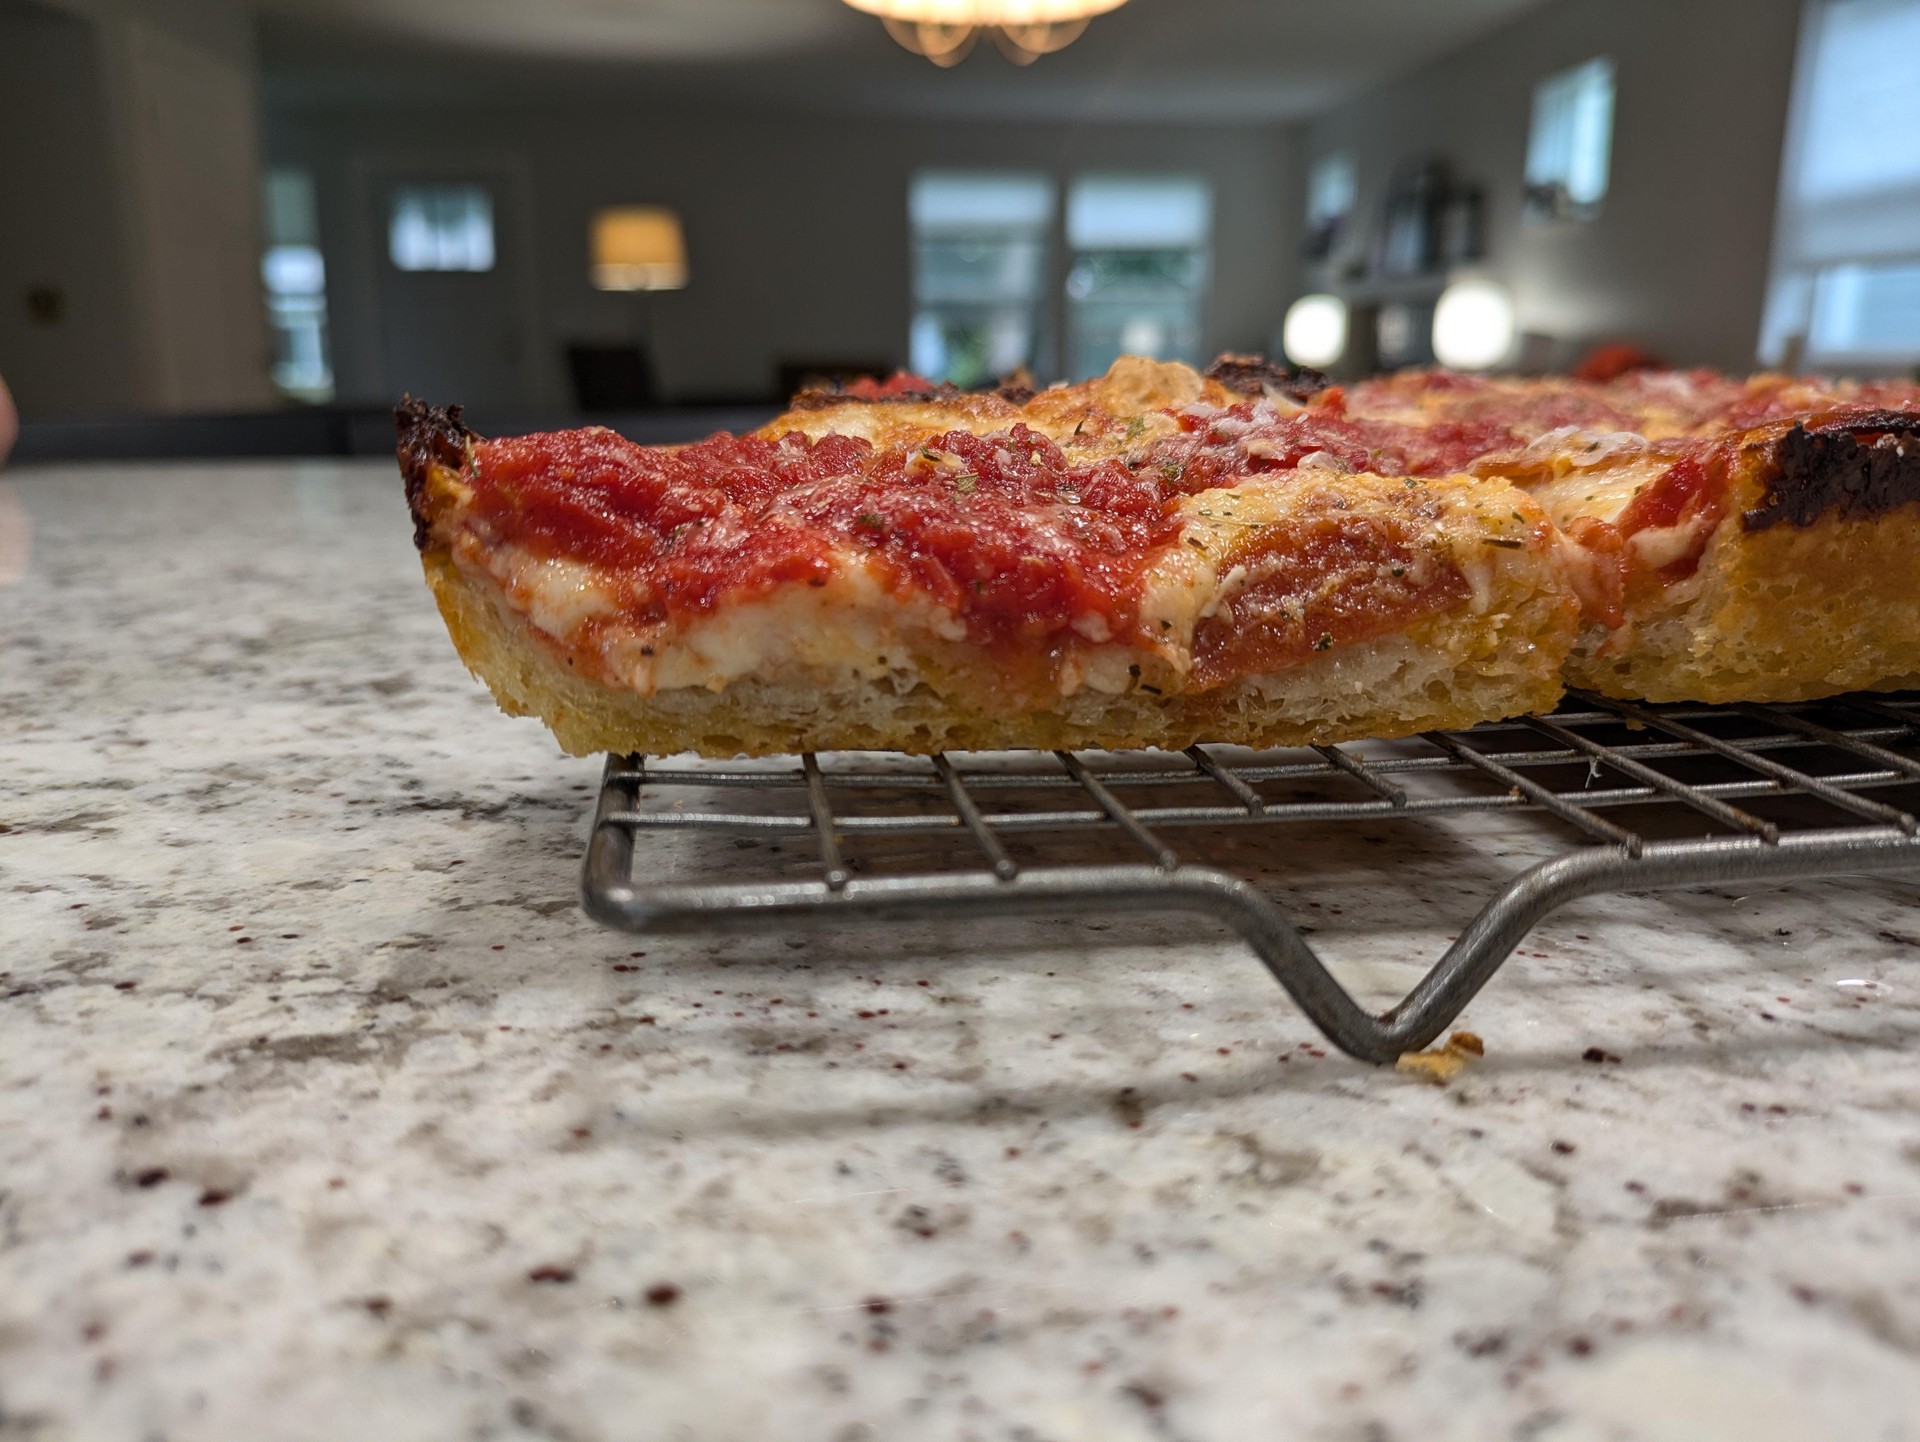
Add thin, first layer of sauce after taking pan out of fridge. Keep covered for the rest of the rise. Move an oven rack to the middle of oven, and set oven to 450°F near end of rise, when the dough is jiggly and the weight of the sauce is creating grooves. Parbake for 7 minutes, then remove. Let cool for 5-10 minutes if you have time. Add a generous layer of mozzarella cheese. If you’re going for Detroit style, cheese should go to the edges and pile a small bit, for the crisp edges. Add layer of pepperoni, as much or little as you want; don’t bother with neat rows and columns since the peps slide around during the bake. Spoon generous second layer of sauce in diagonal stripes. Bake for 13 minutes, rotating 180° halfway through. The goal is a well-done top and golden-brown bottom, but it’s tricky since you can’t see the bottom while it’s in the oven. This make take another 5 minutes, and you may want to turn on the broiler or cover with foil, depending on how the top looks at the 20 min mark (7 min parbake + 13 min bake). Longer bakes are good when using lots of sauce and cheese.

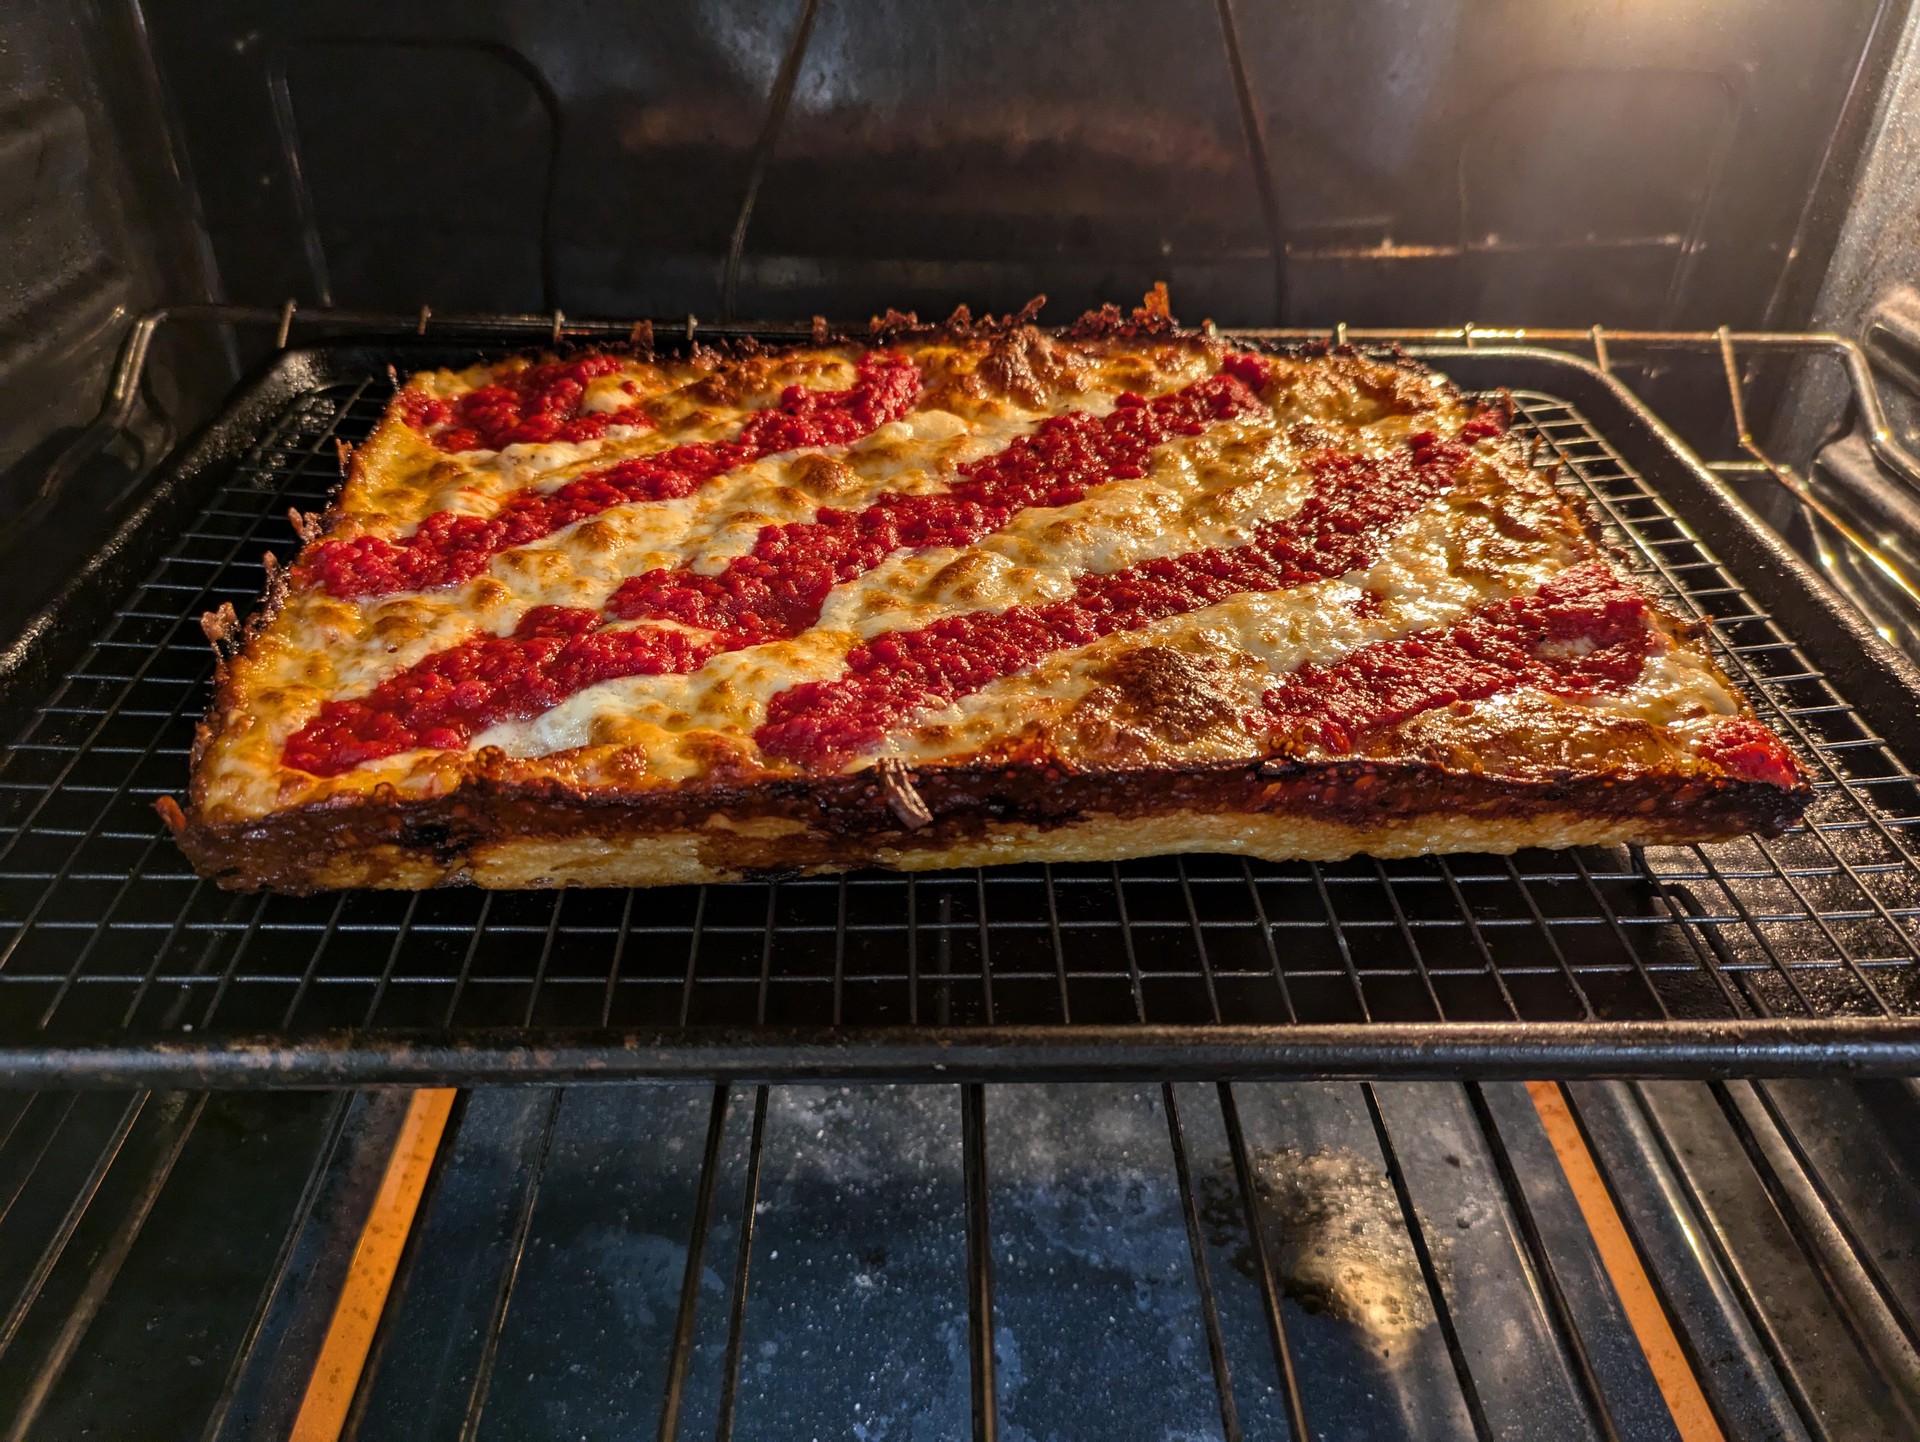
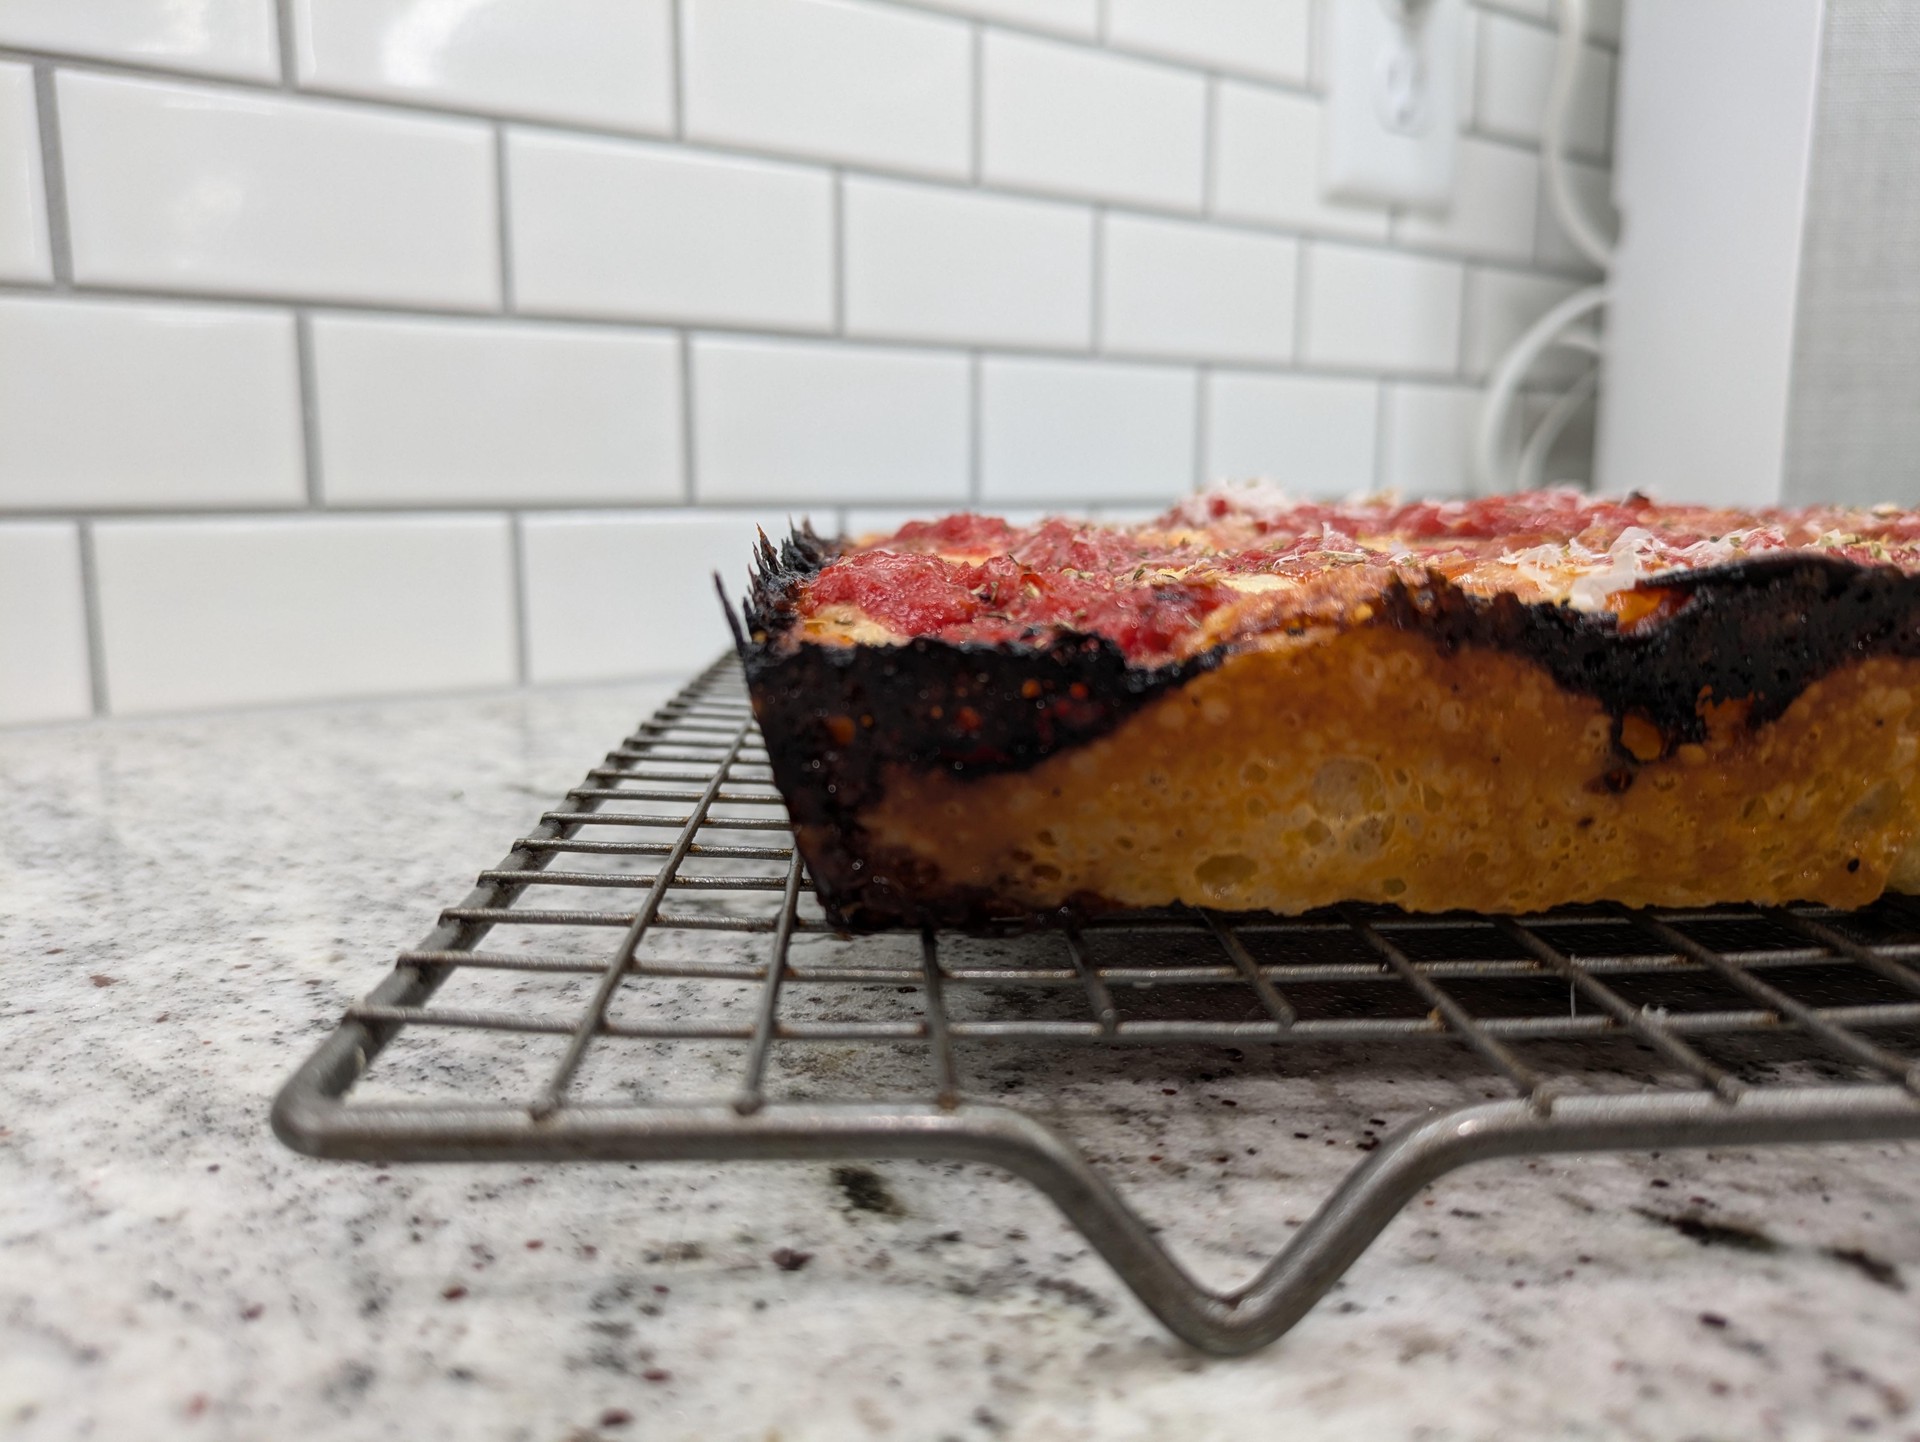
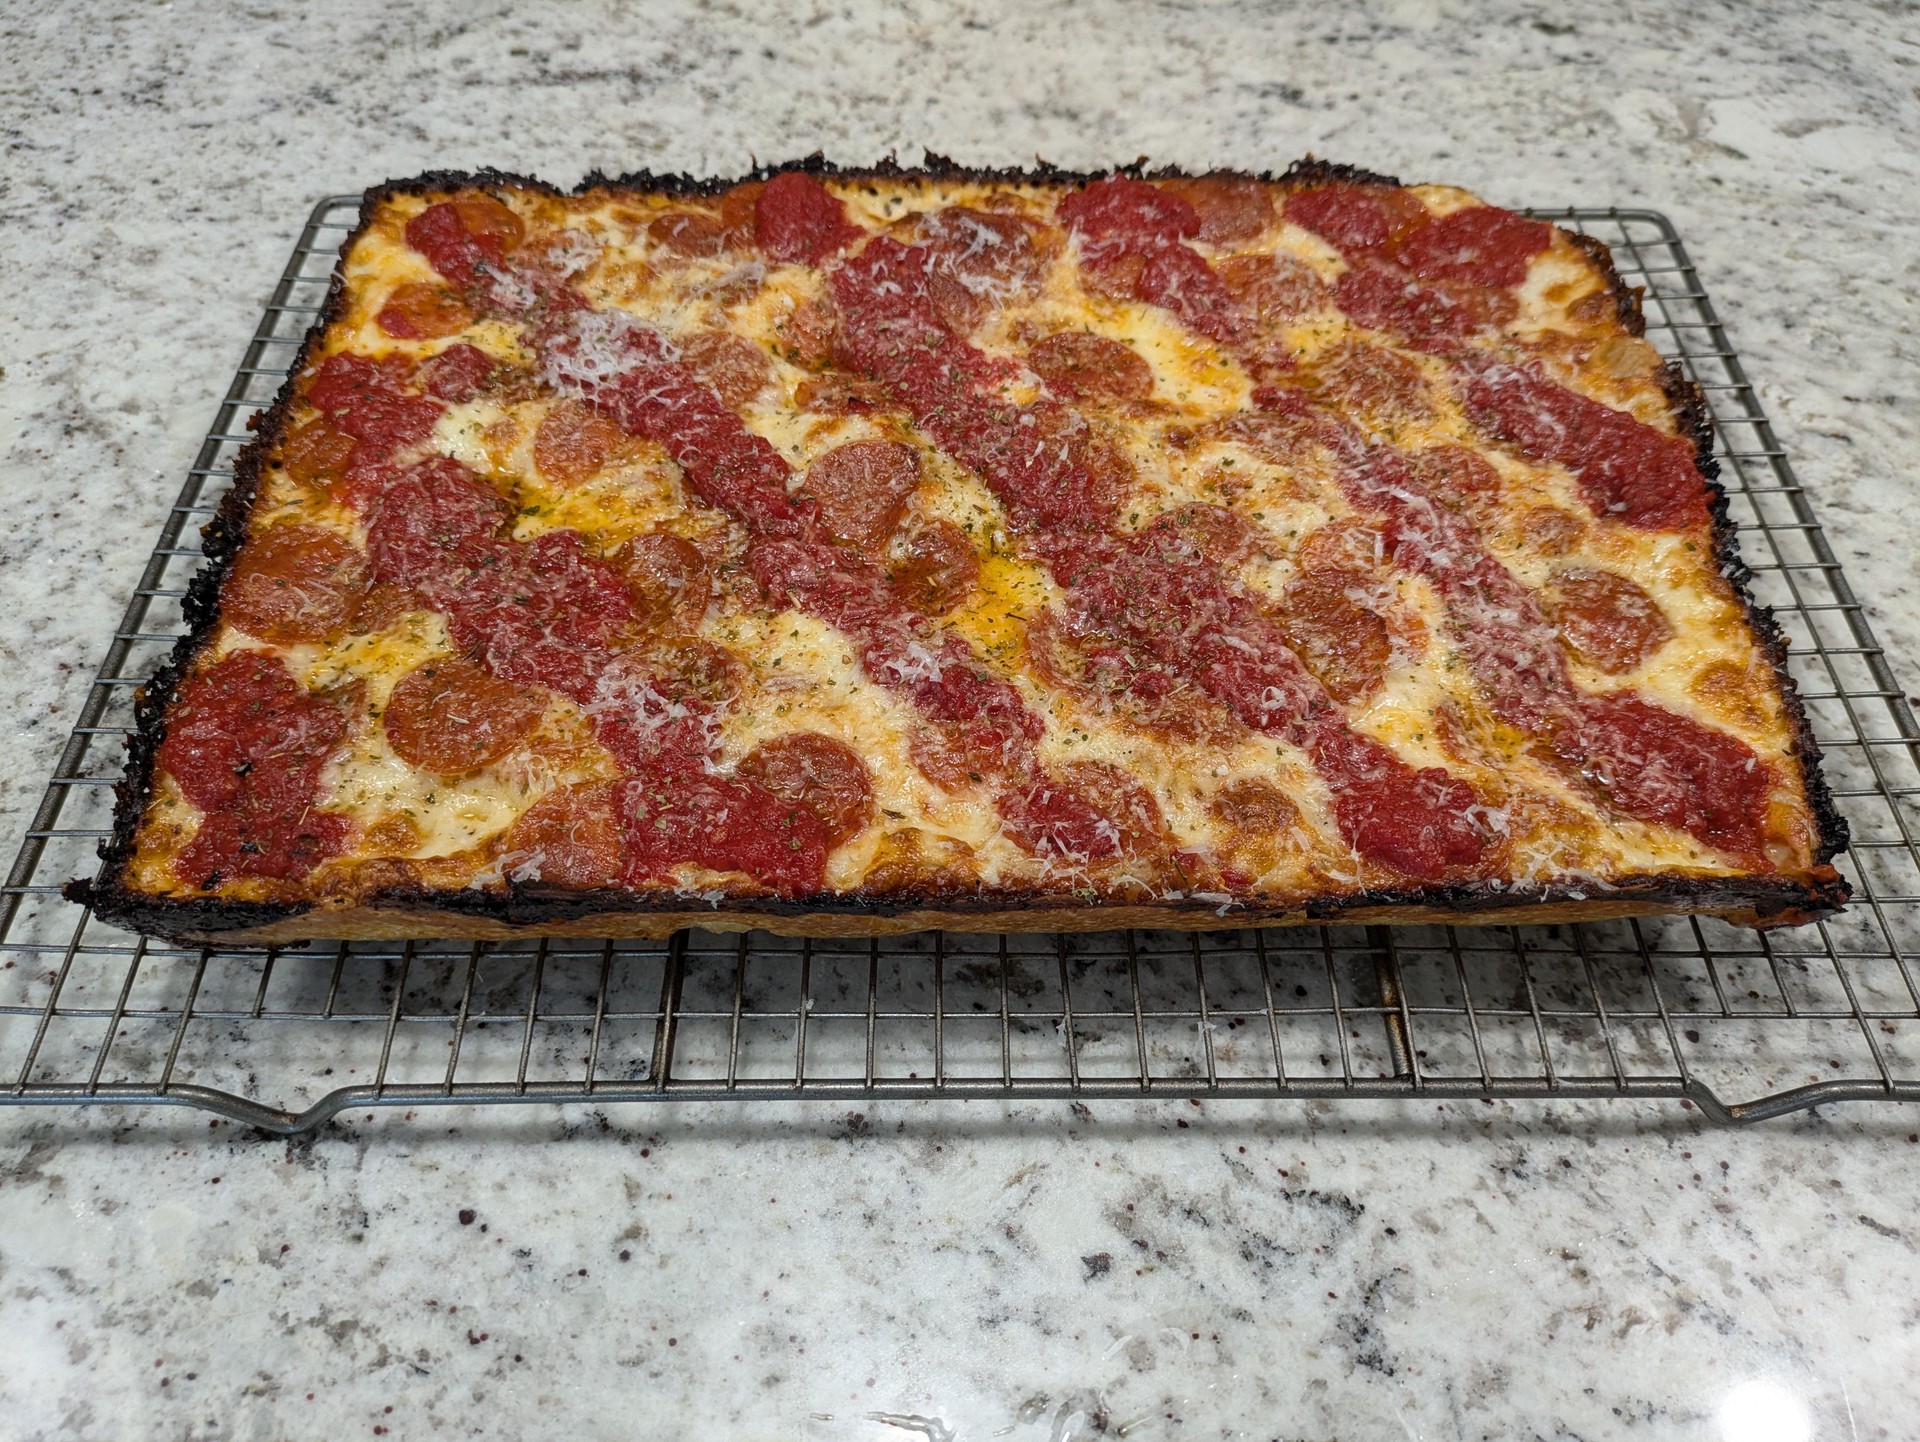
Remove pan from oven and separate edges from pan all the way around (offset spatulas work best). Use spatula to lift a corner and peek at the bottom. If it looks pale / yellow-golden instead of golden-brown, move to a warming rack placed in a half-sheet pan and bake for a few more minutes, covering the top with foil if needed. Peek after a few minutes and keep going until the bottom is golden-brown. Move to warning rack on counter, top with grated parm/pecorino and oregano, and let rest for 5 minutes.
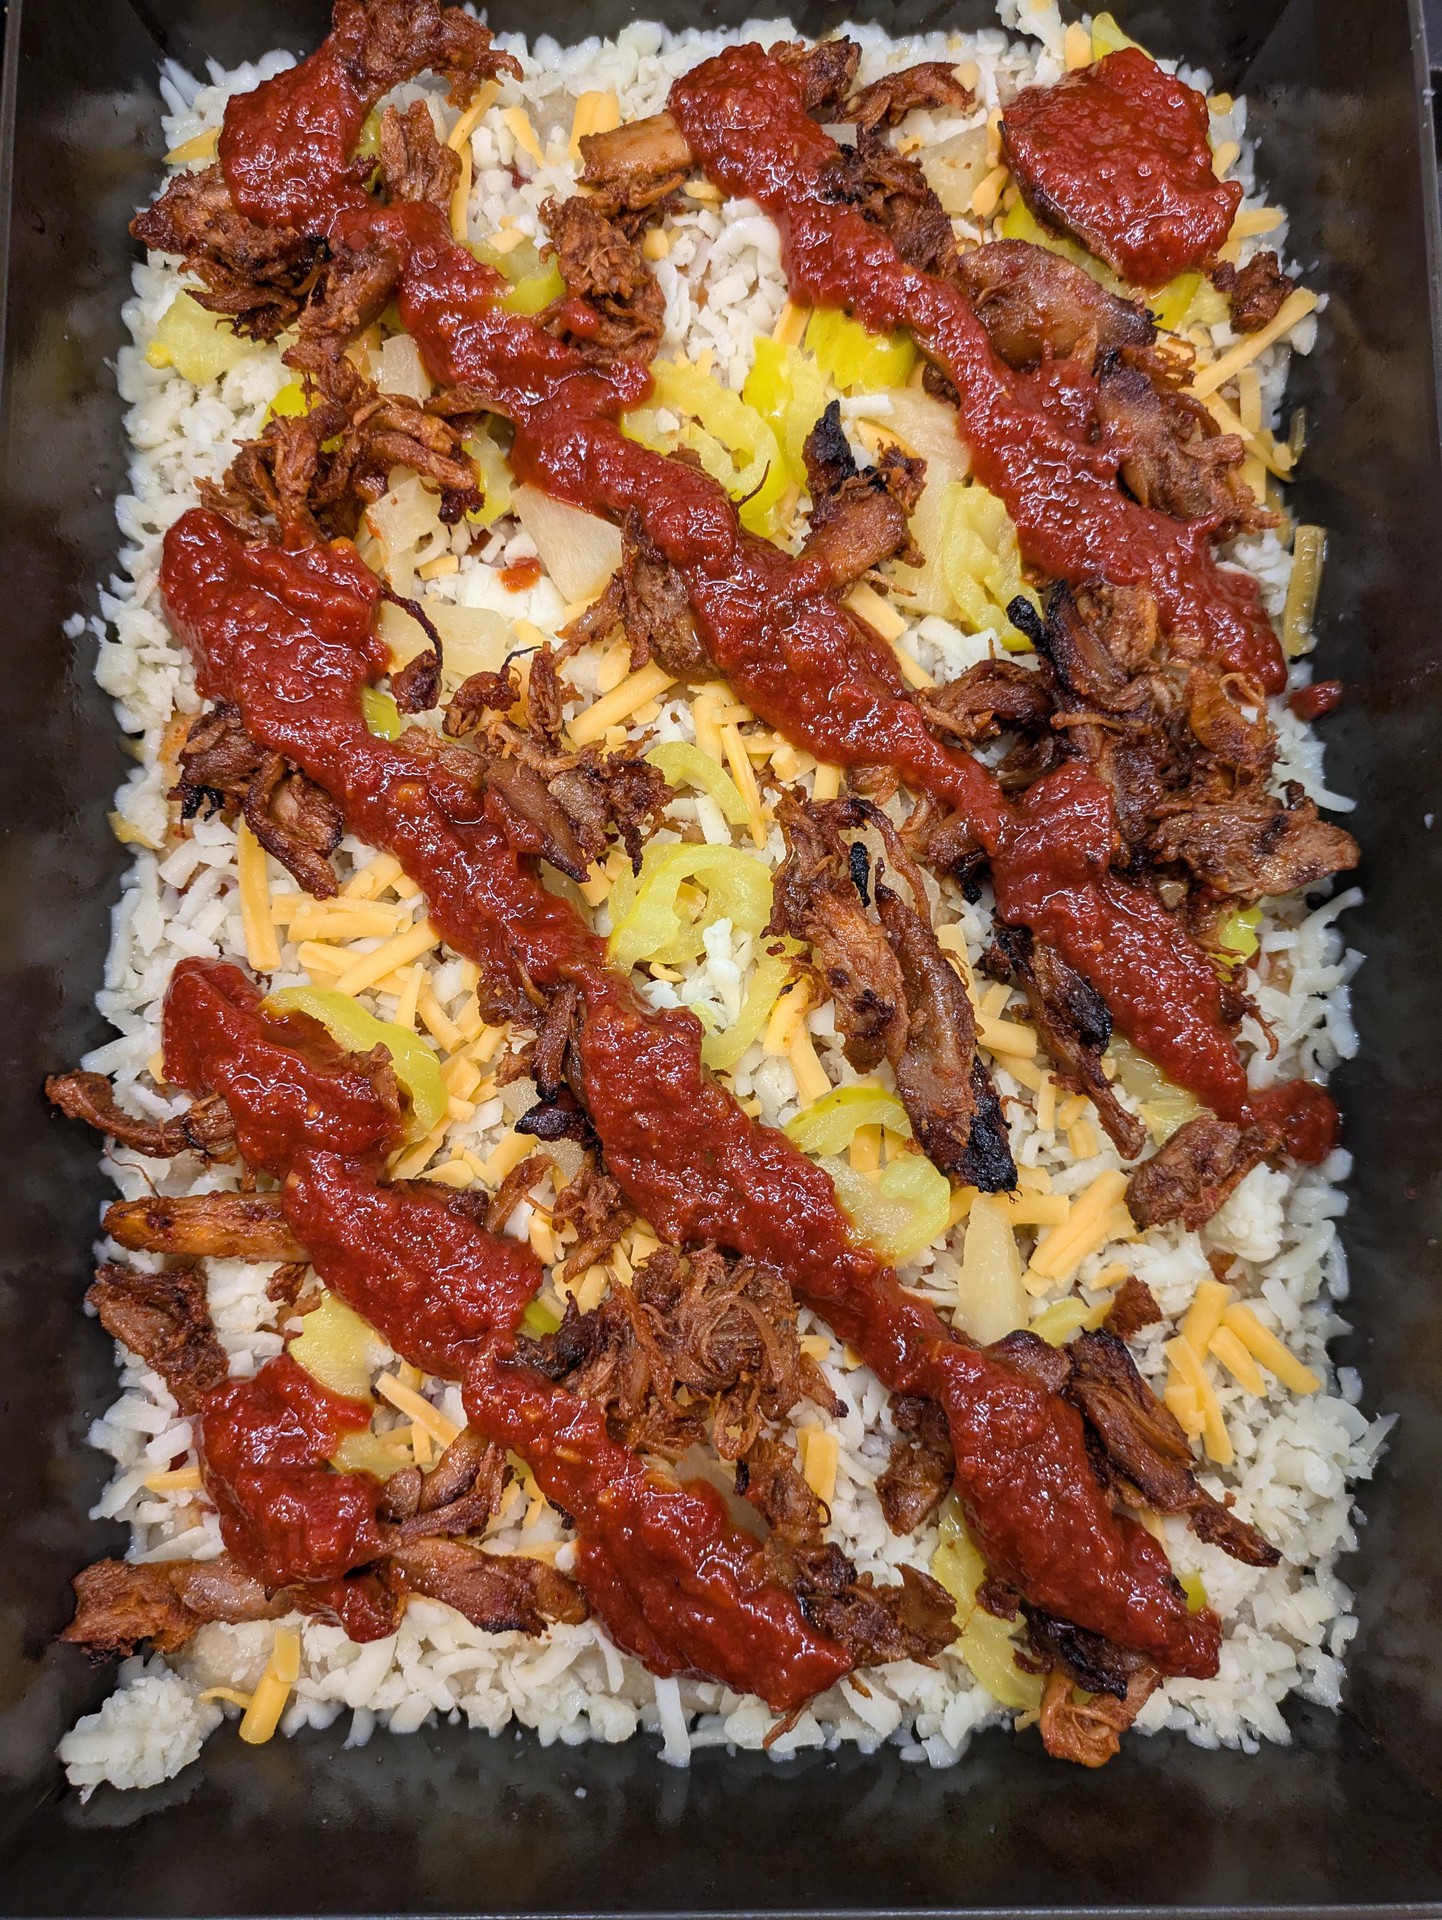
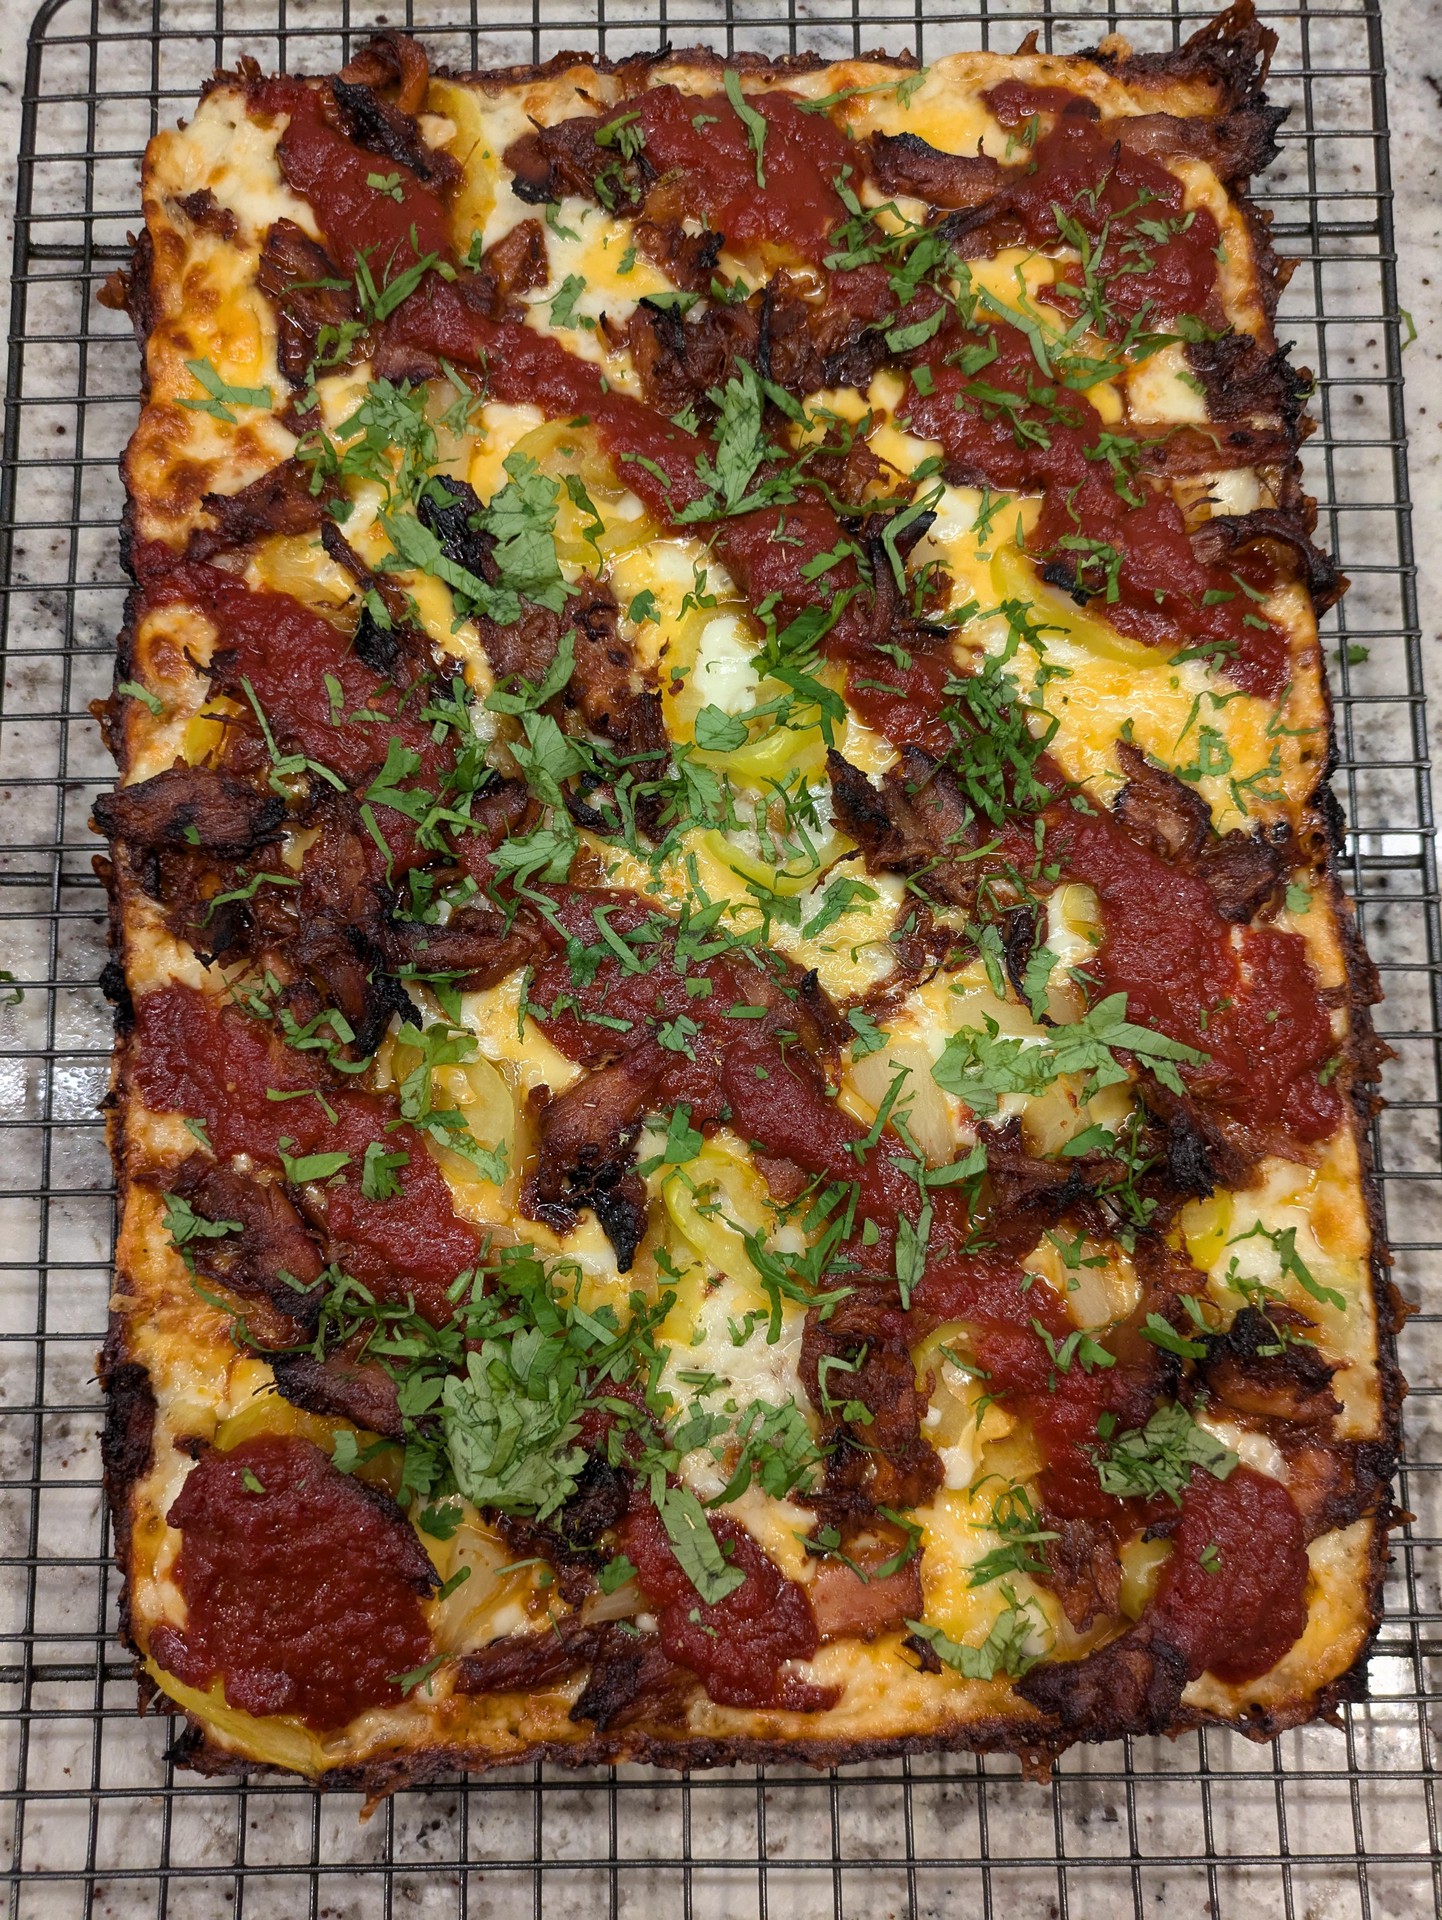
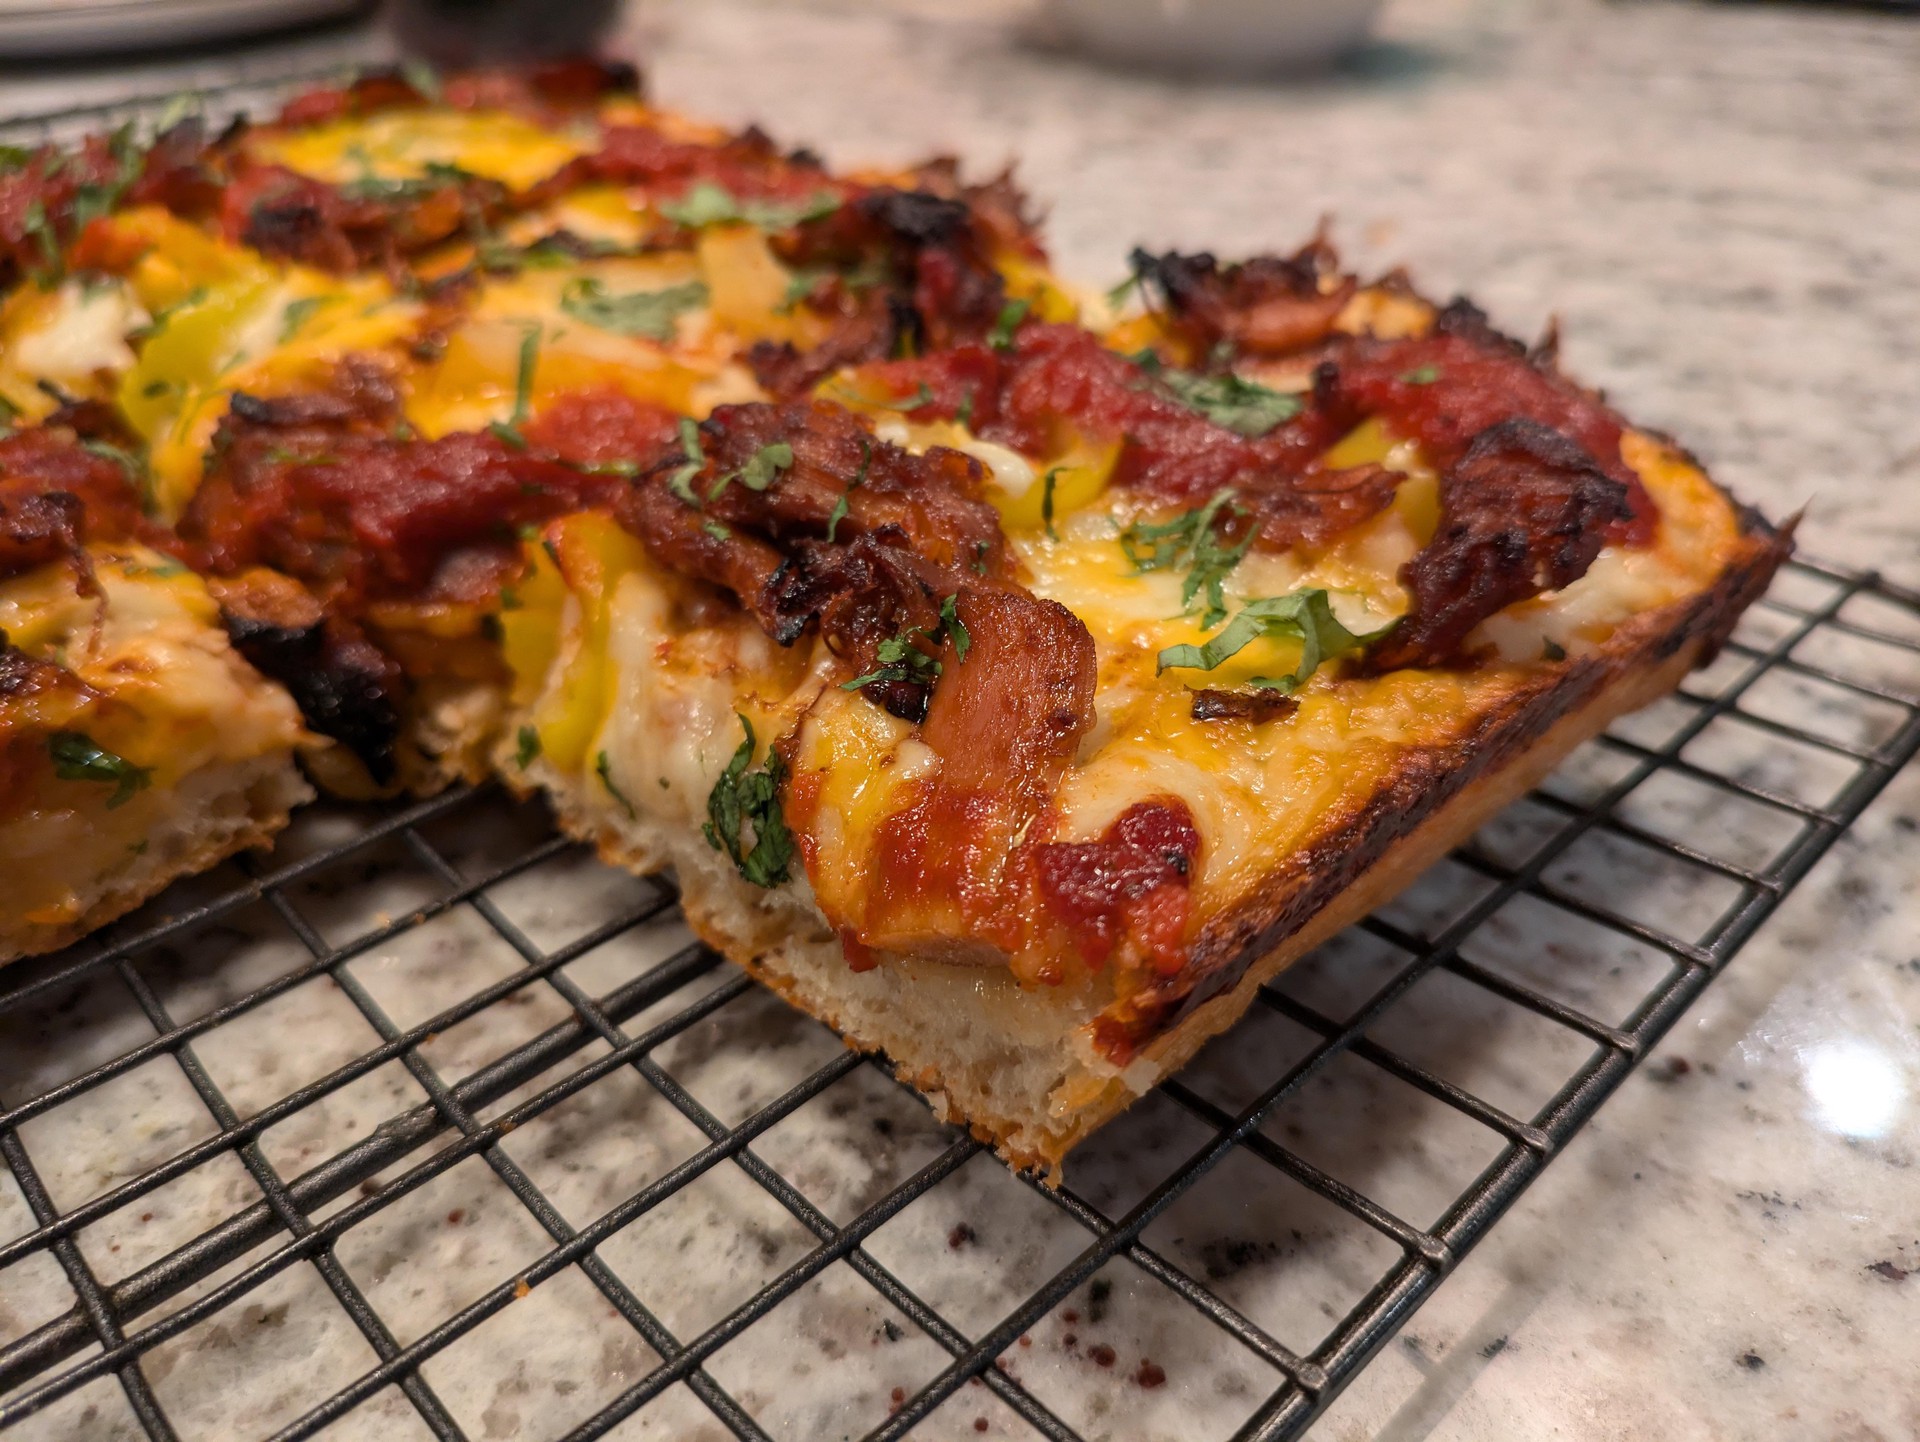
Double-Sauce Korean BBQ Pizza
Same flow as the double-sauce pepperoni pizza, just with a mix of red sauce + Korean BBQ sauce. Topped with Korean pulled chicken, banana peppers, pineapple, some cheddar in the mix, and finished with cilantro.e + 13 min bake). Longer bakes are good when using lots of sauce and cheese.
Remove pan from oven and separate edges from pan all the way around (offset spatulas work best). Use spatula to lift a corner and peek at the bottom. If it looks pale / yellow-golden instead of golden-brown, move to a warming rack placed in a half-sheet pan and bake for a few more minutes, covering the top with foil if needed. Peek after a few minutes and keep going until the bottom is golden-brown. Move to warning rack on counter, top with grated parm/pecorino and oregano, and let rest for 5 minutes.
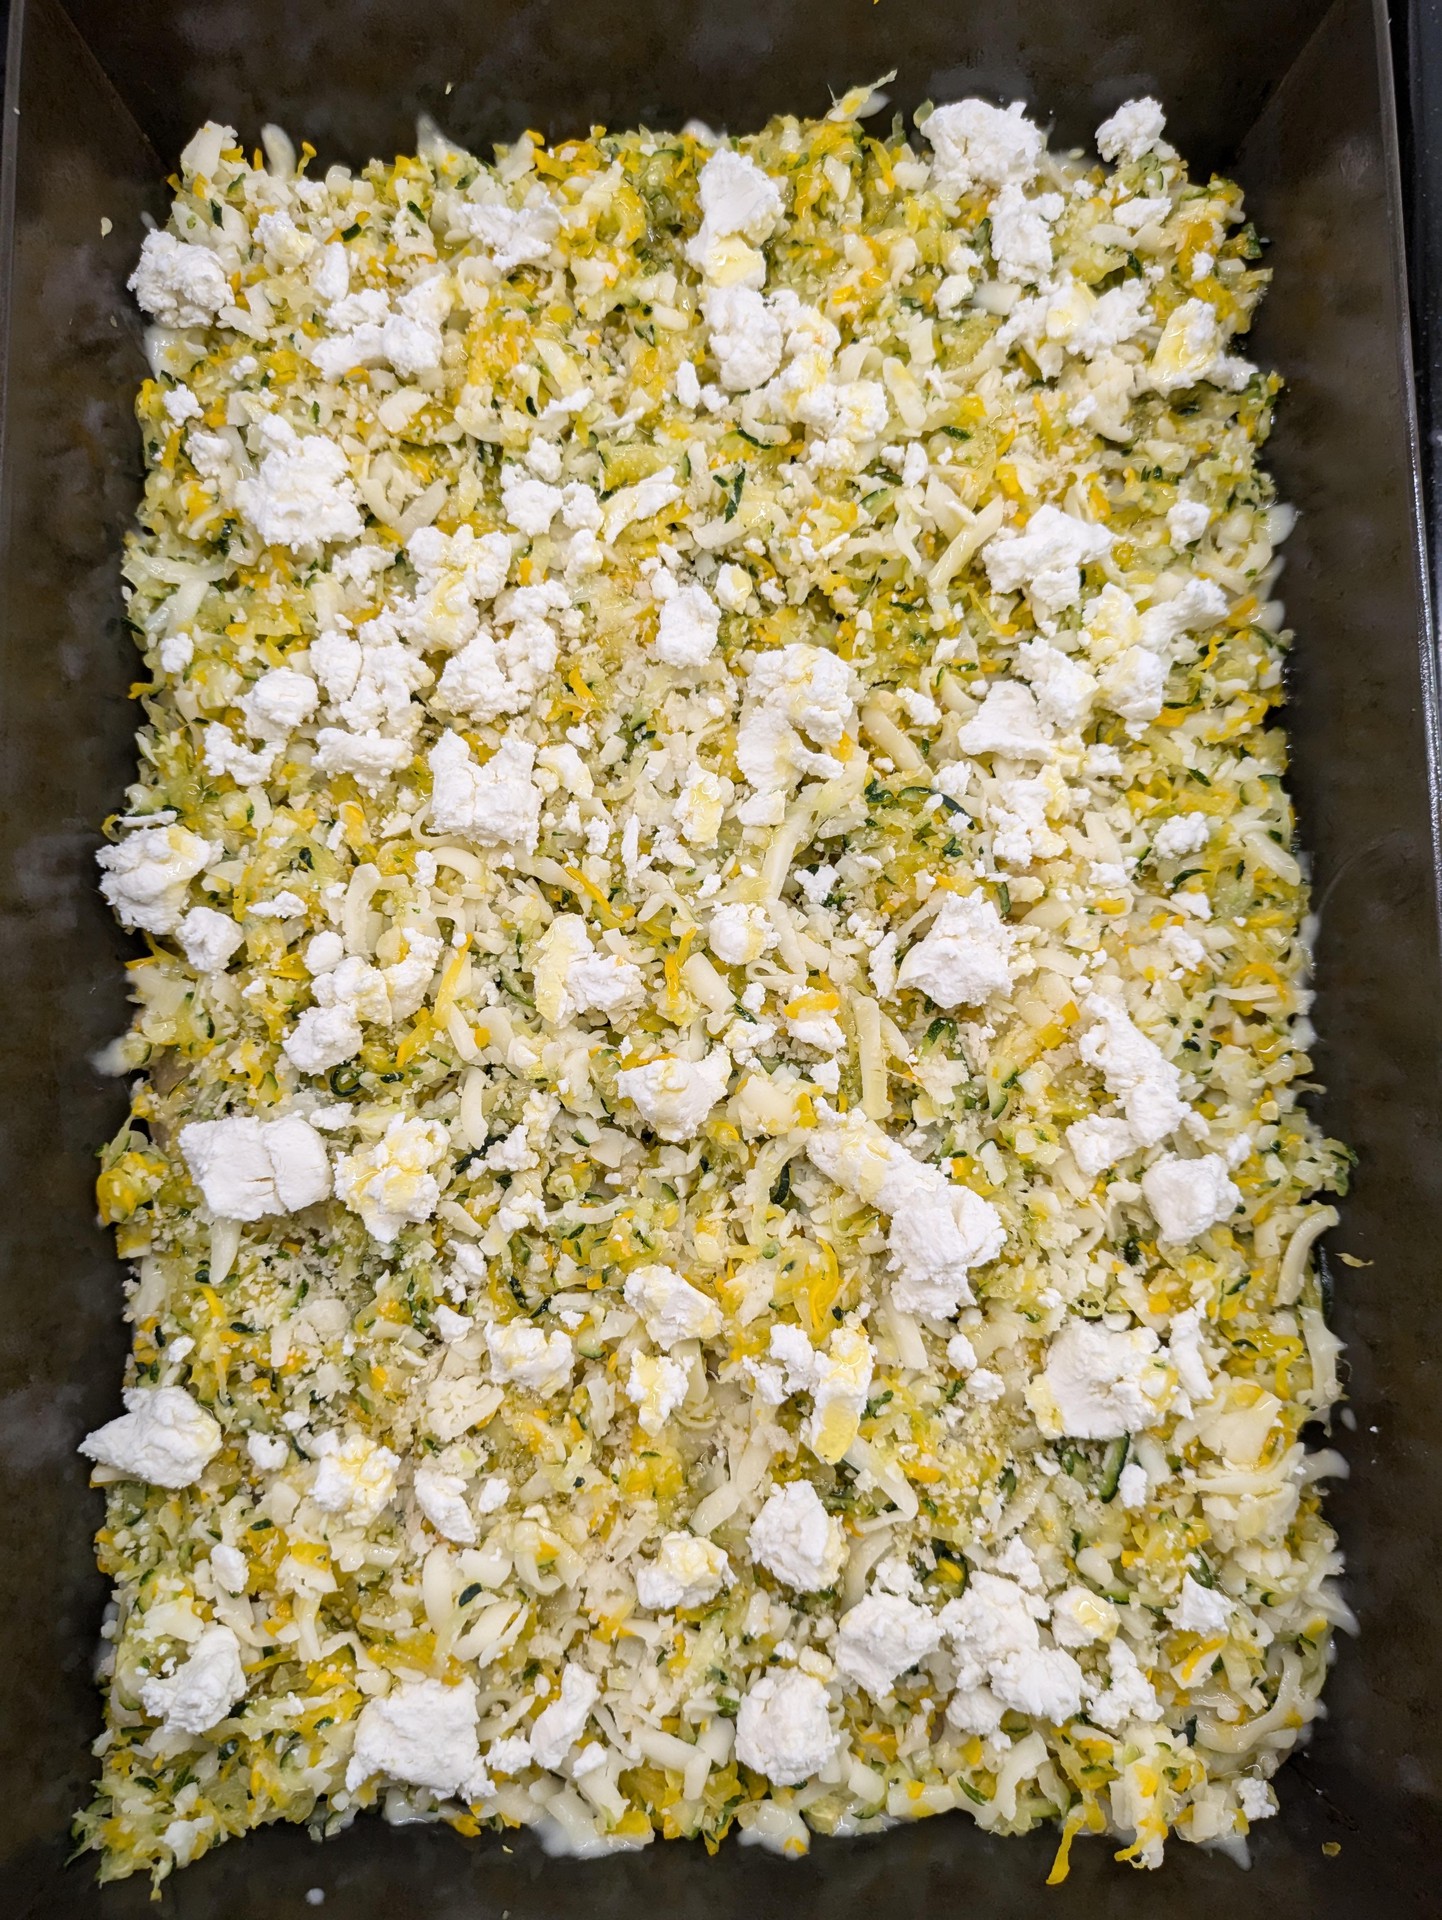
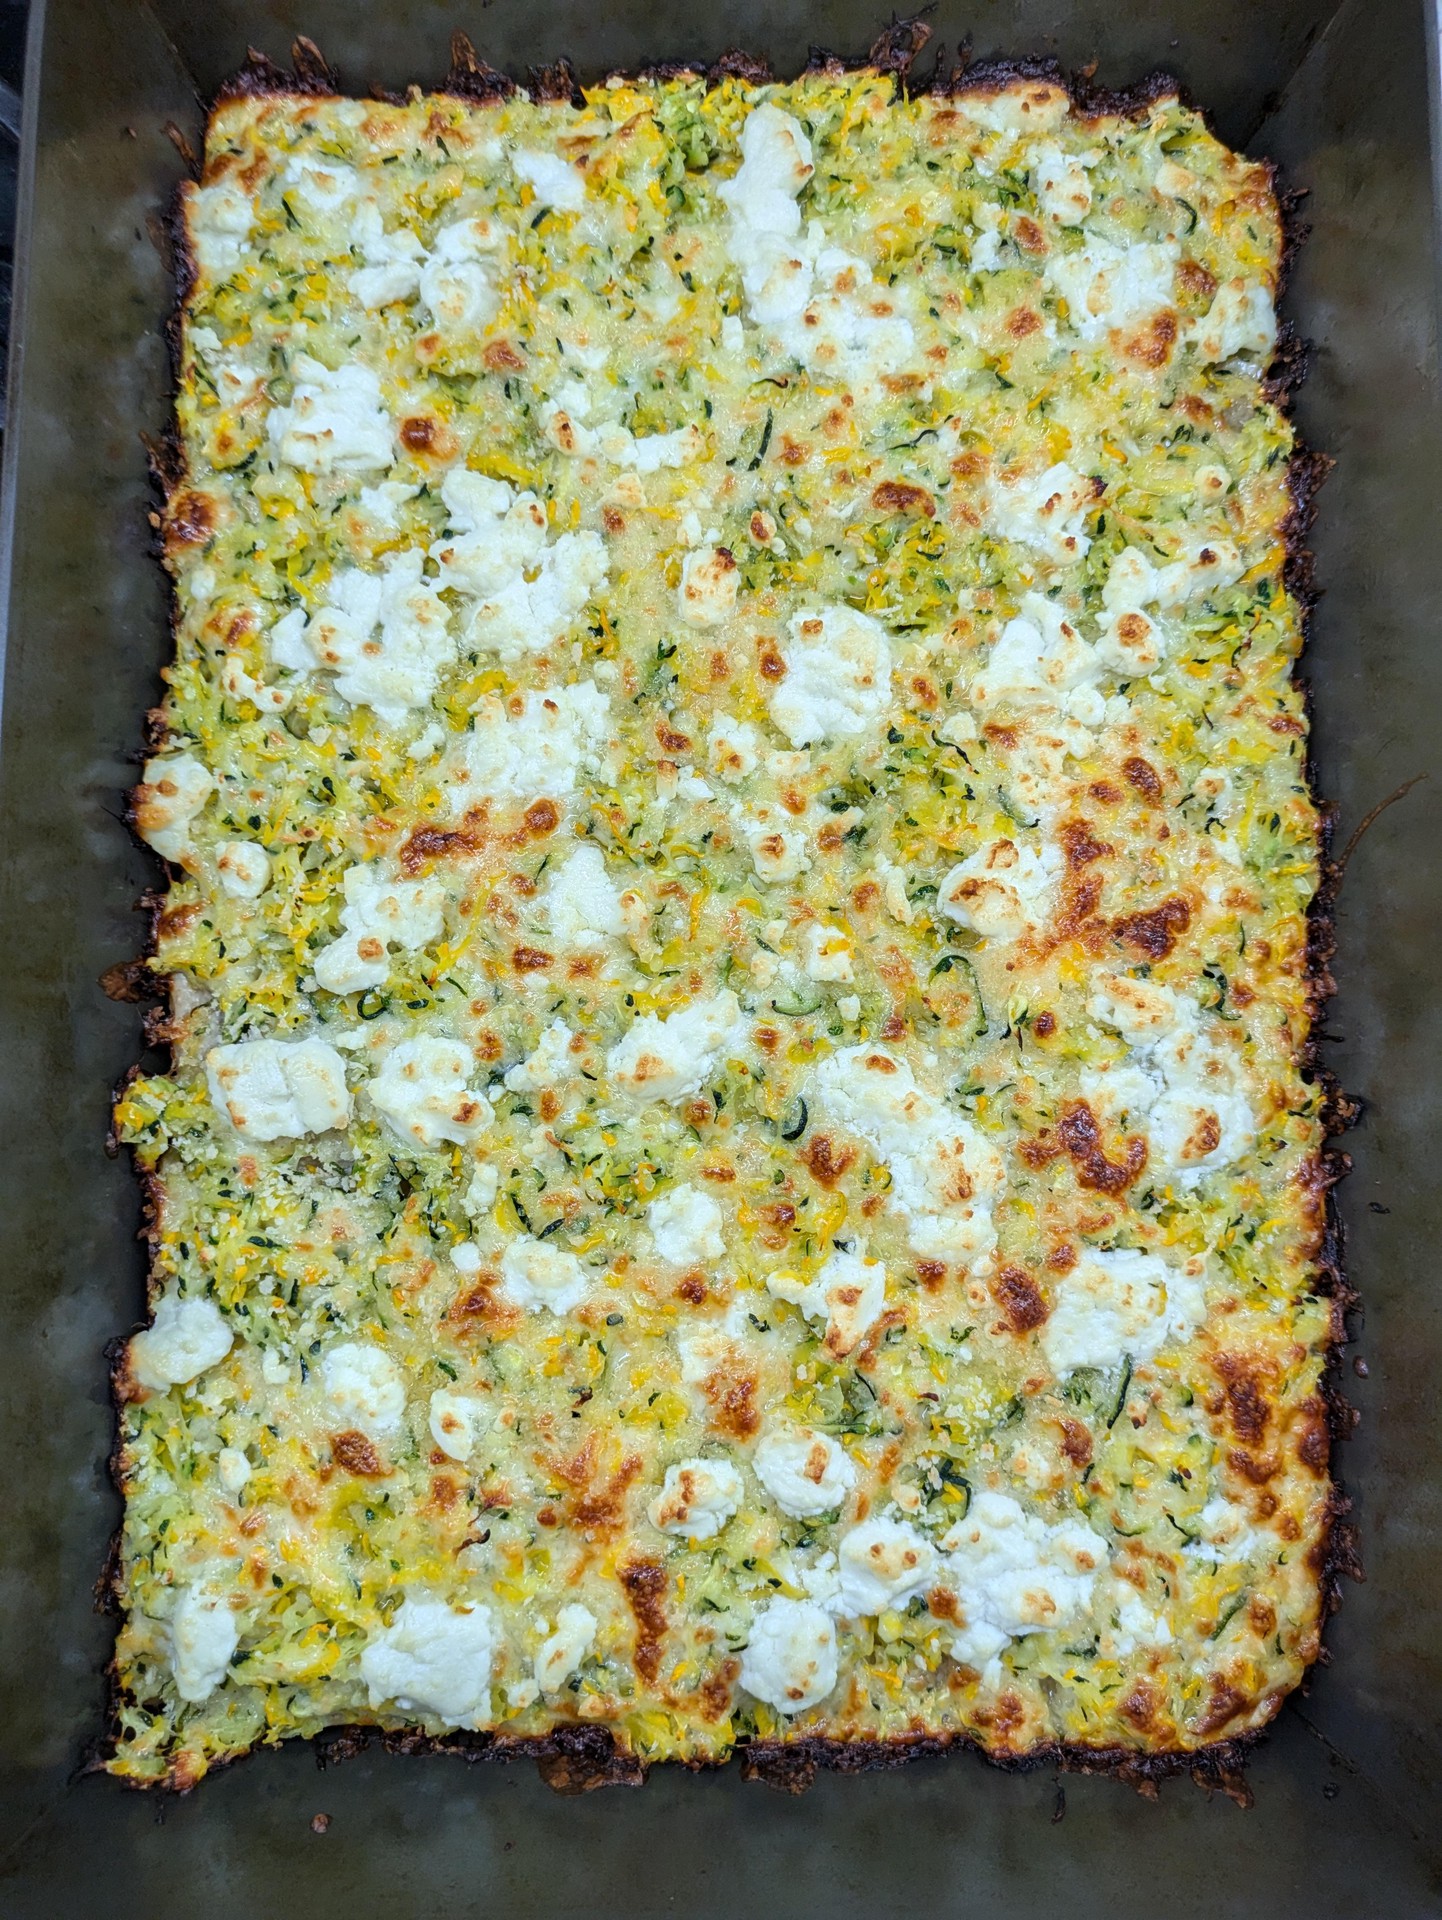
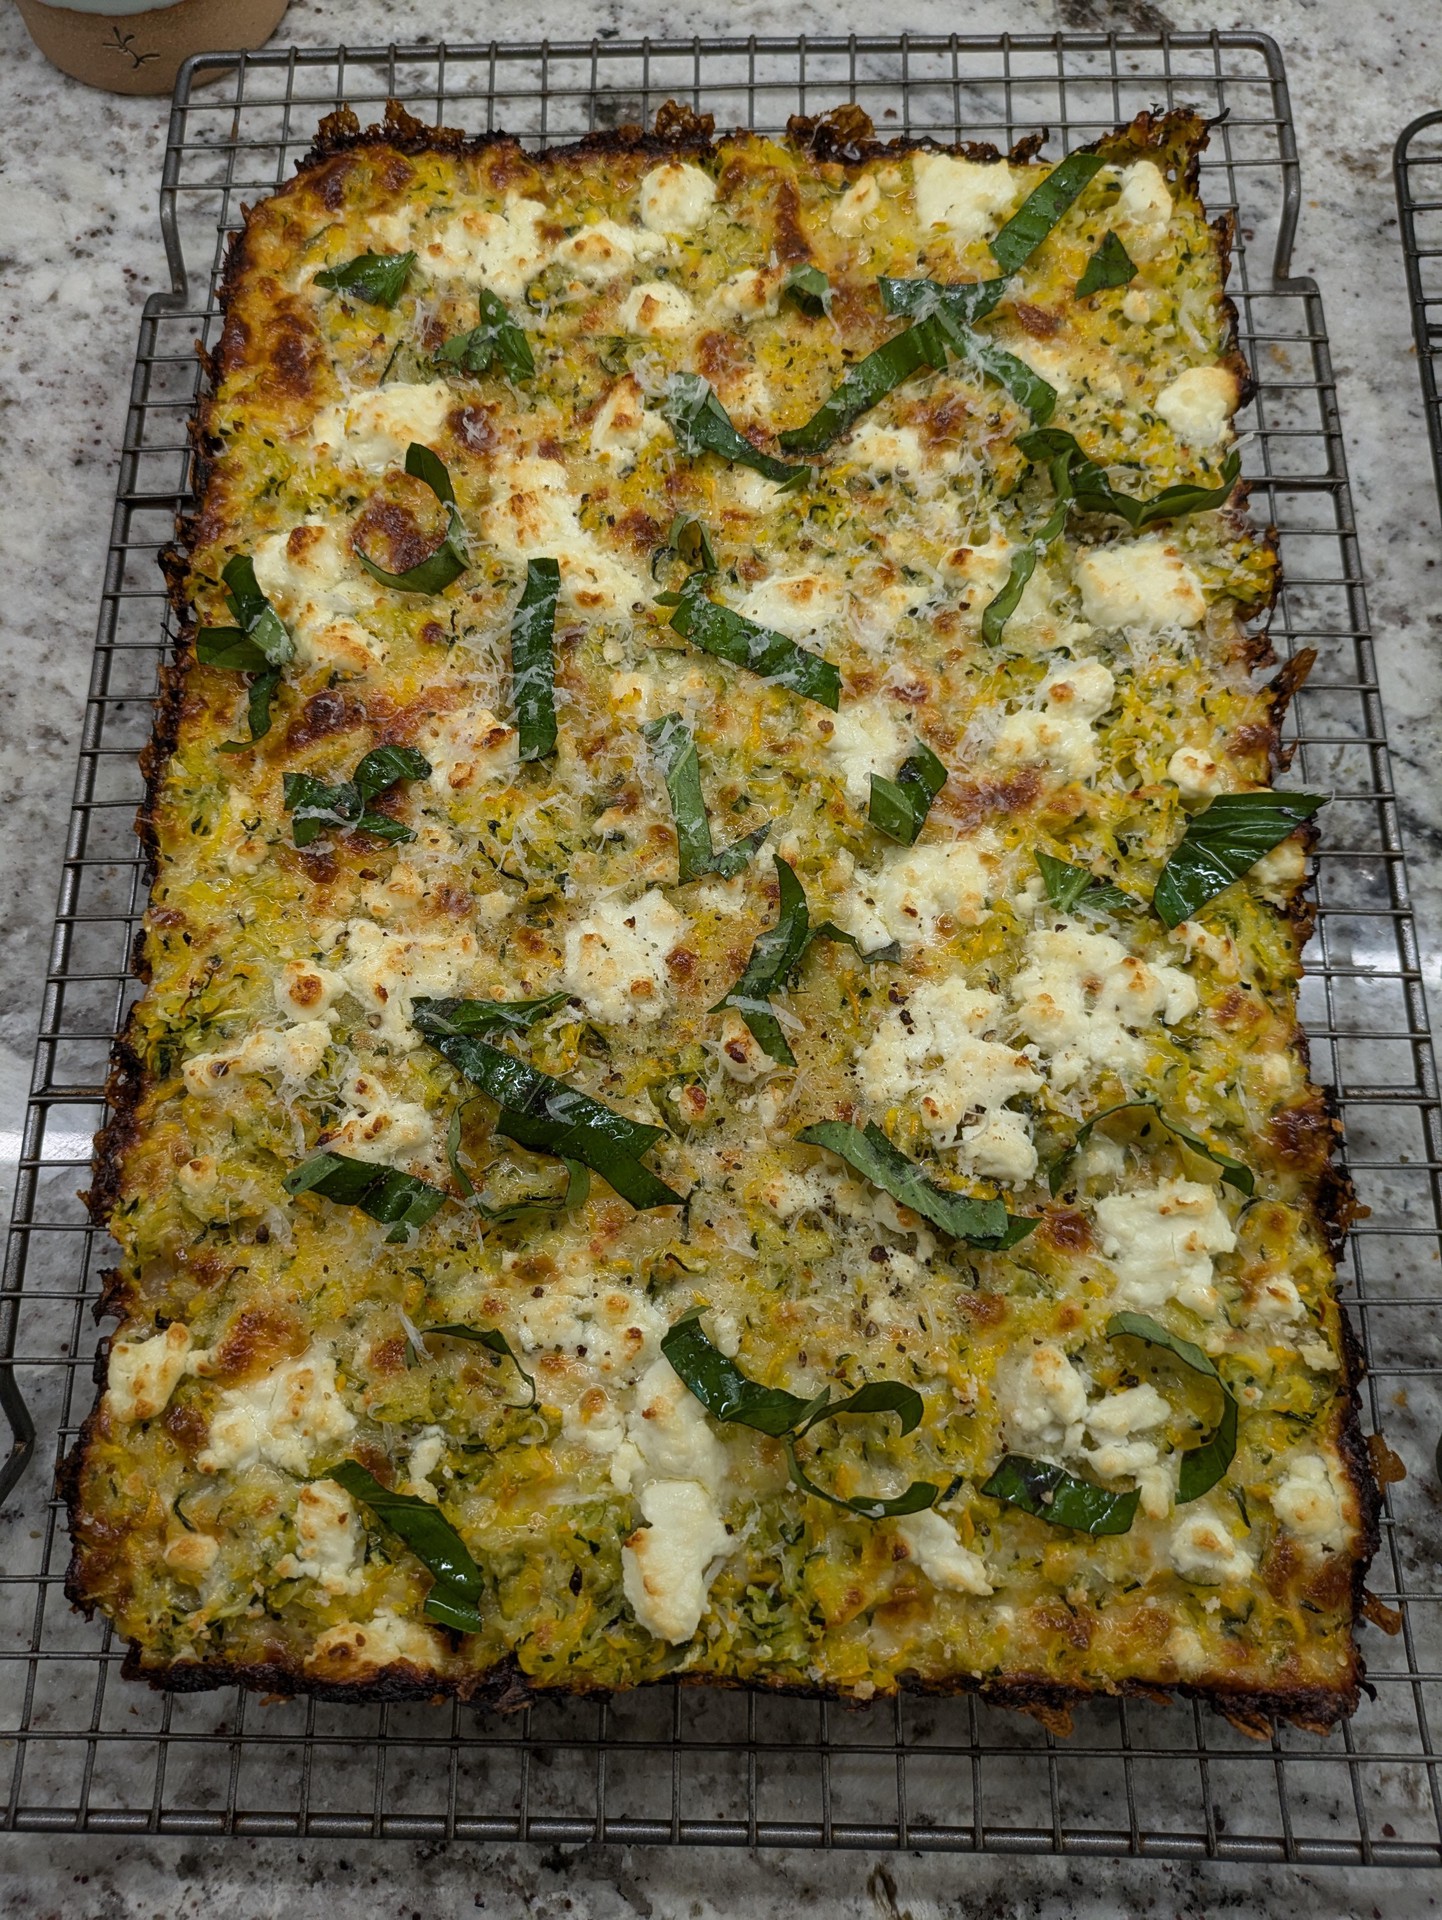
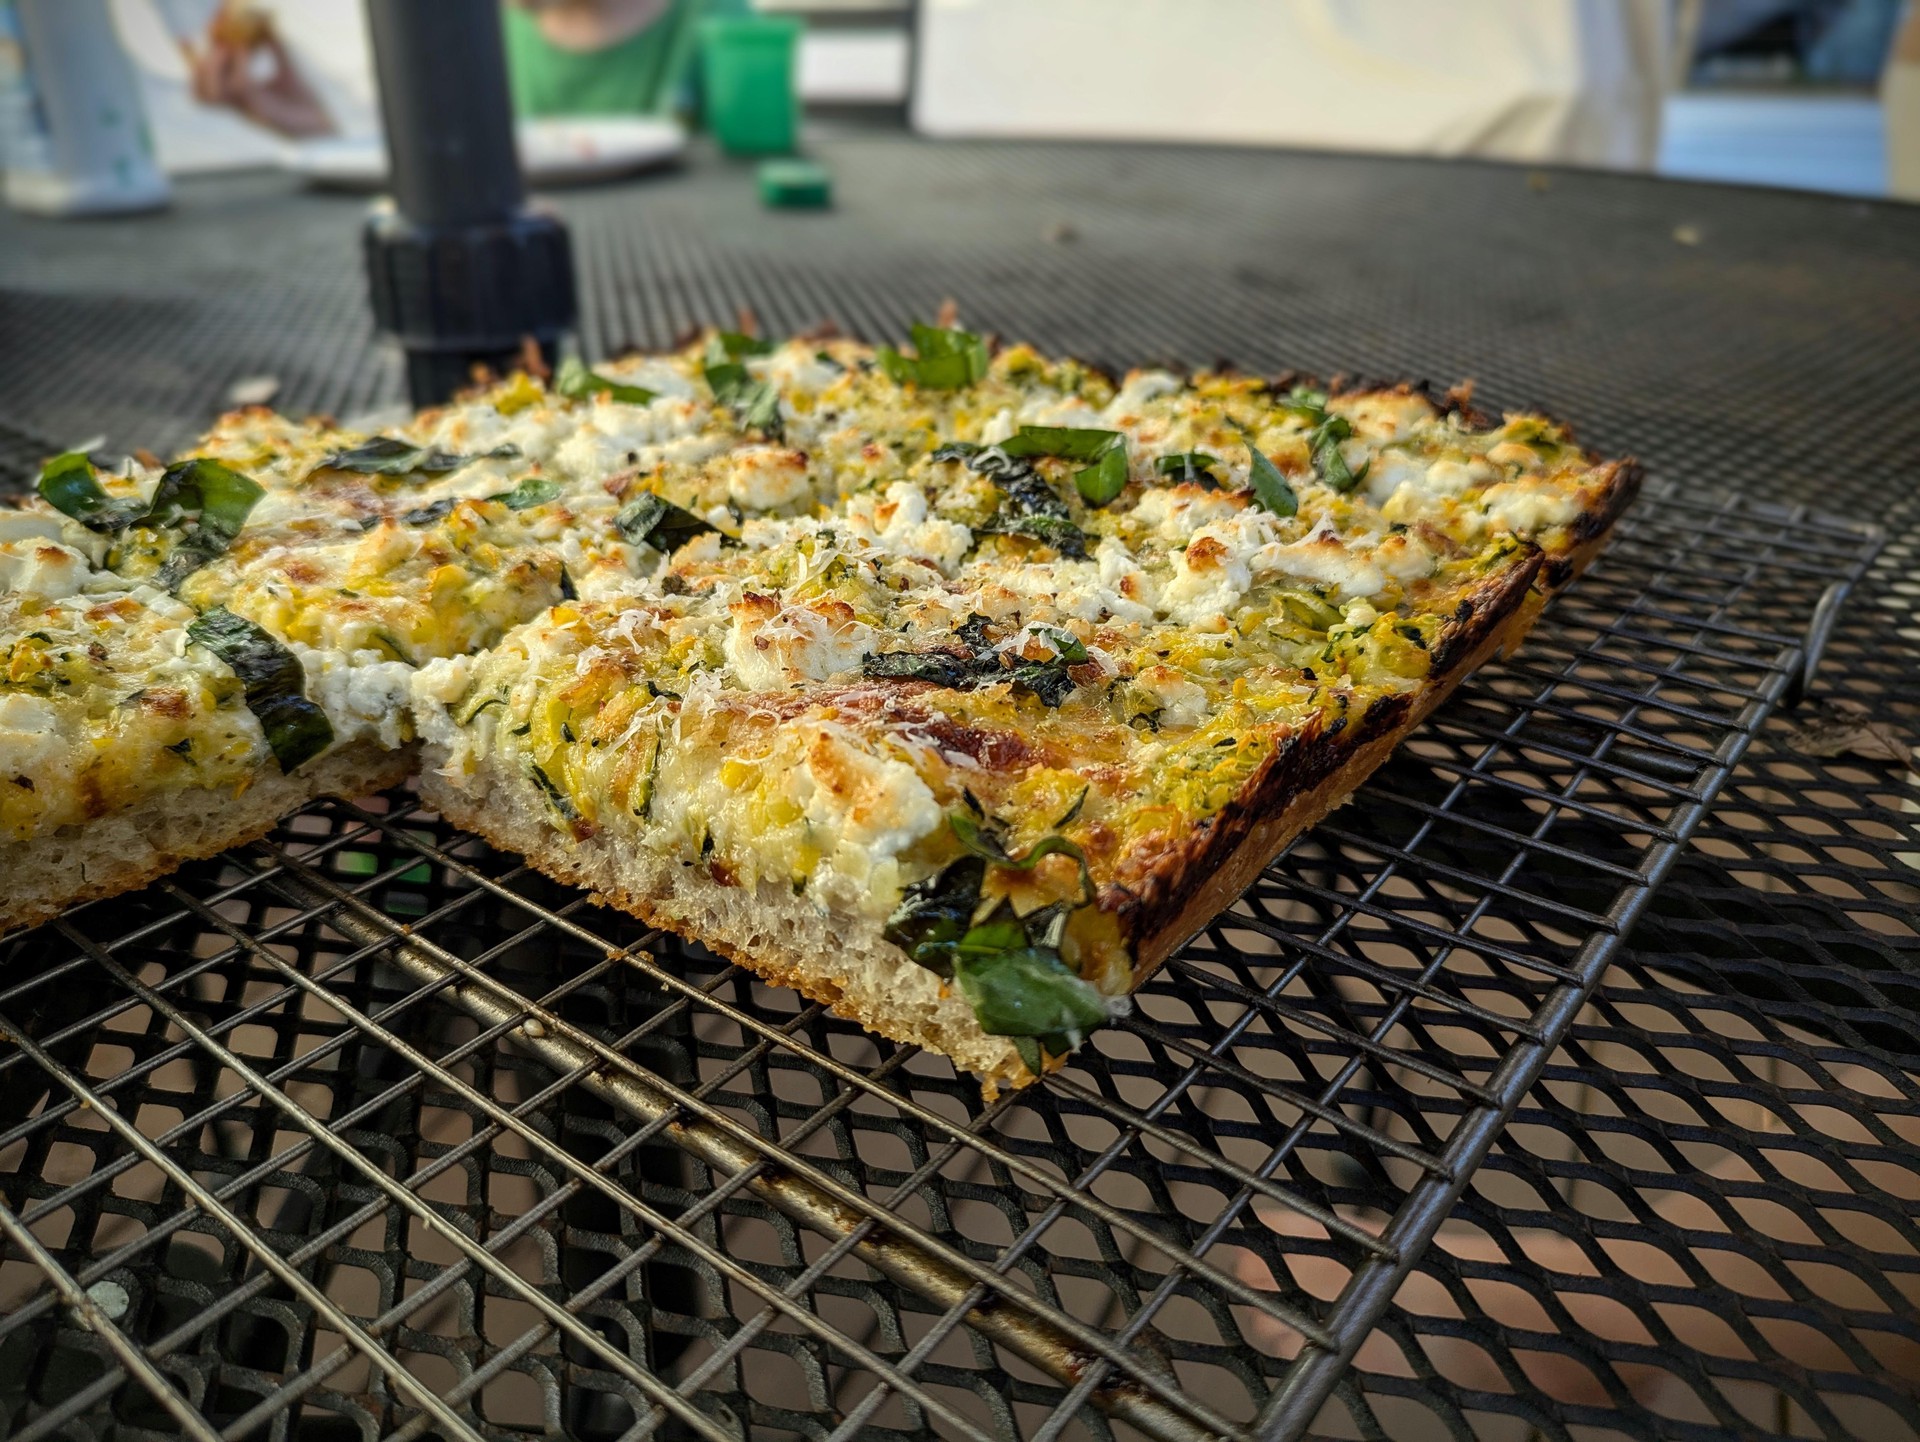
Summer Squash + Goat Cheese Pizza
Inspired by Smitten Kitchen’s Summer Squash Pizza, but with parbaked dough and added goat cheese.
Follow baking steps and tips in Double-Sauce Pepperoni Pizza
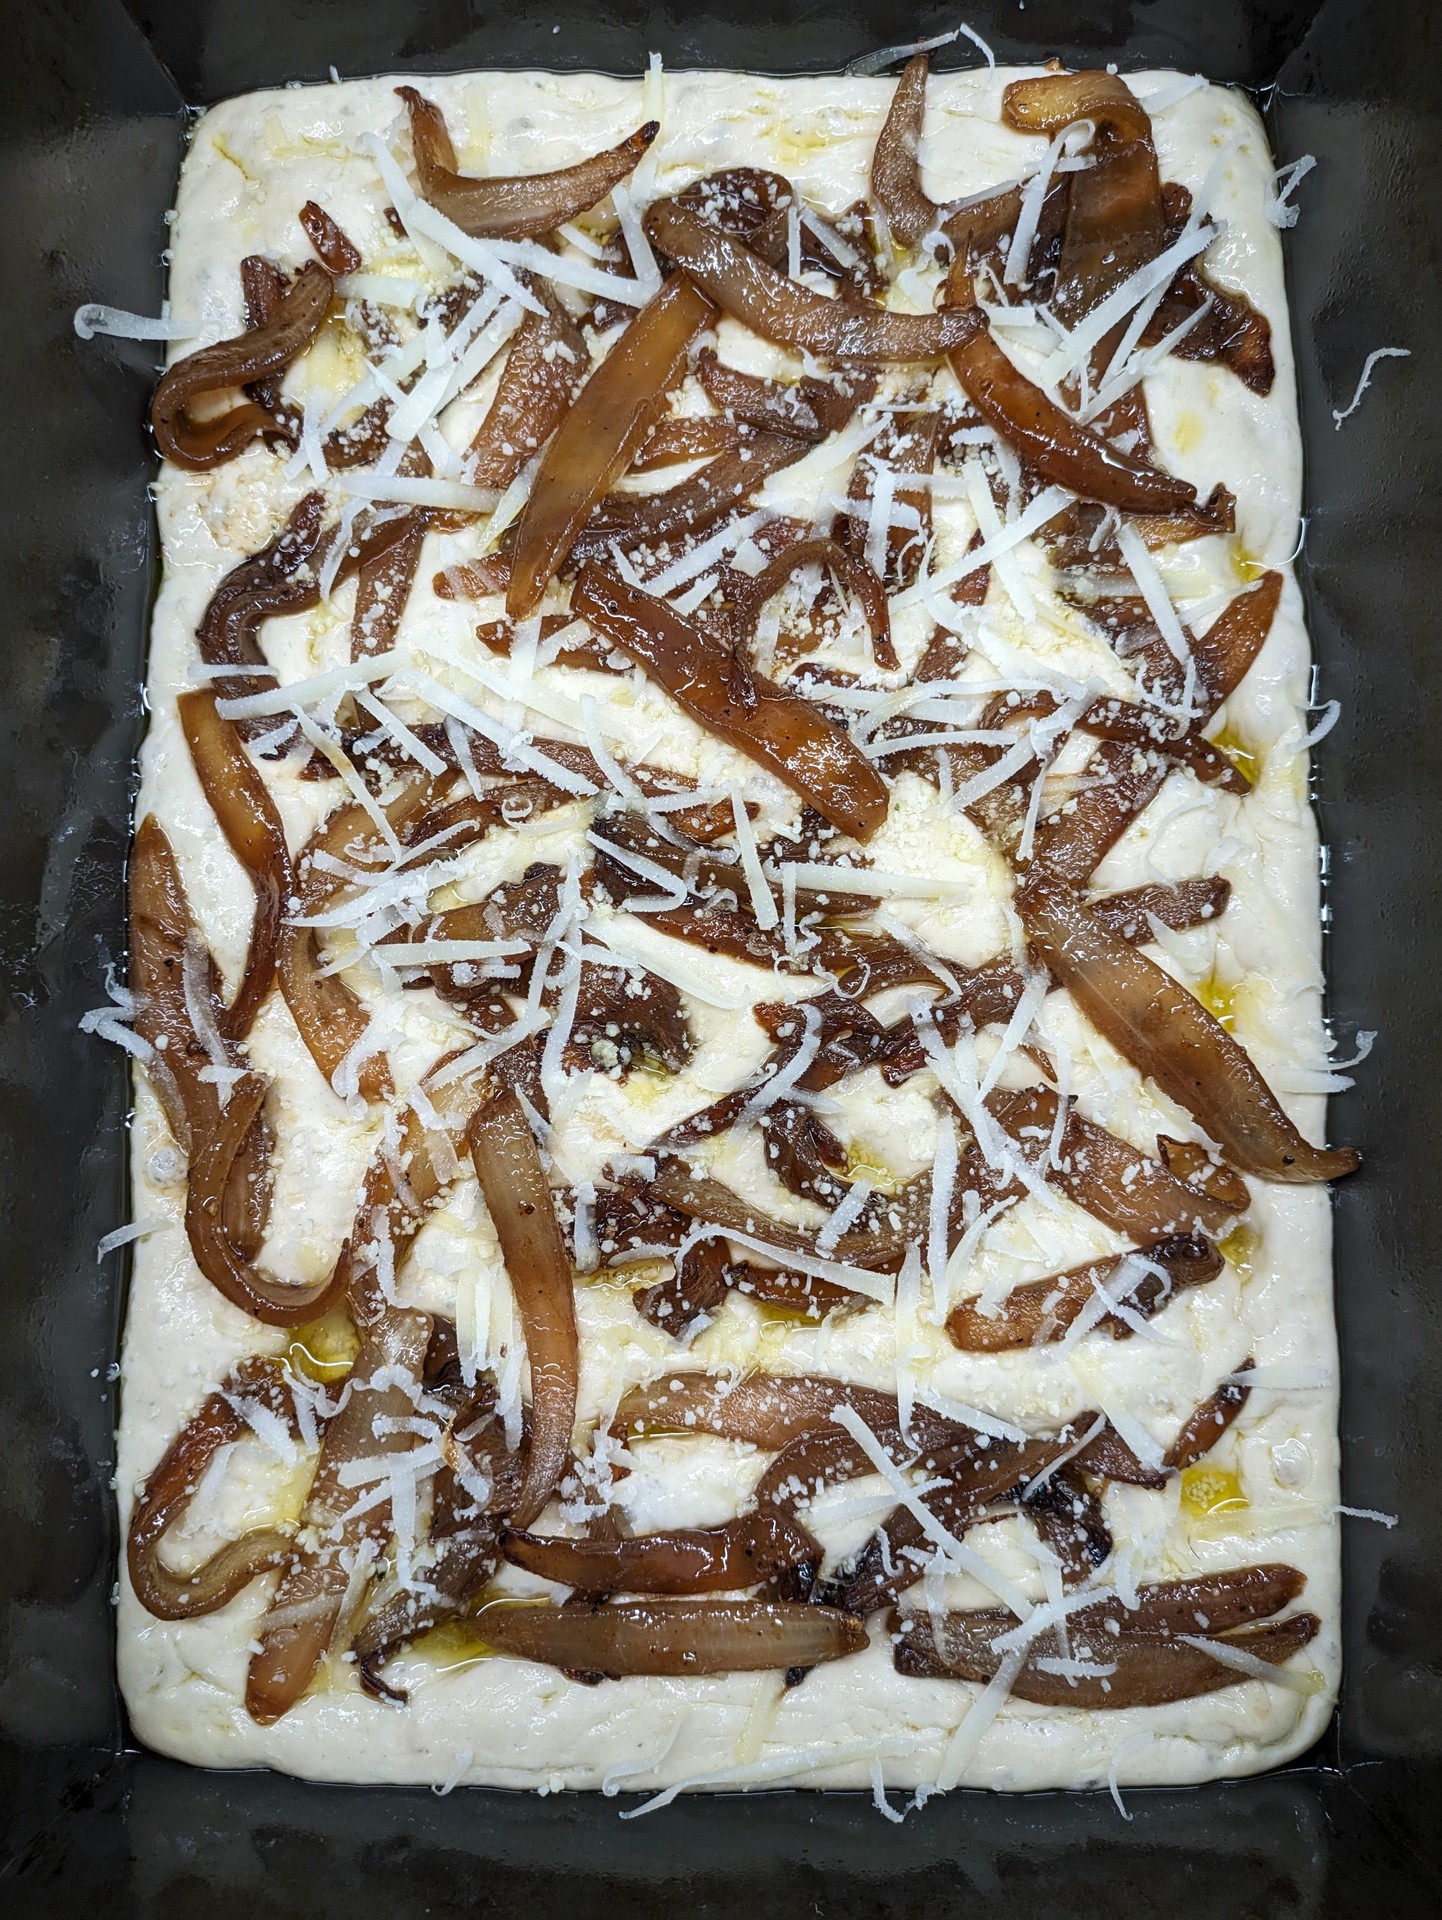
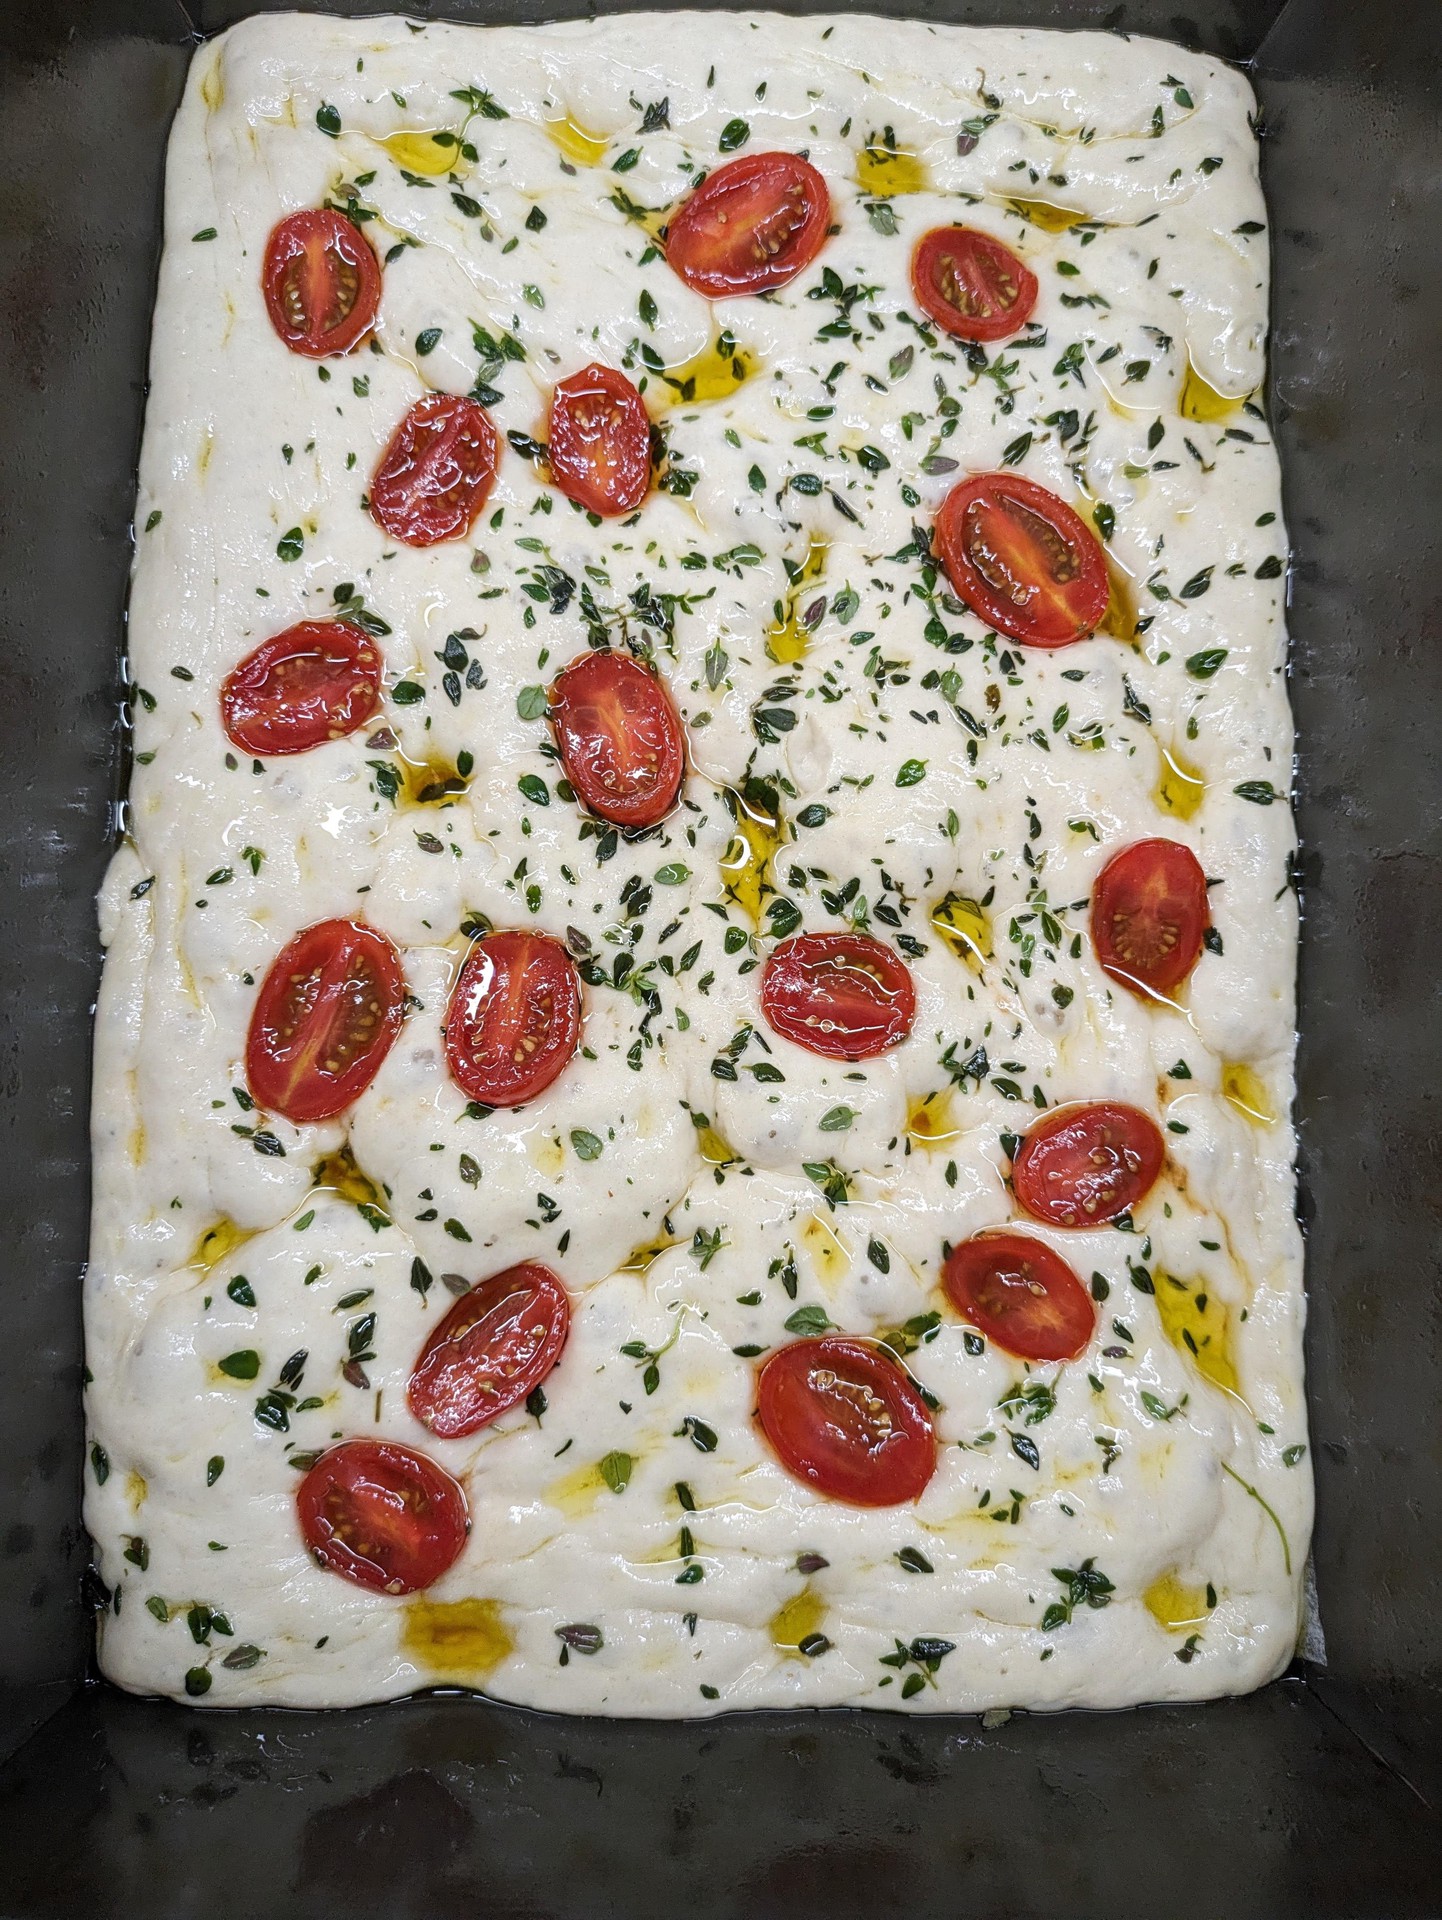
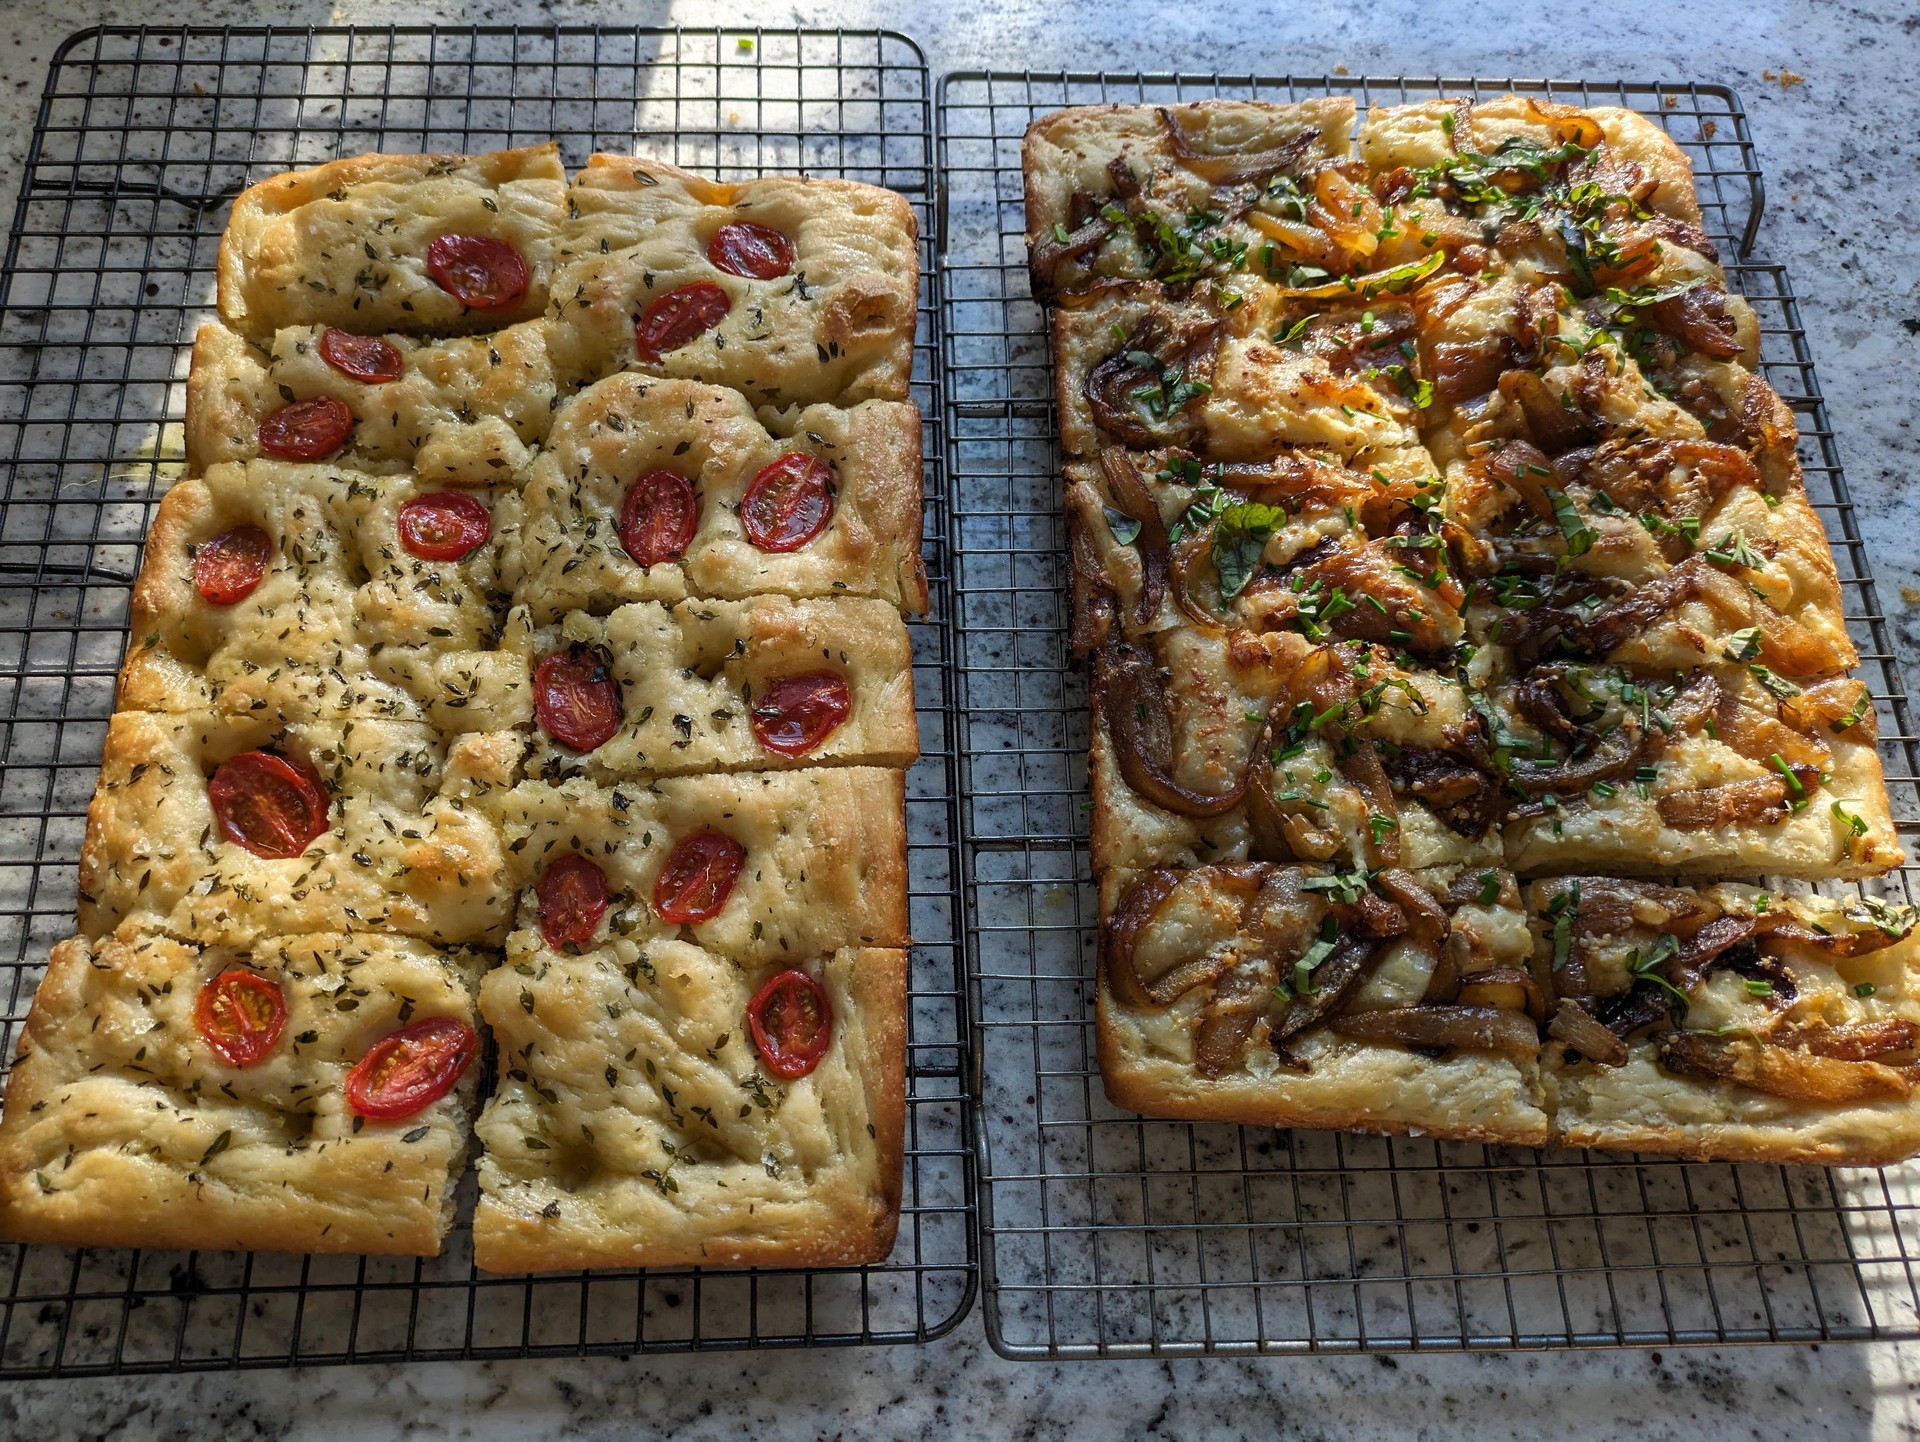
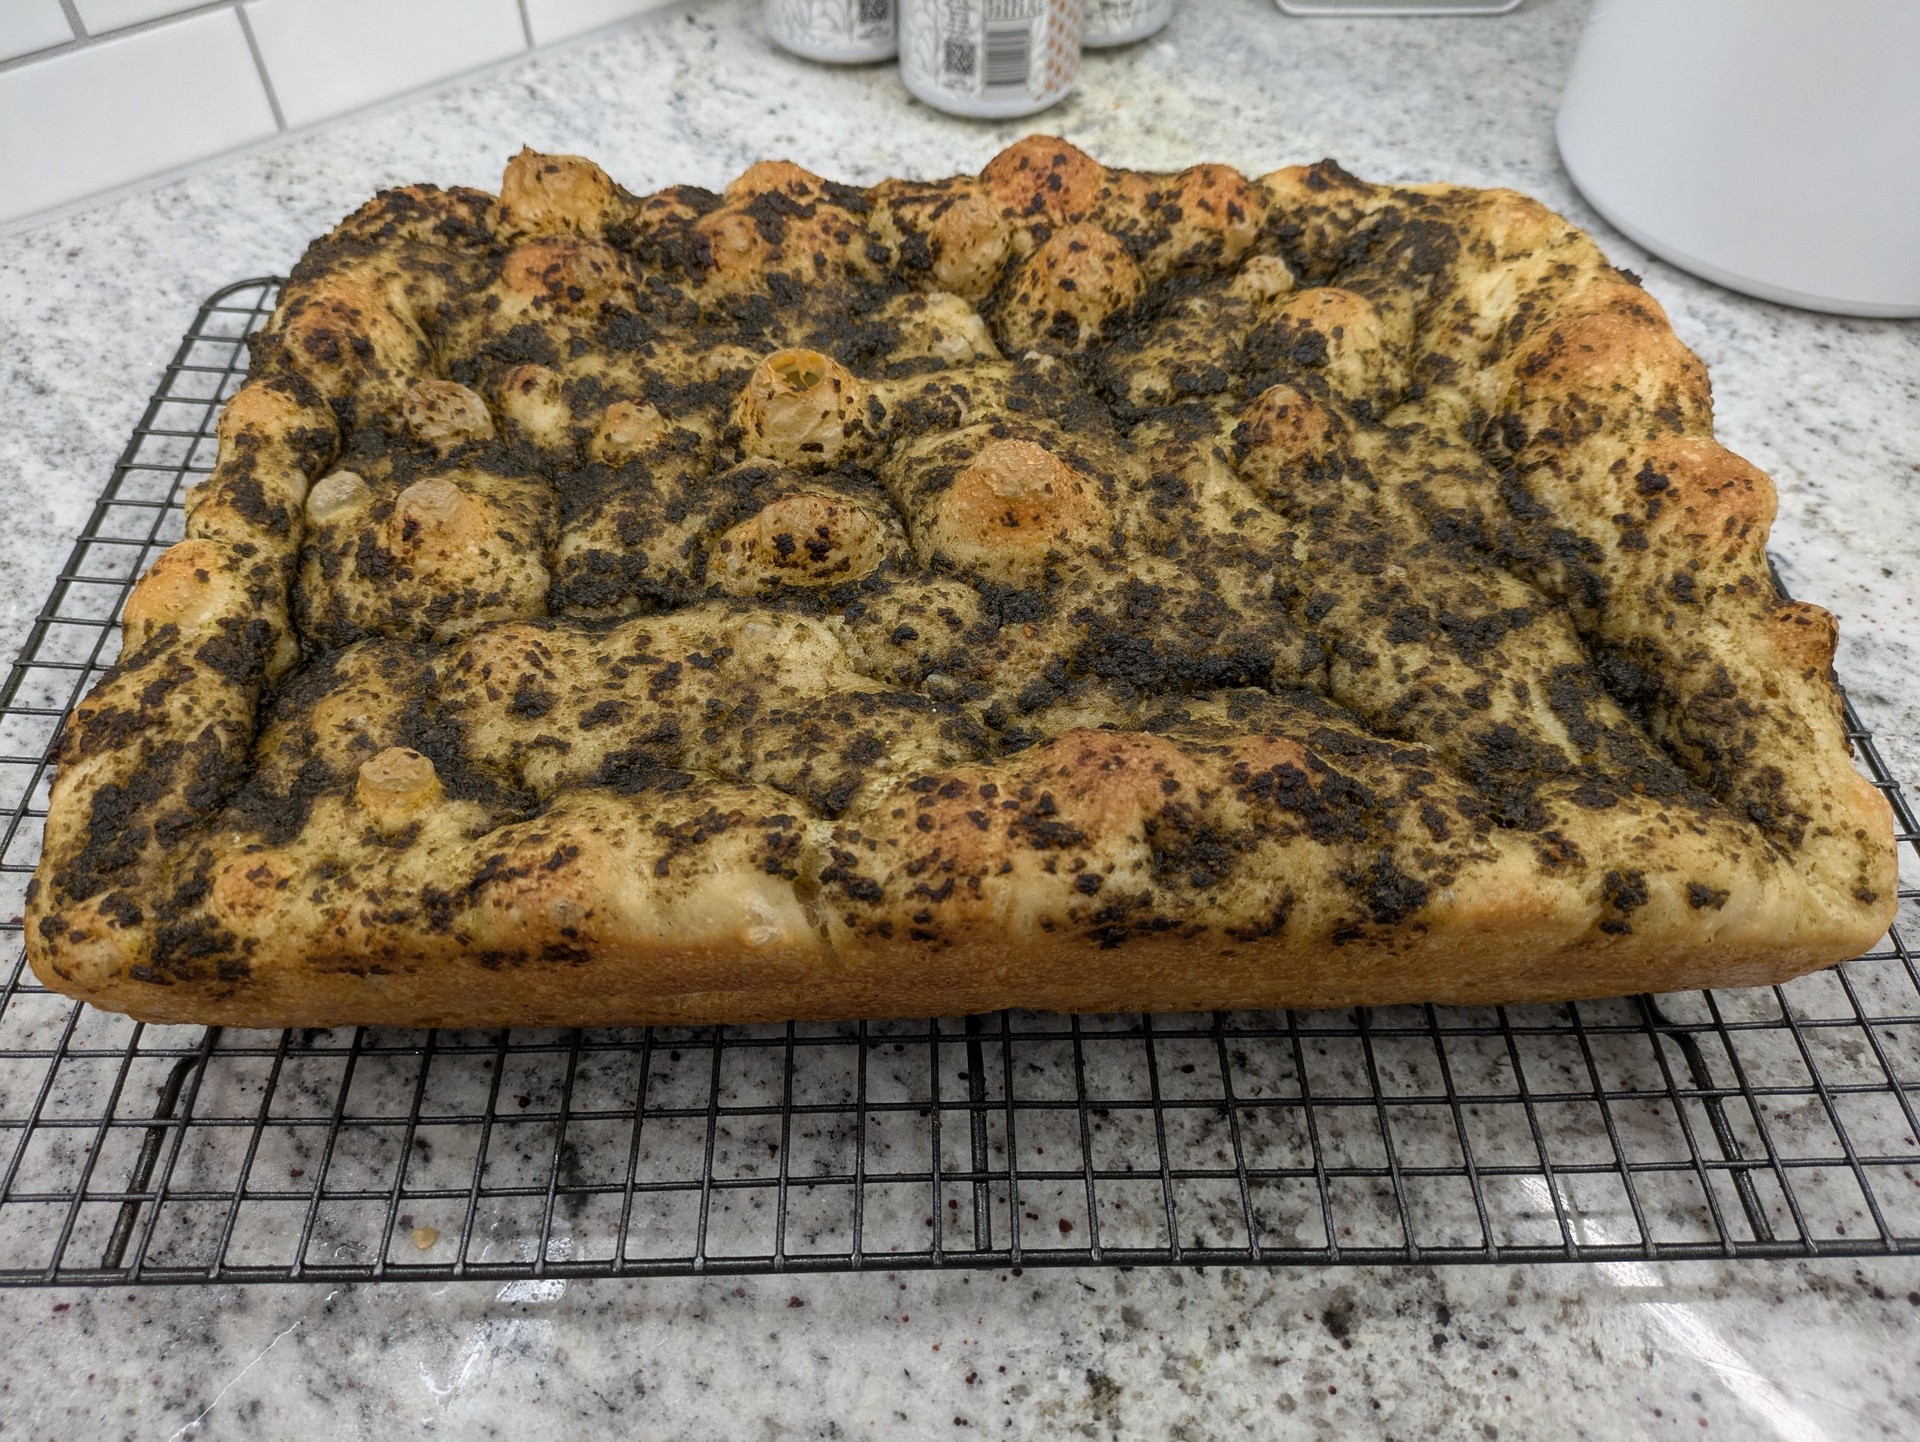
Focaccia
If the ingredients are safe at room temperature during the rise, add them earlier in the rise for a nice effect. They tend to slightly sink into the dough, effectively dimpling it for you.
Baking steps are similar to the pizzas, but without the parbake. The bake time will be shorter, around 12-15 minutes at 450°F. Look for a golden-brown top and then remove to peek at the bottom. If the top is done before the bottom, cover with foil and bake for a couple more minutes. Moving to a lower oven rack directs more heat to the bottom as well.

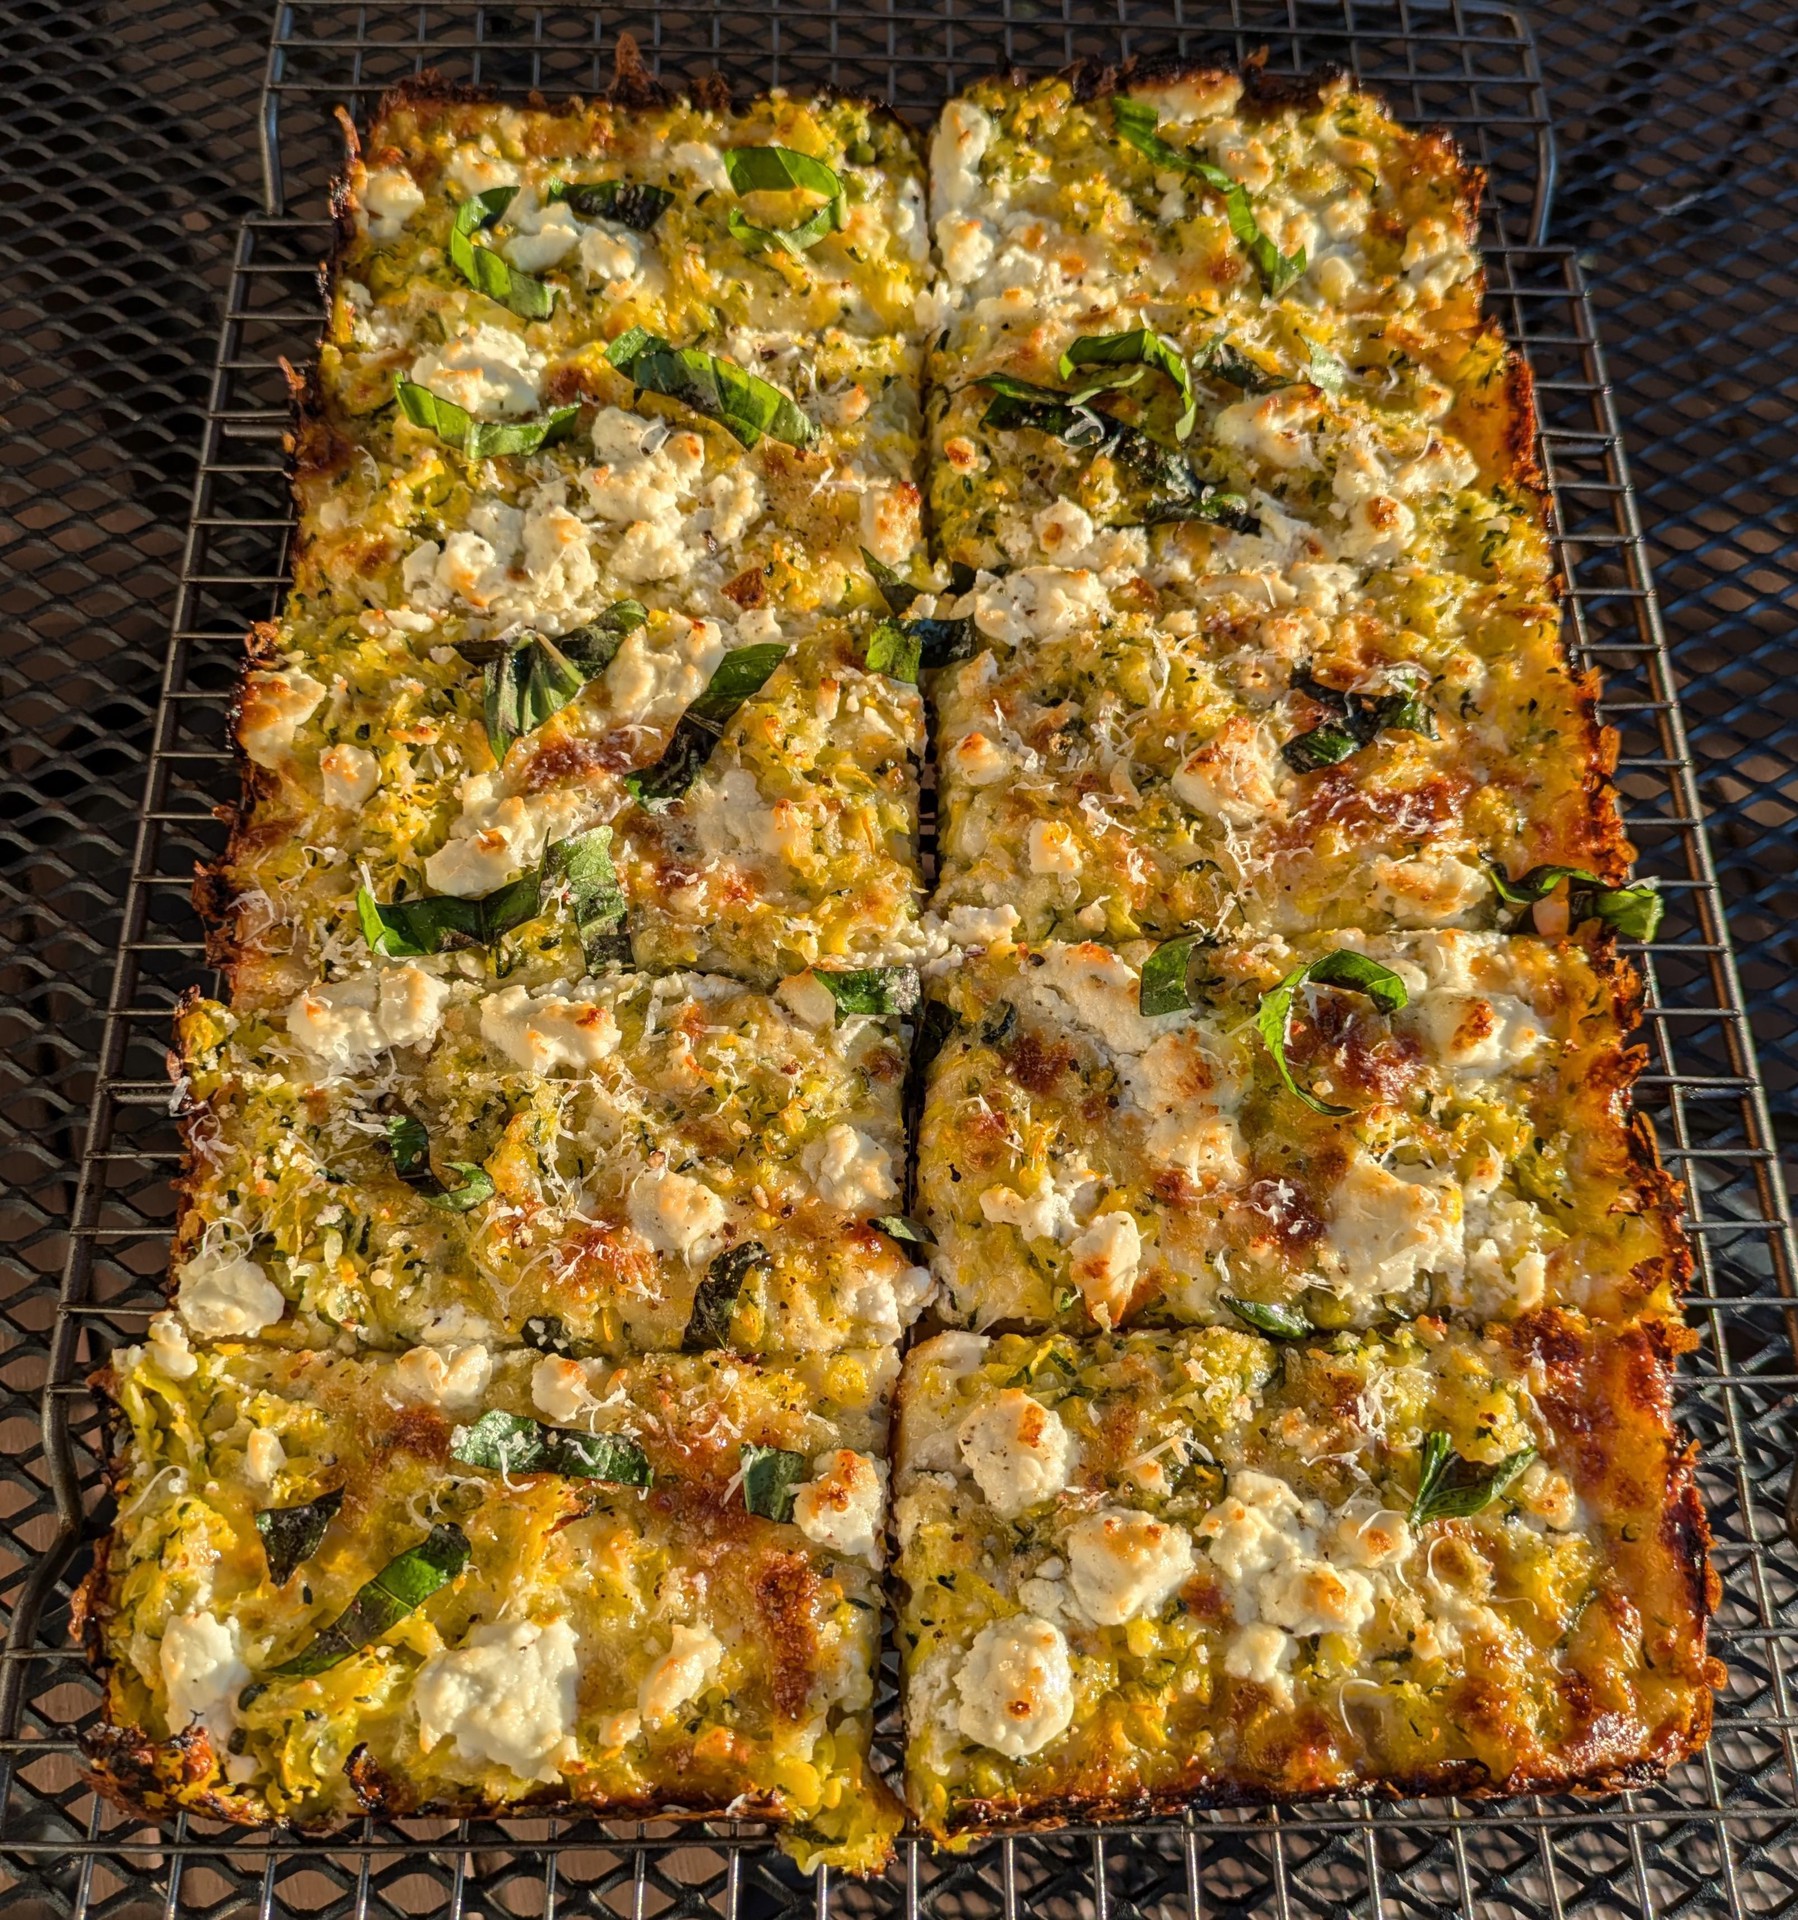
Slicing
To Serve
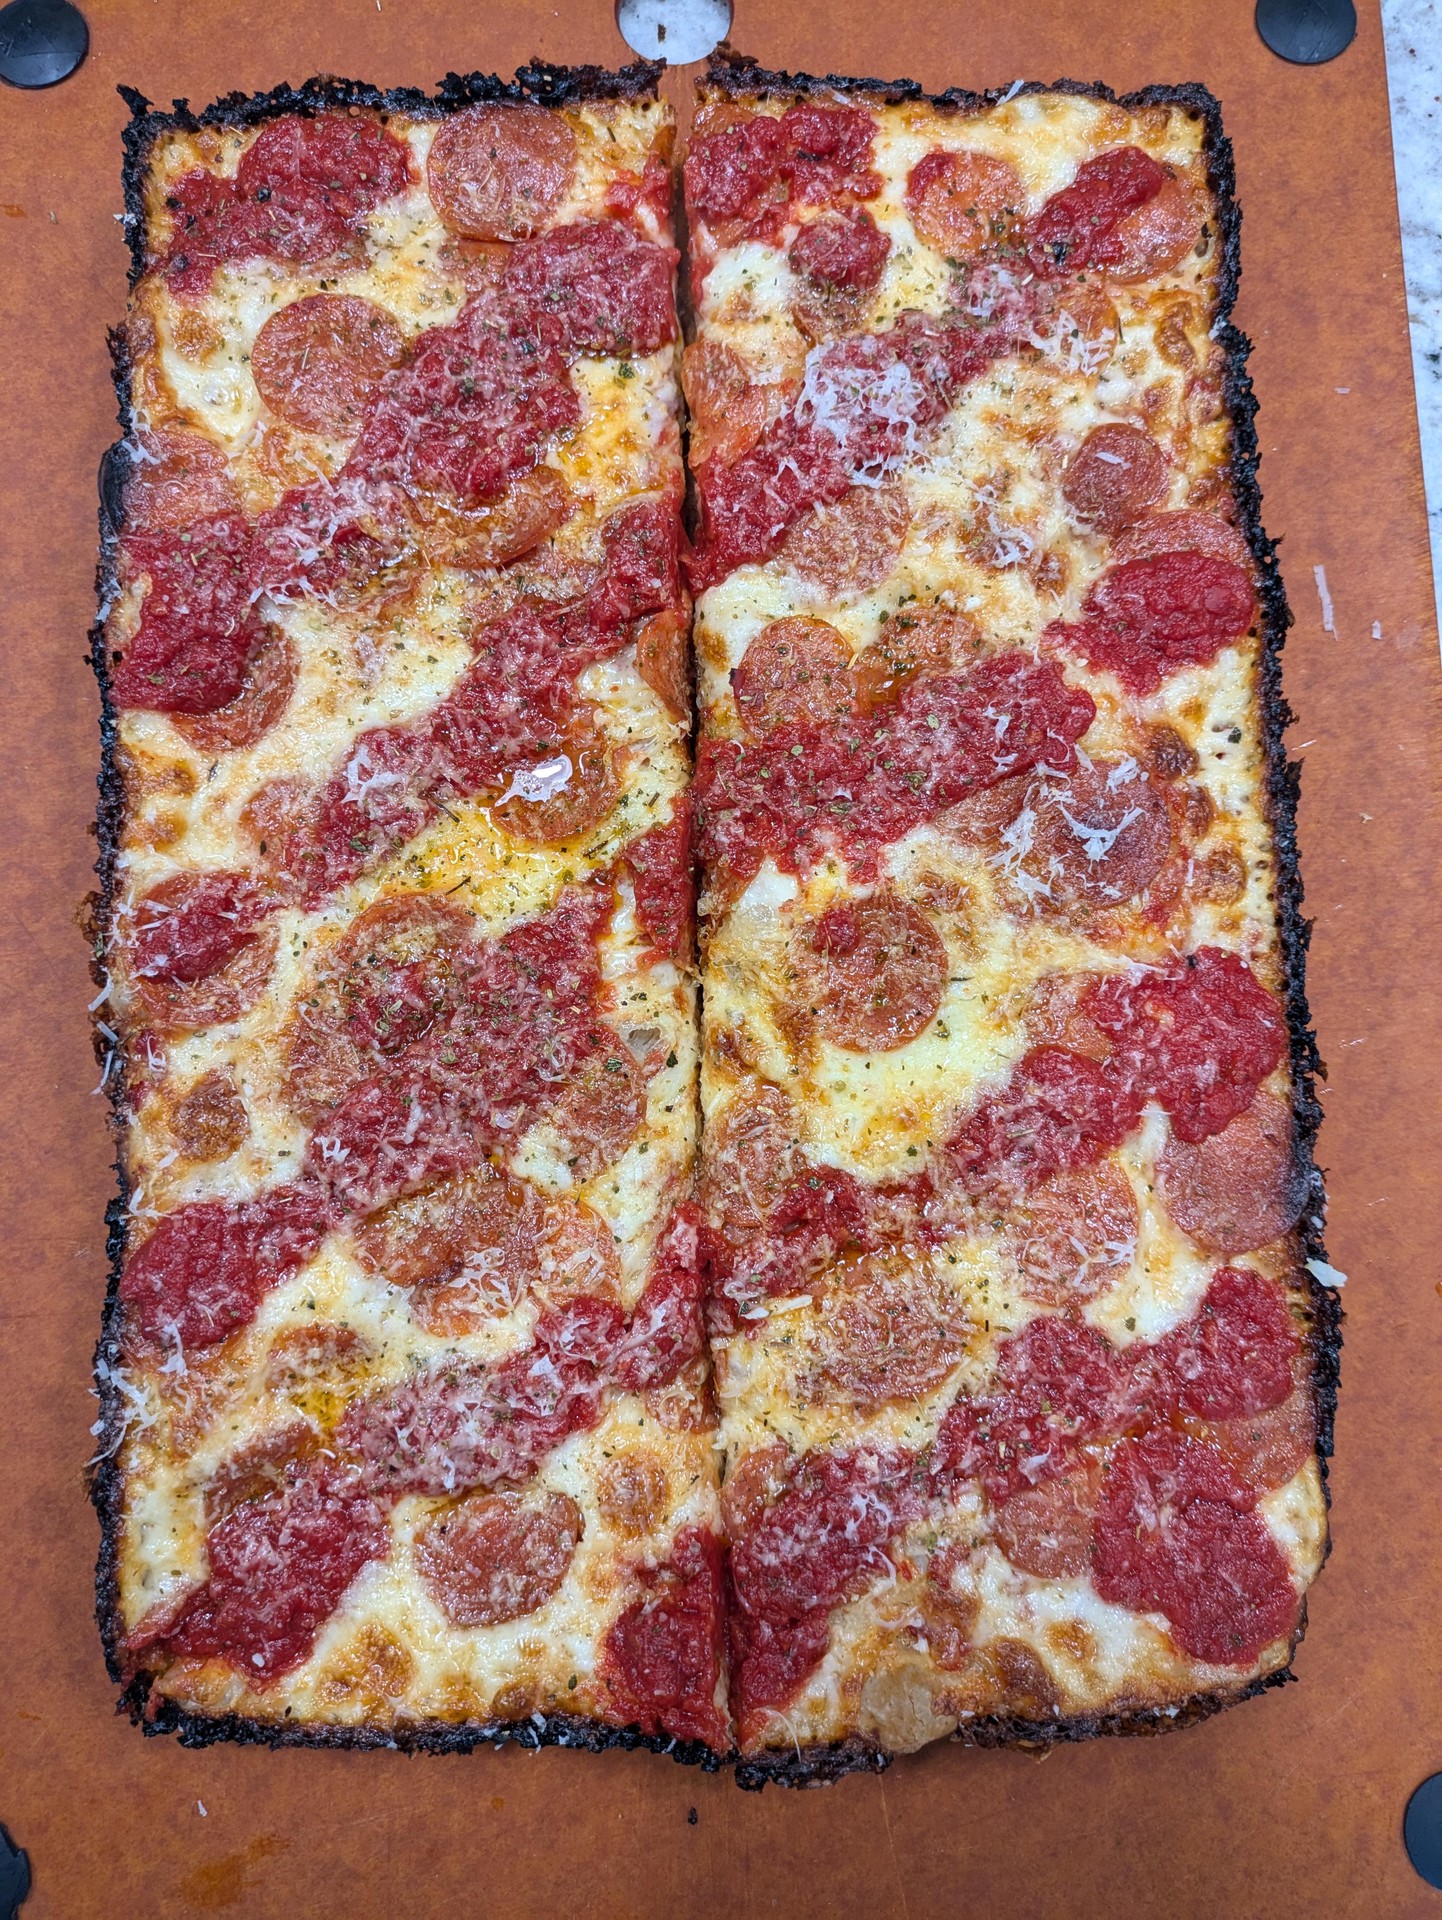
Move pizza to cutting board. With shorter side nearest you, use pizza wheel to cut in half, away from you. Line up the pizza wheel and do a chopping motion to break through the crust and down to the cutting board, then strongly finish the cut to the far end. If you don’t hear that crunch, you should’ve baked a few more minutes.
Rotate cutting board 90°, and use the same chopping + bottom-out + strong wheel to cut into 1"-2" wide slices. Widths don’t need to be exact; the variance is a plus for the guests.
With the warming rack nearby, scoot the pizza back onto the warming rack, so that the bottom stays crisp. Lift the cutting board and angle it down over the warming rack. Use the other forearm to line up with the crust, and gently scoot downhill onto the middle of the warming rack.
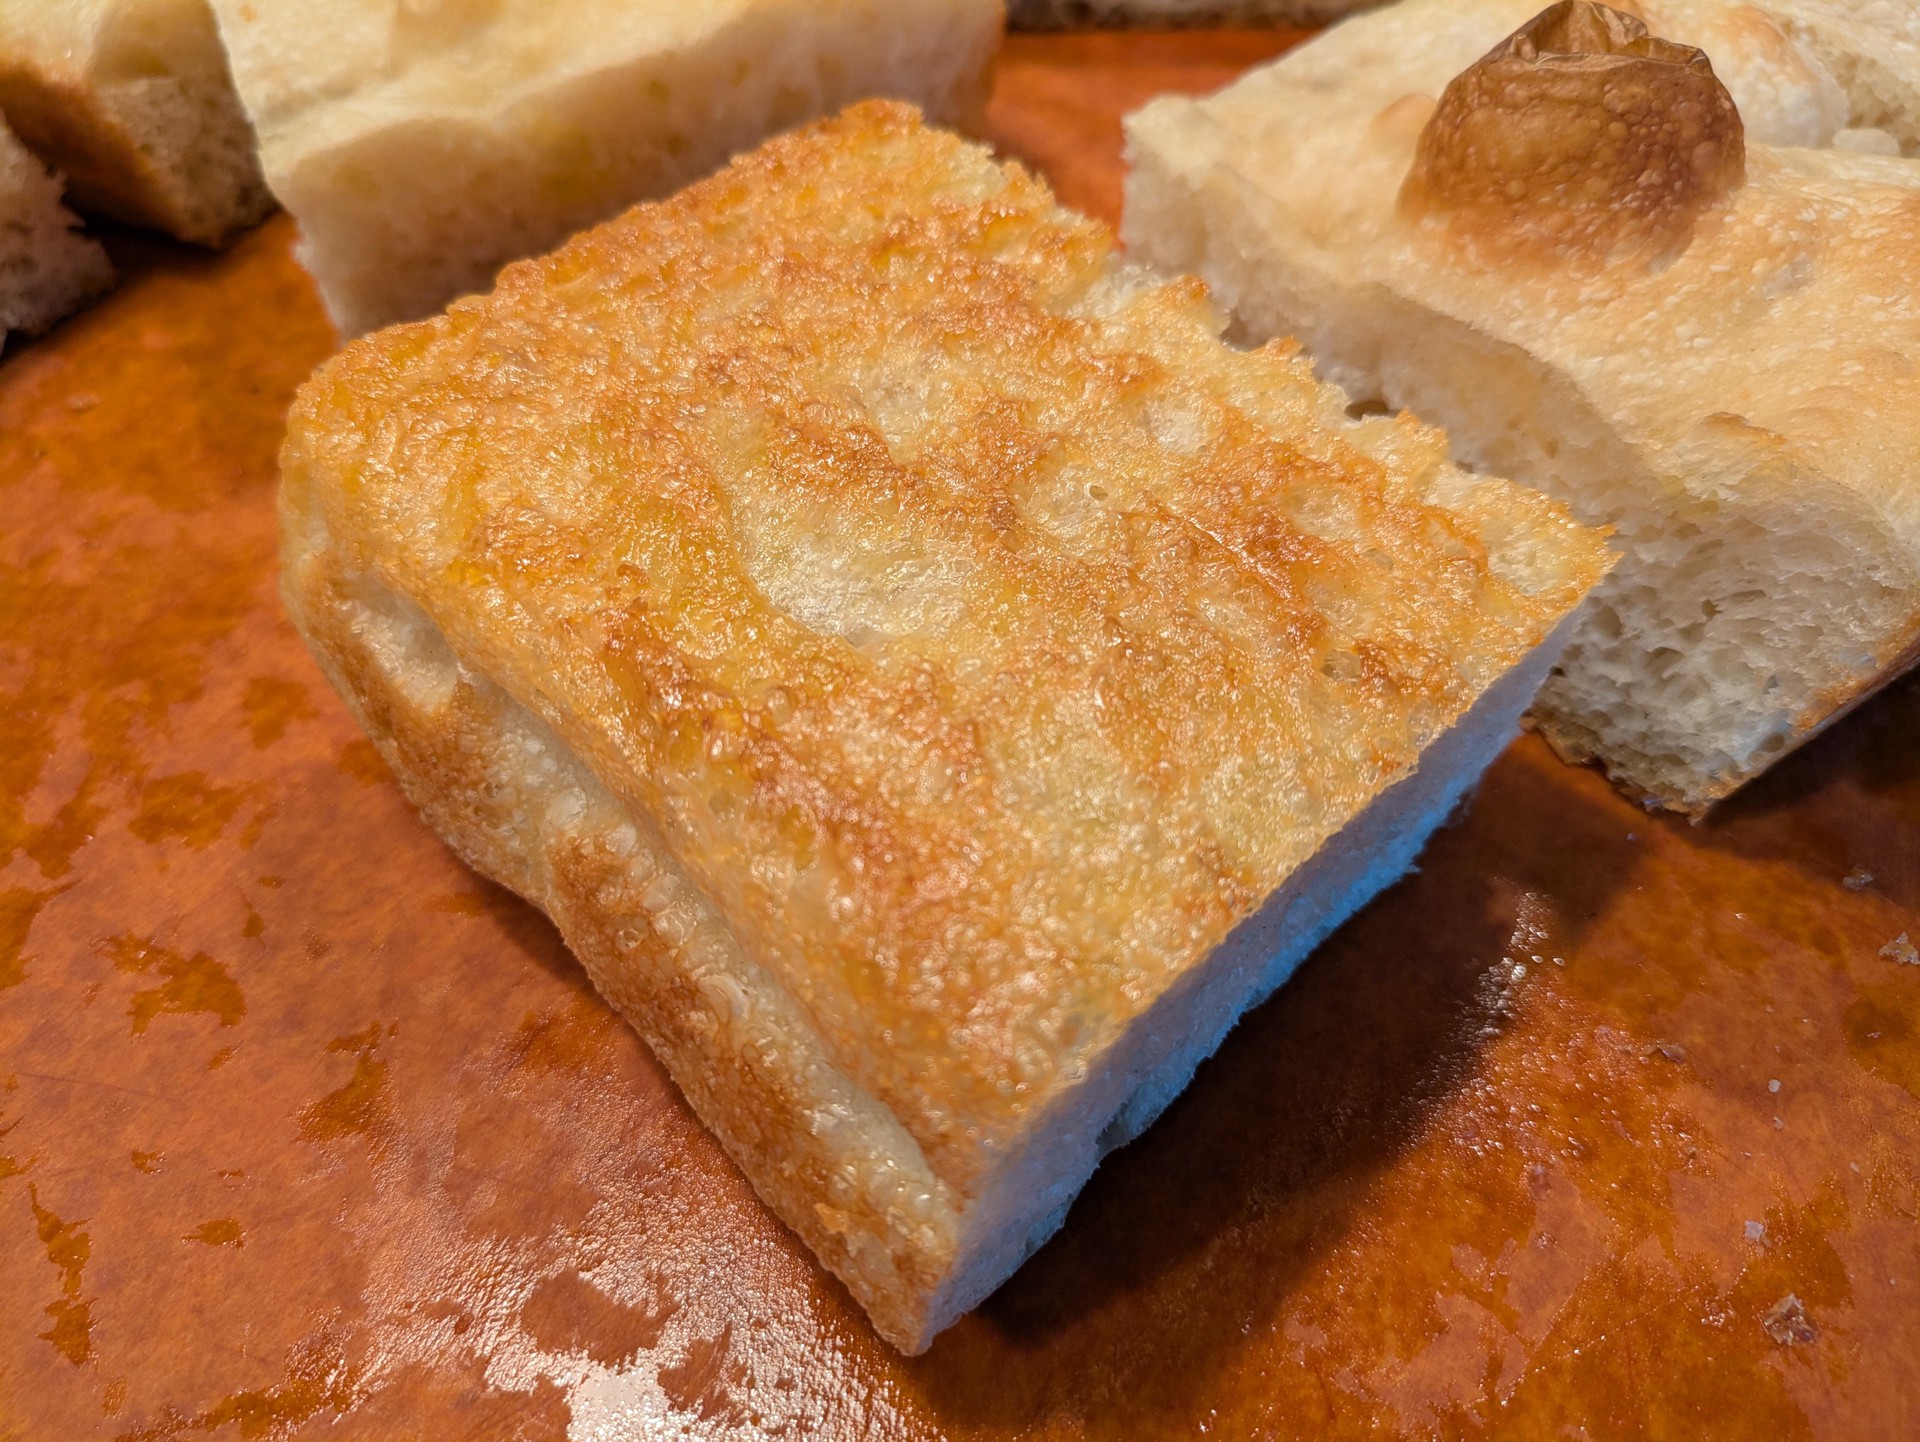
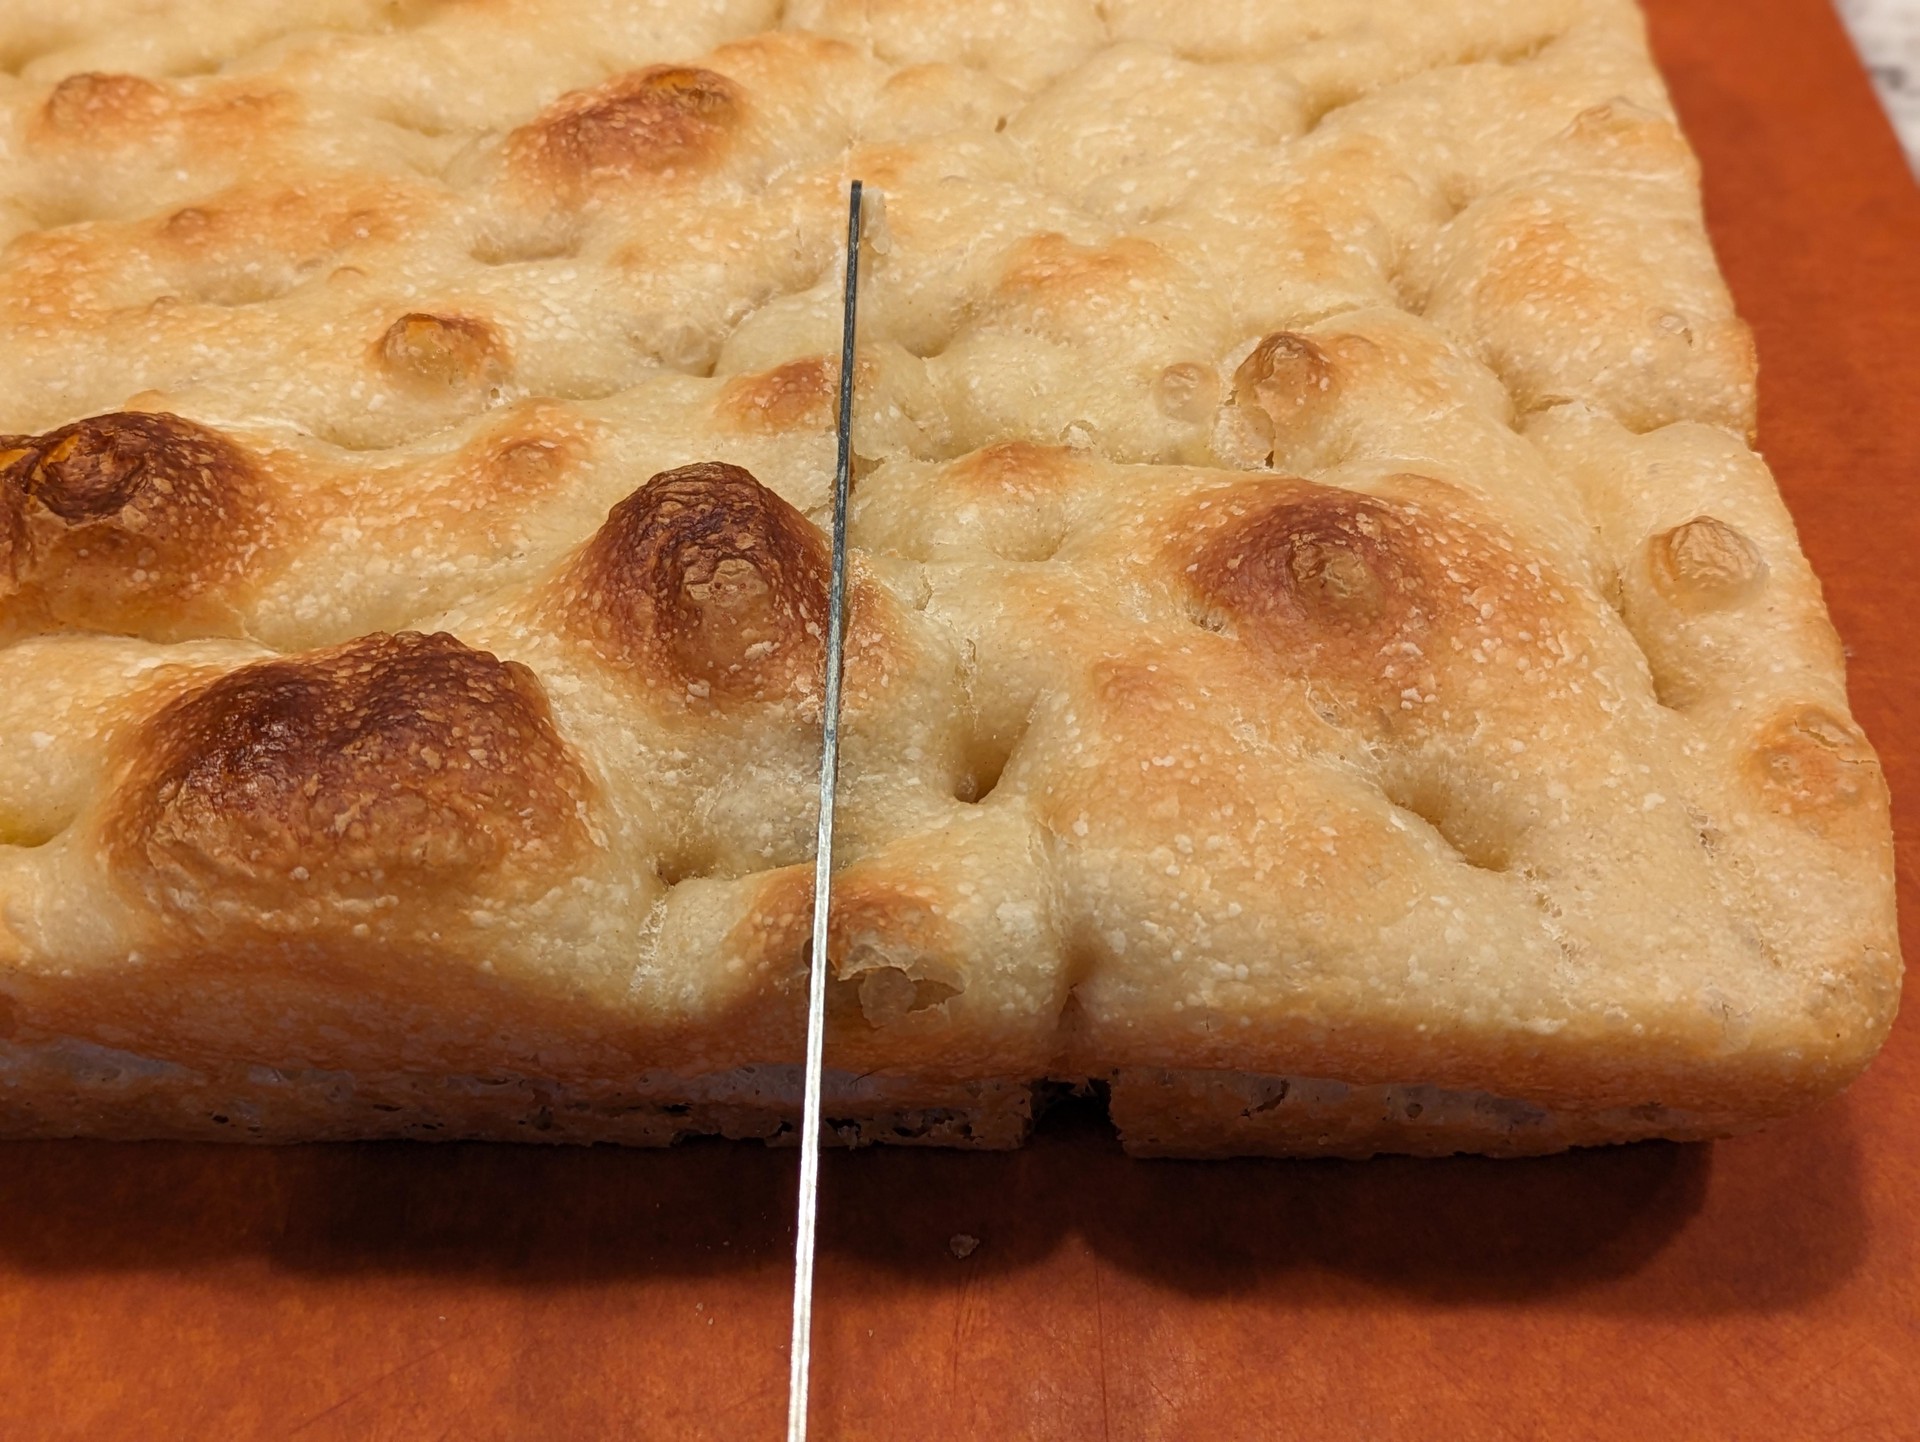
For Focaccia Sandwiches
With a fine-tooth knife (ideal) or any serrated knife, gently saw the focaccia in half the long way, and then into sandwich-sized squares or rectangles. Avoid downward pressure; this is easier with a knife than a pizza wheel or cutter.
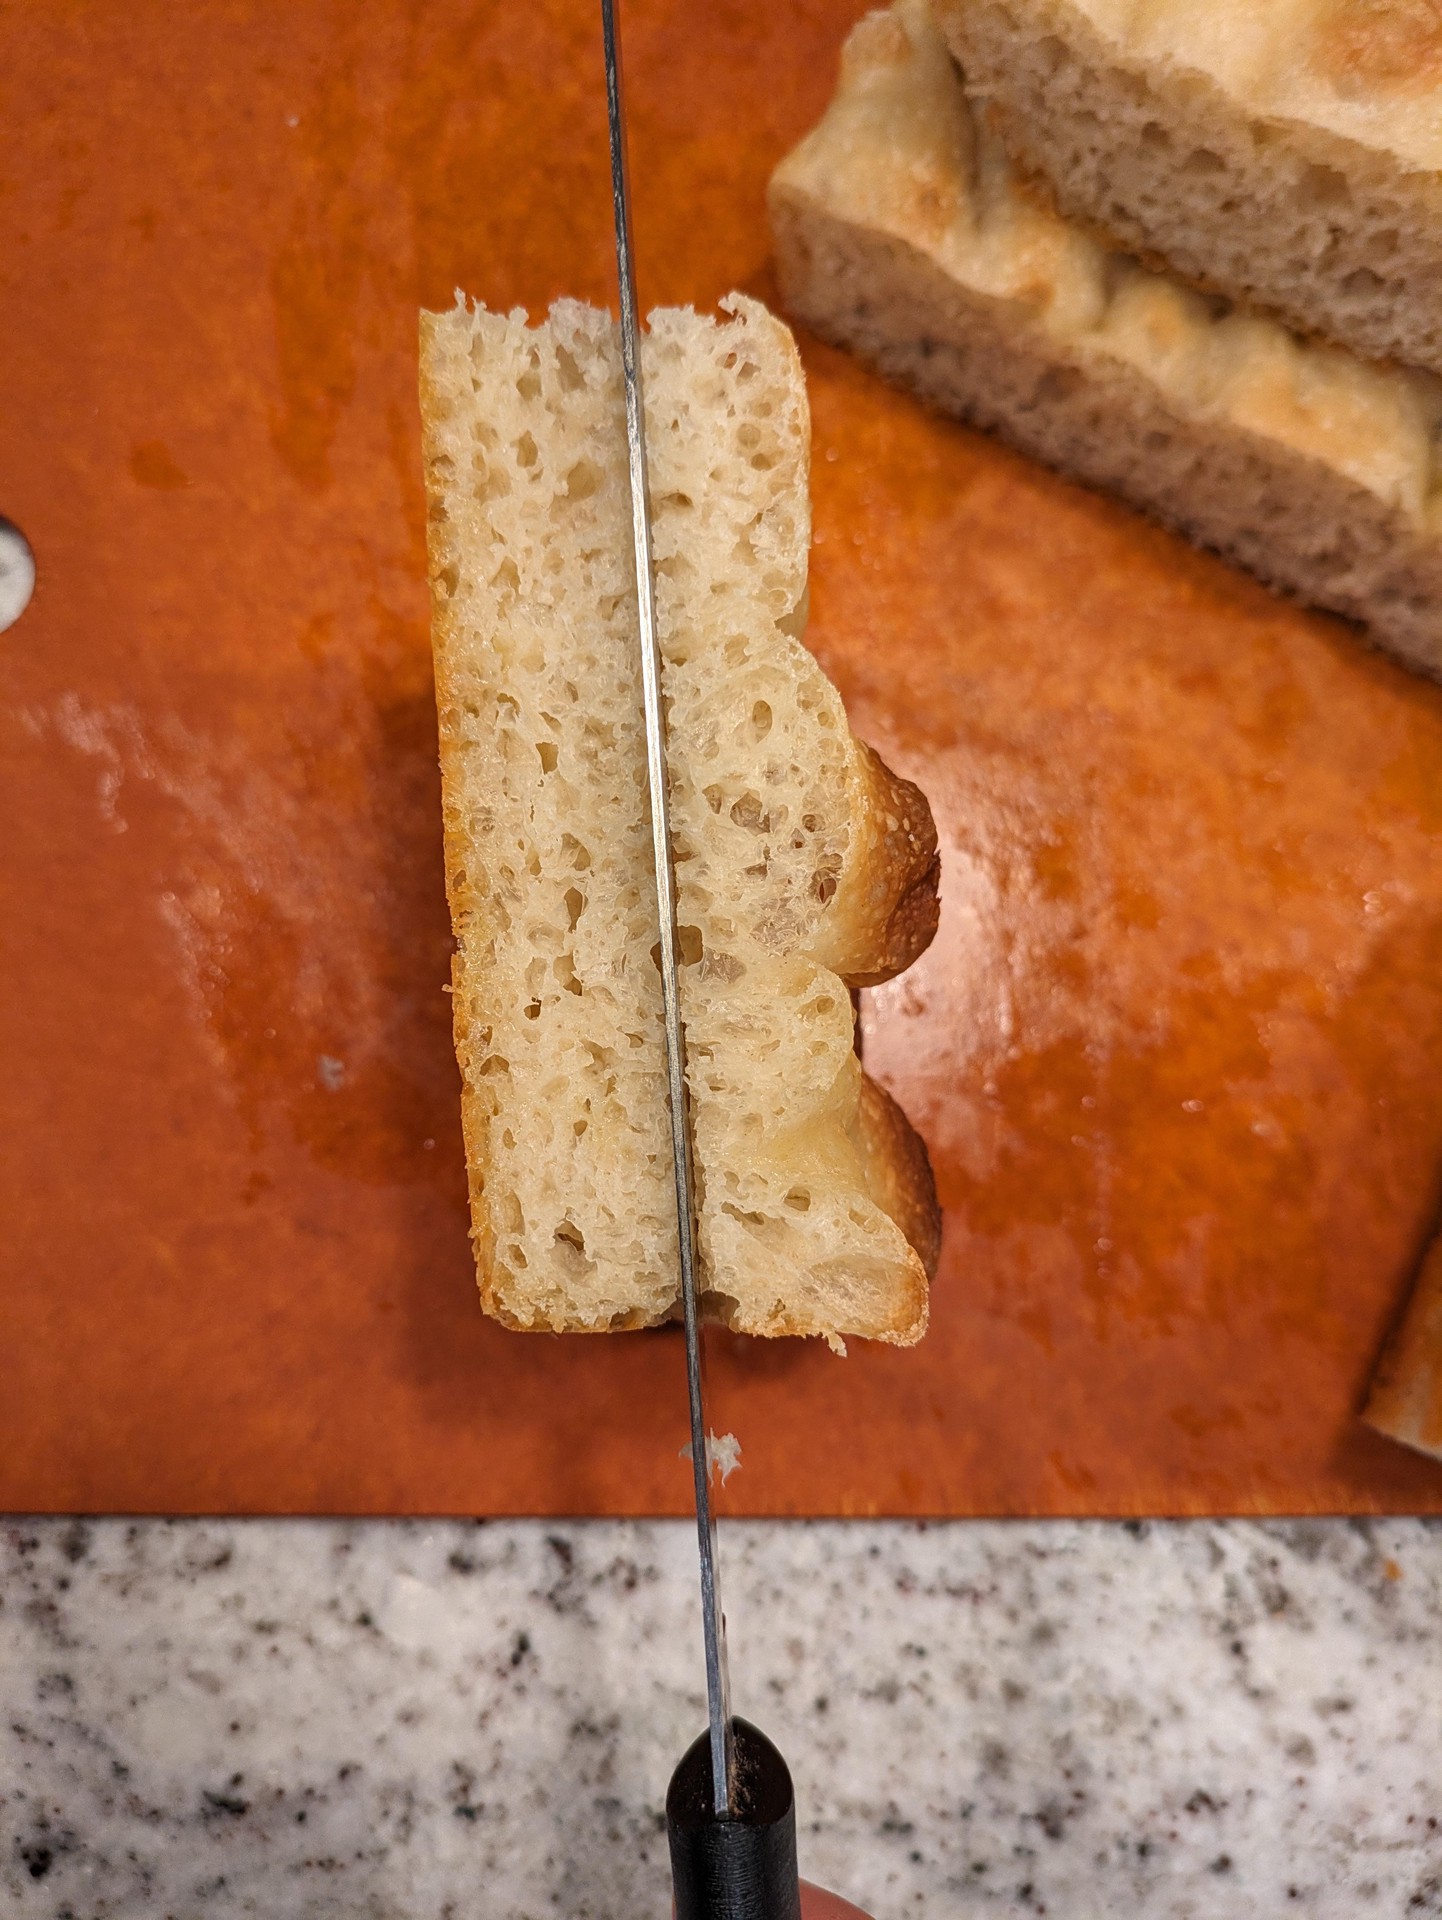
Flip each slice upright on cutting board, crust side down. Line up knife in the middle and gently saw towards the cutting board. Use your other hand to support the slice. Go slow and peek around the sides to ensure the cuts are in the middle.
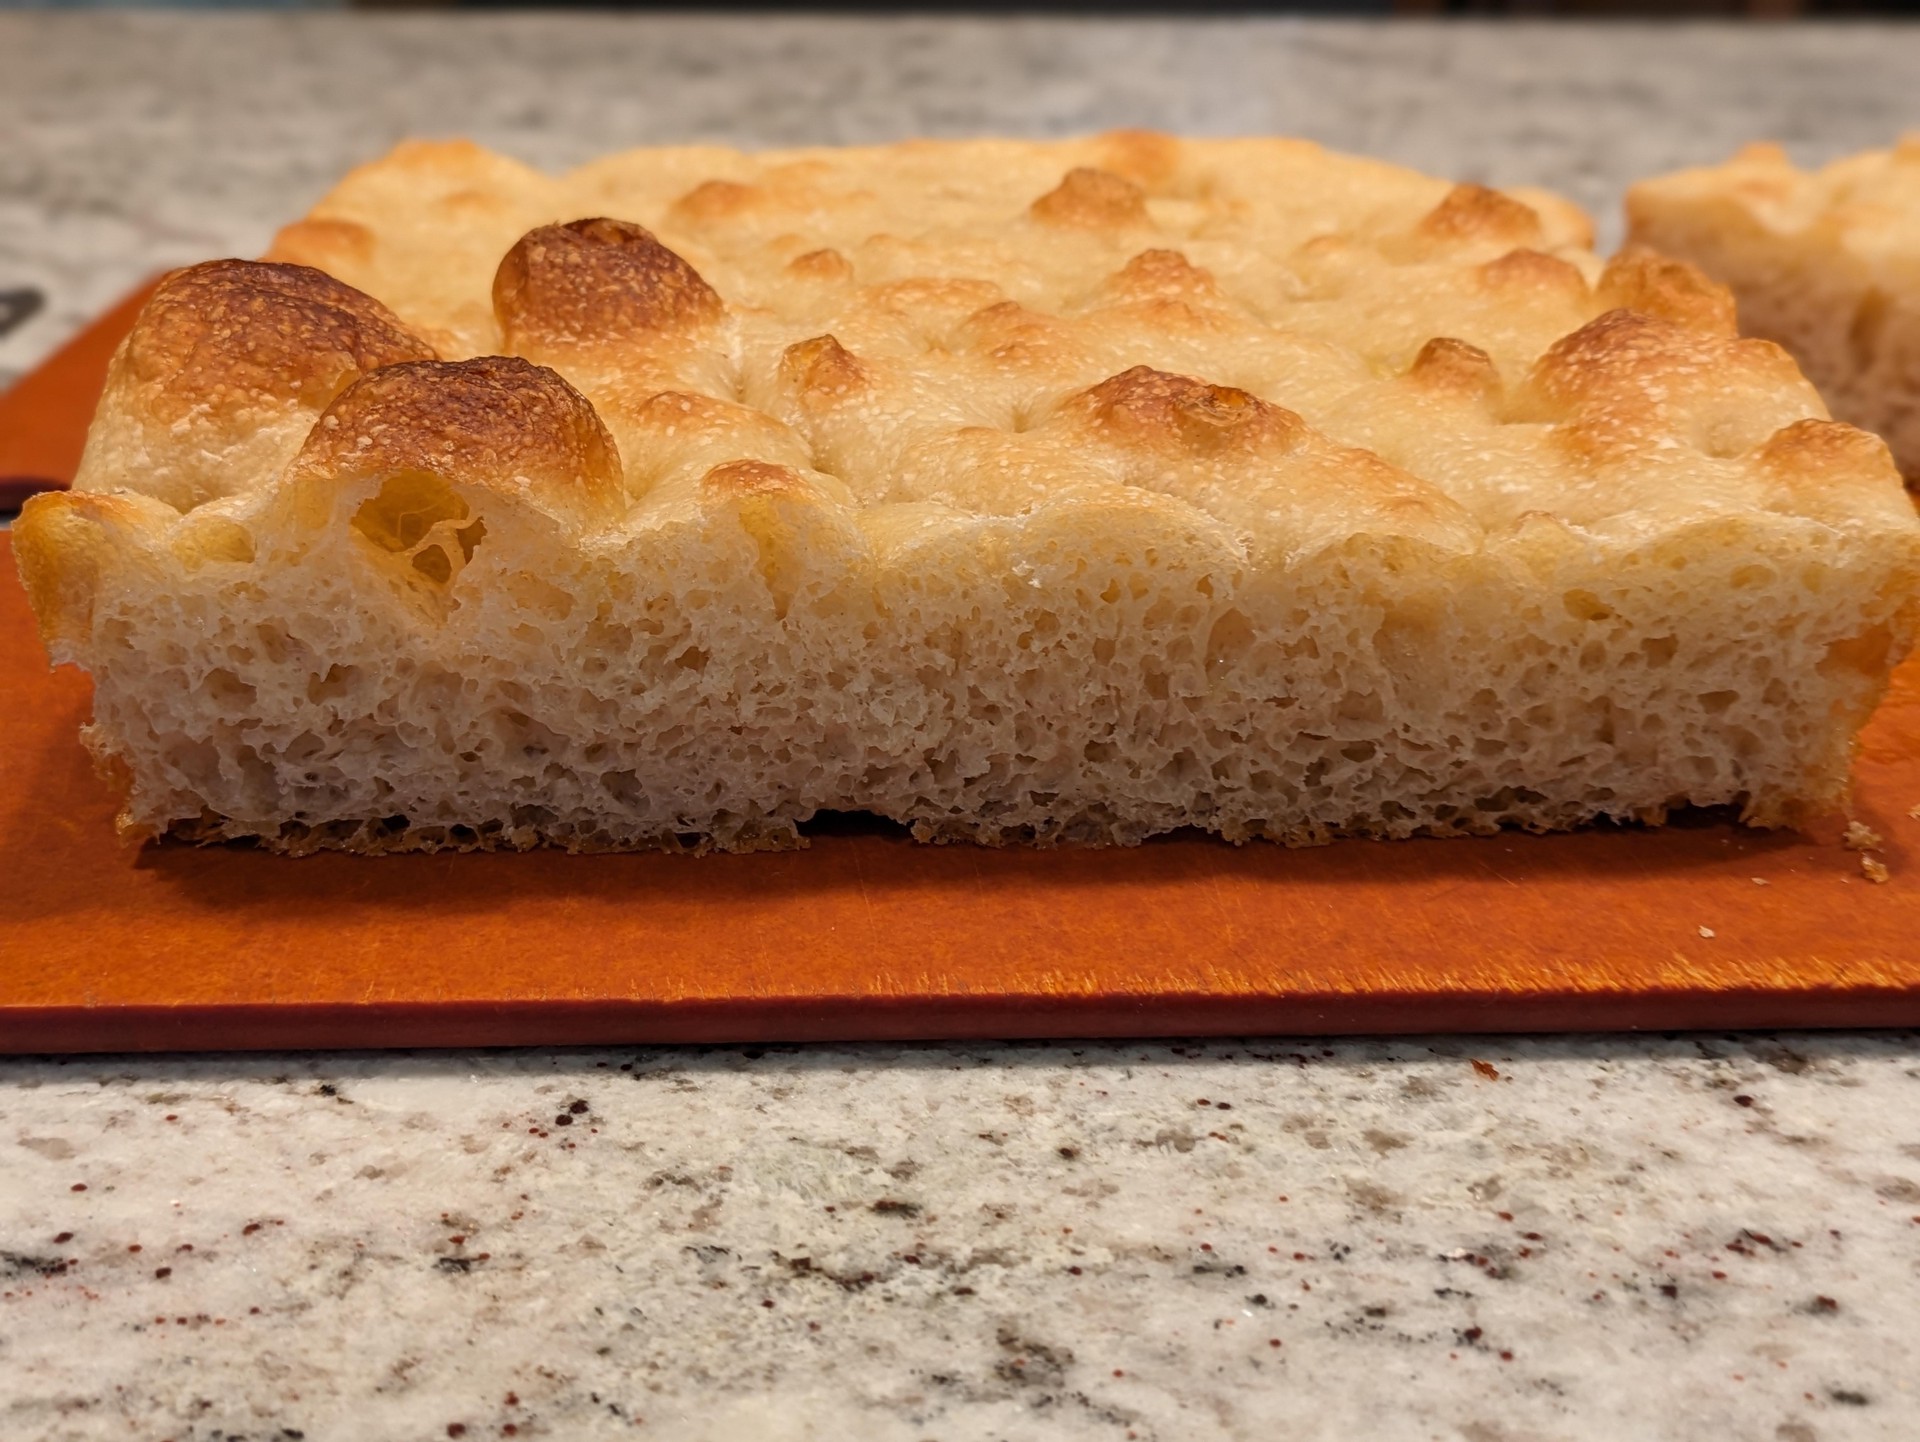
If the focaccia was really bubbly and the crumb is uneven, cut the slices more towards the bottom, so that the top piece retains structure

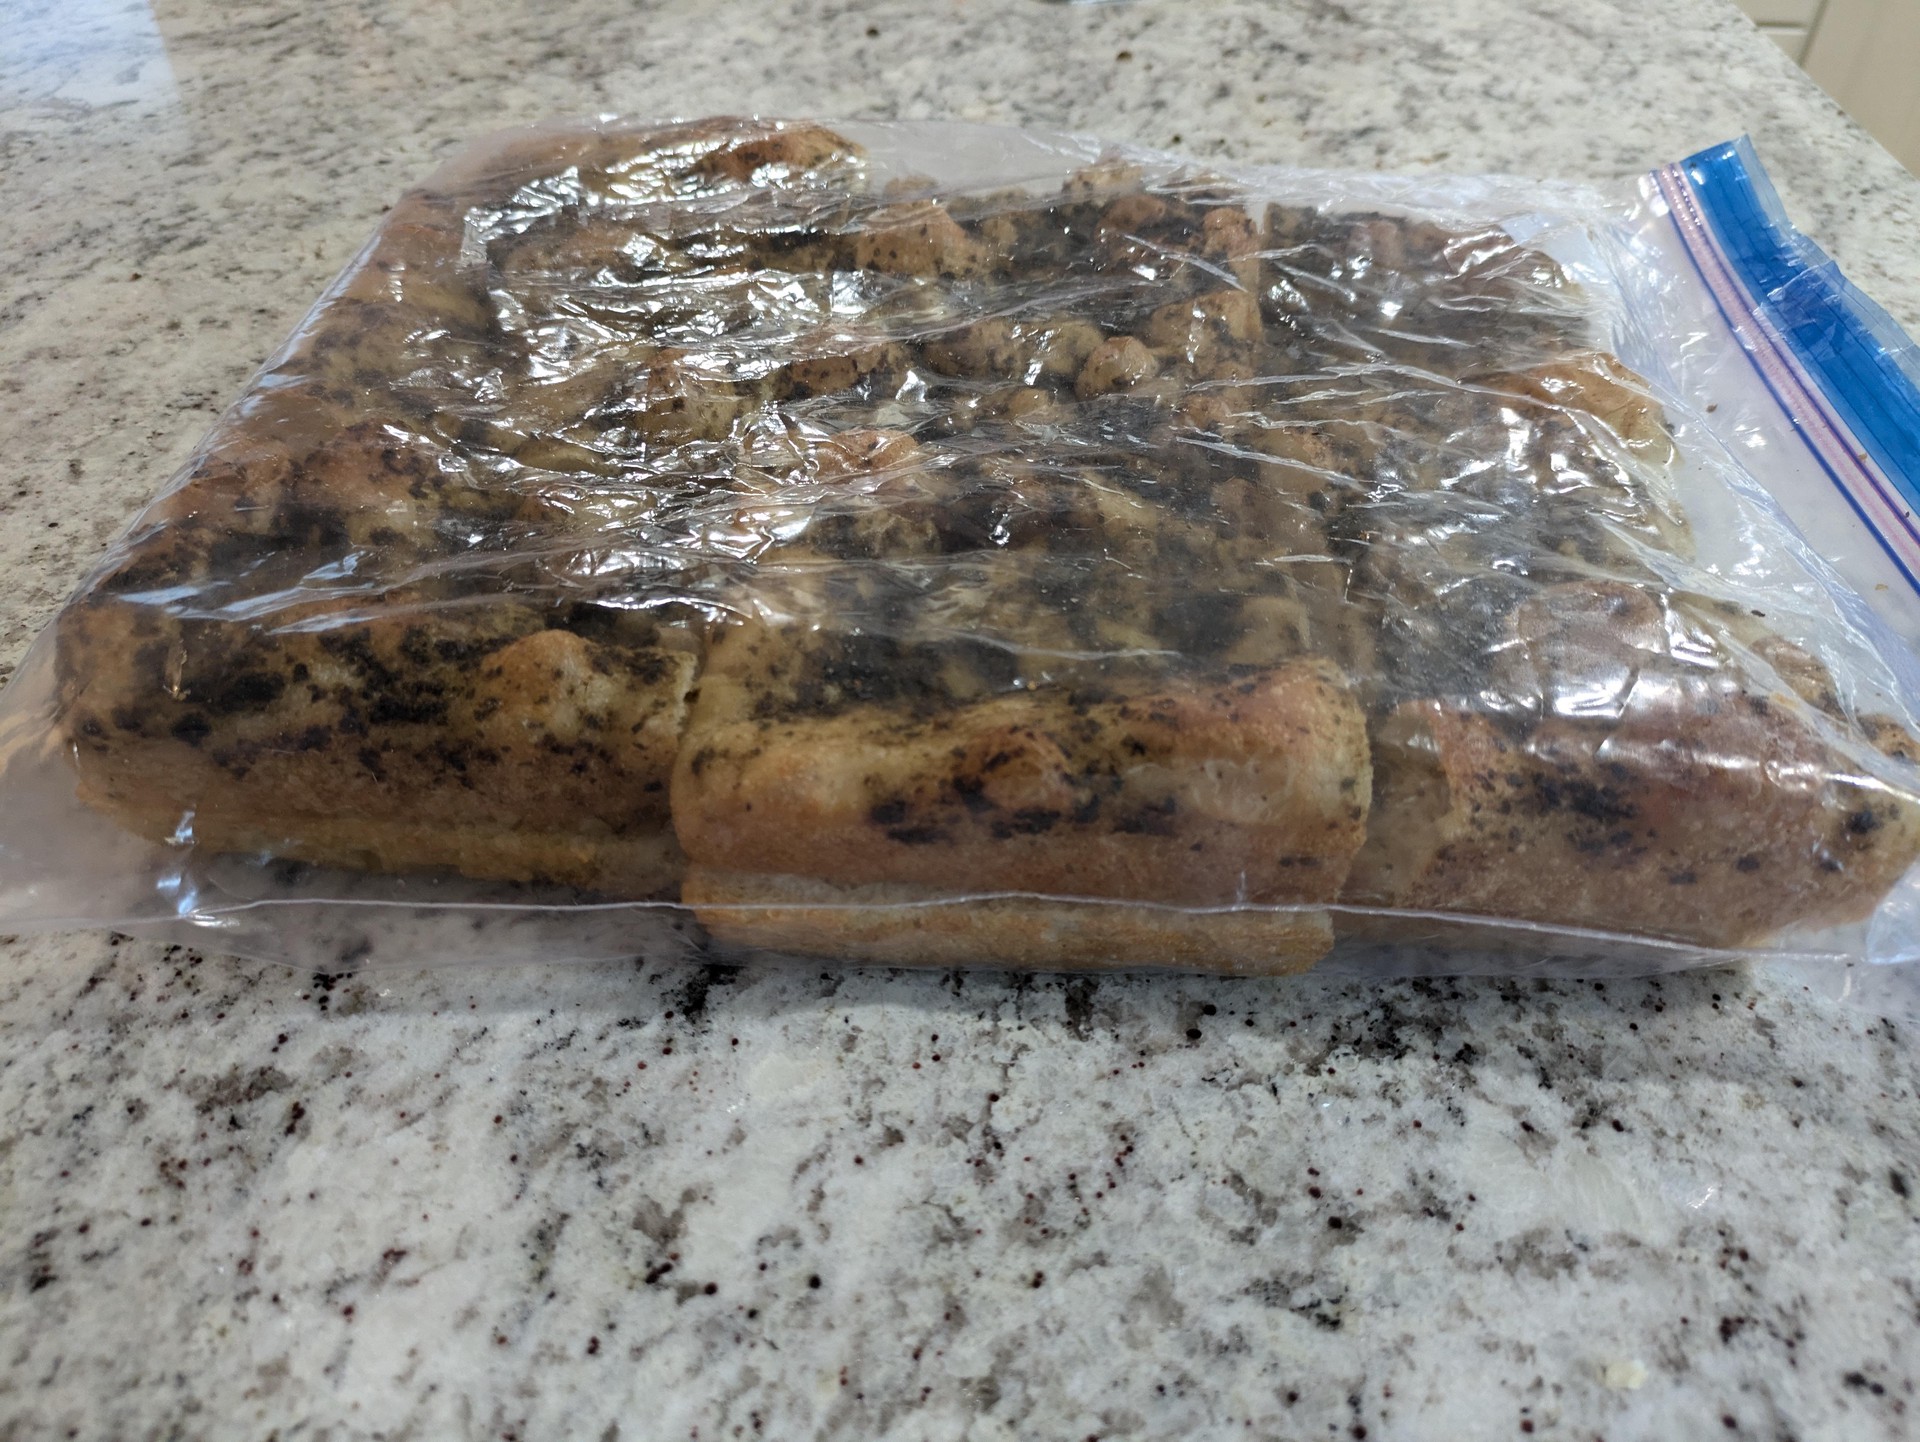
Move to freezer bags and freeze what you aren’t going to use immediately. They defrost very quickly and stale quickly as well, so the freezer is the best place to keep the focaccia fresh for future sandwiches.
Notes
- Sourdough Starter => It can be ripe or discard, doesn’t matter. If you don’t have sourdough starter, sub in 62g flour + 62g water
- Flour Mix => Sub in 5-20% whole-wheat, rye, spelt, semolina, whatever. You may need to add more water to compensate, since these flours tend to absorb more water than white flour
- Parchment Paper => Highly recommended, an insurance policy against the dough sticking to the pan. Without it, you need to ensure there’s enough oil under the dough while panning it out. Panning out tends to push the oil to the corners; lifting and flicking the oil back under avoids sticky spots