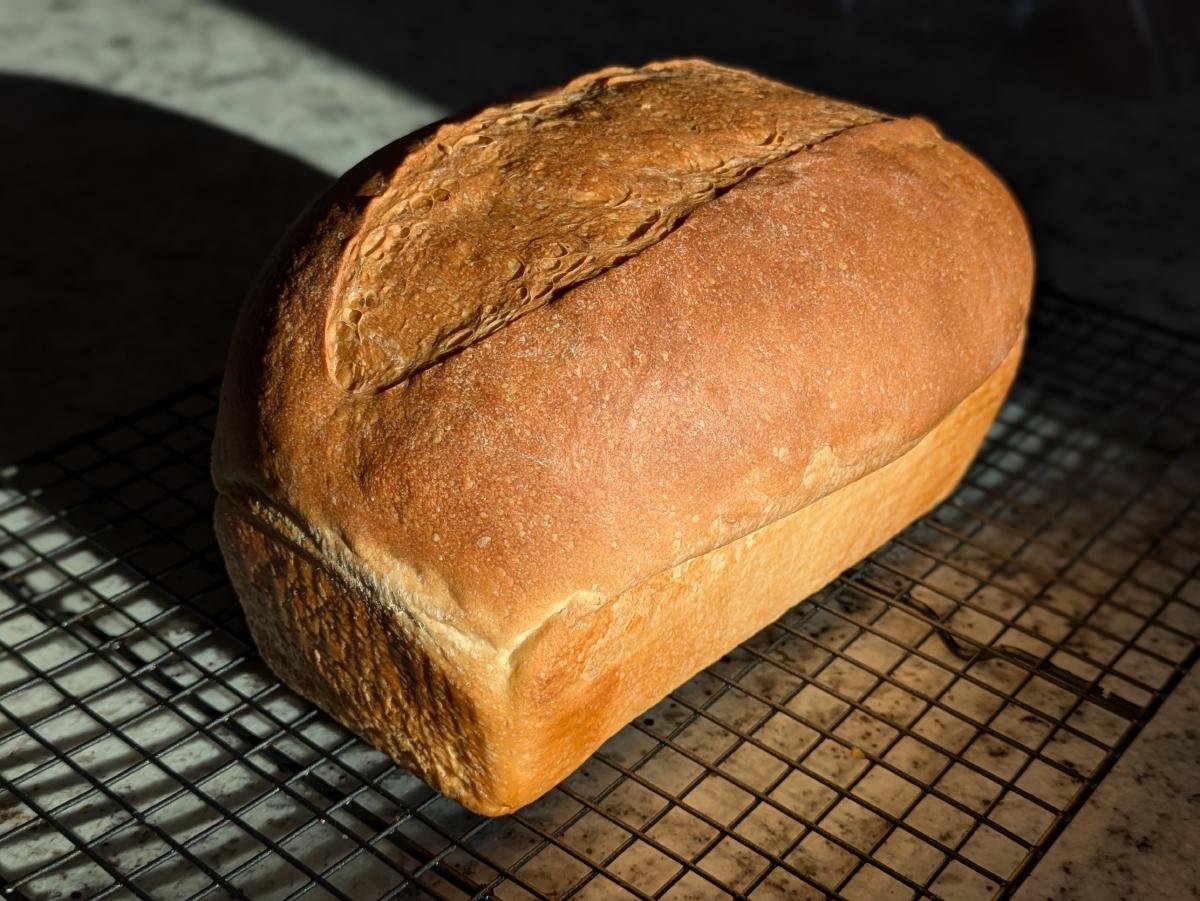
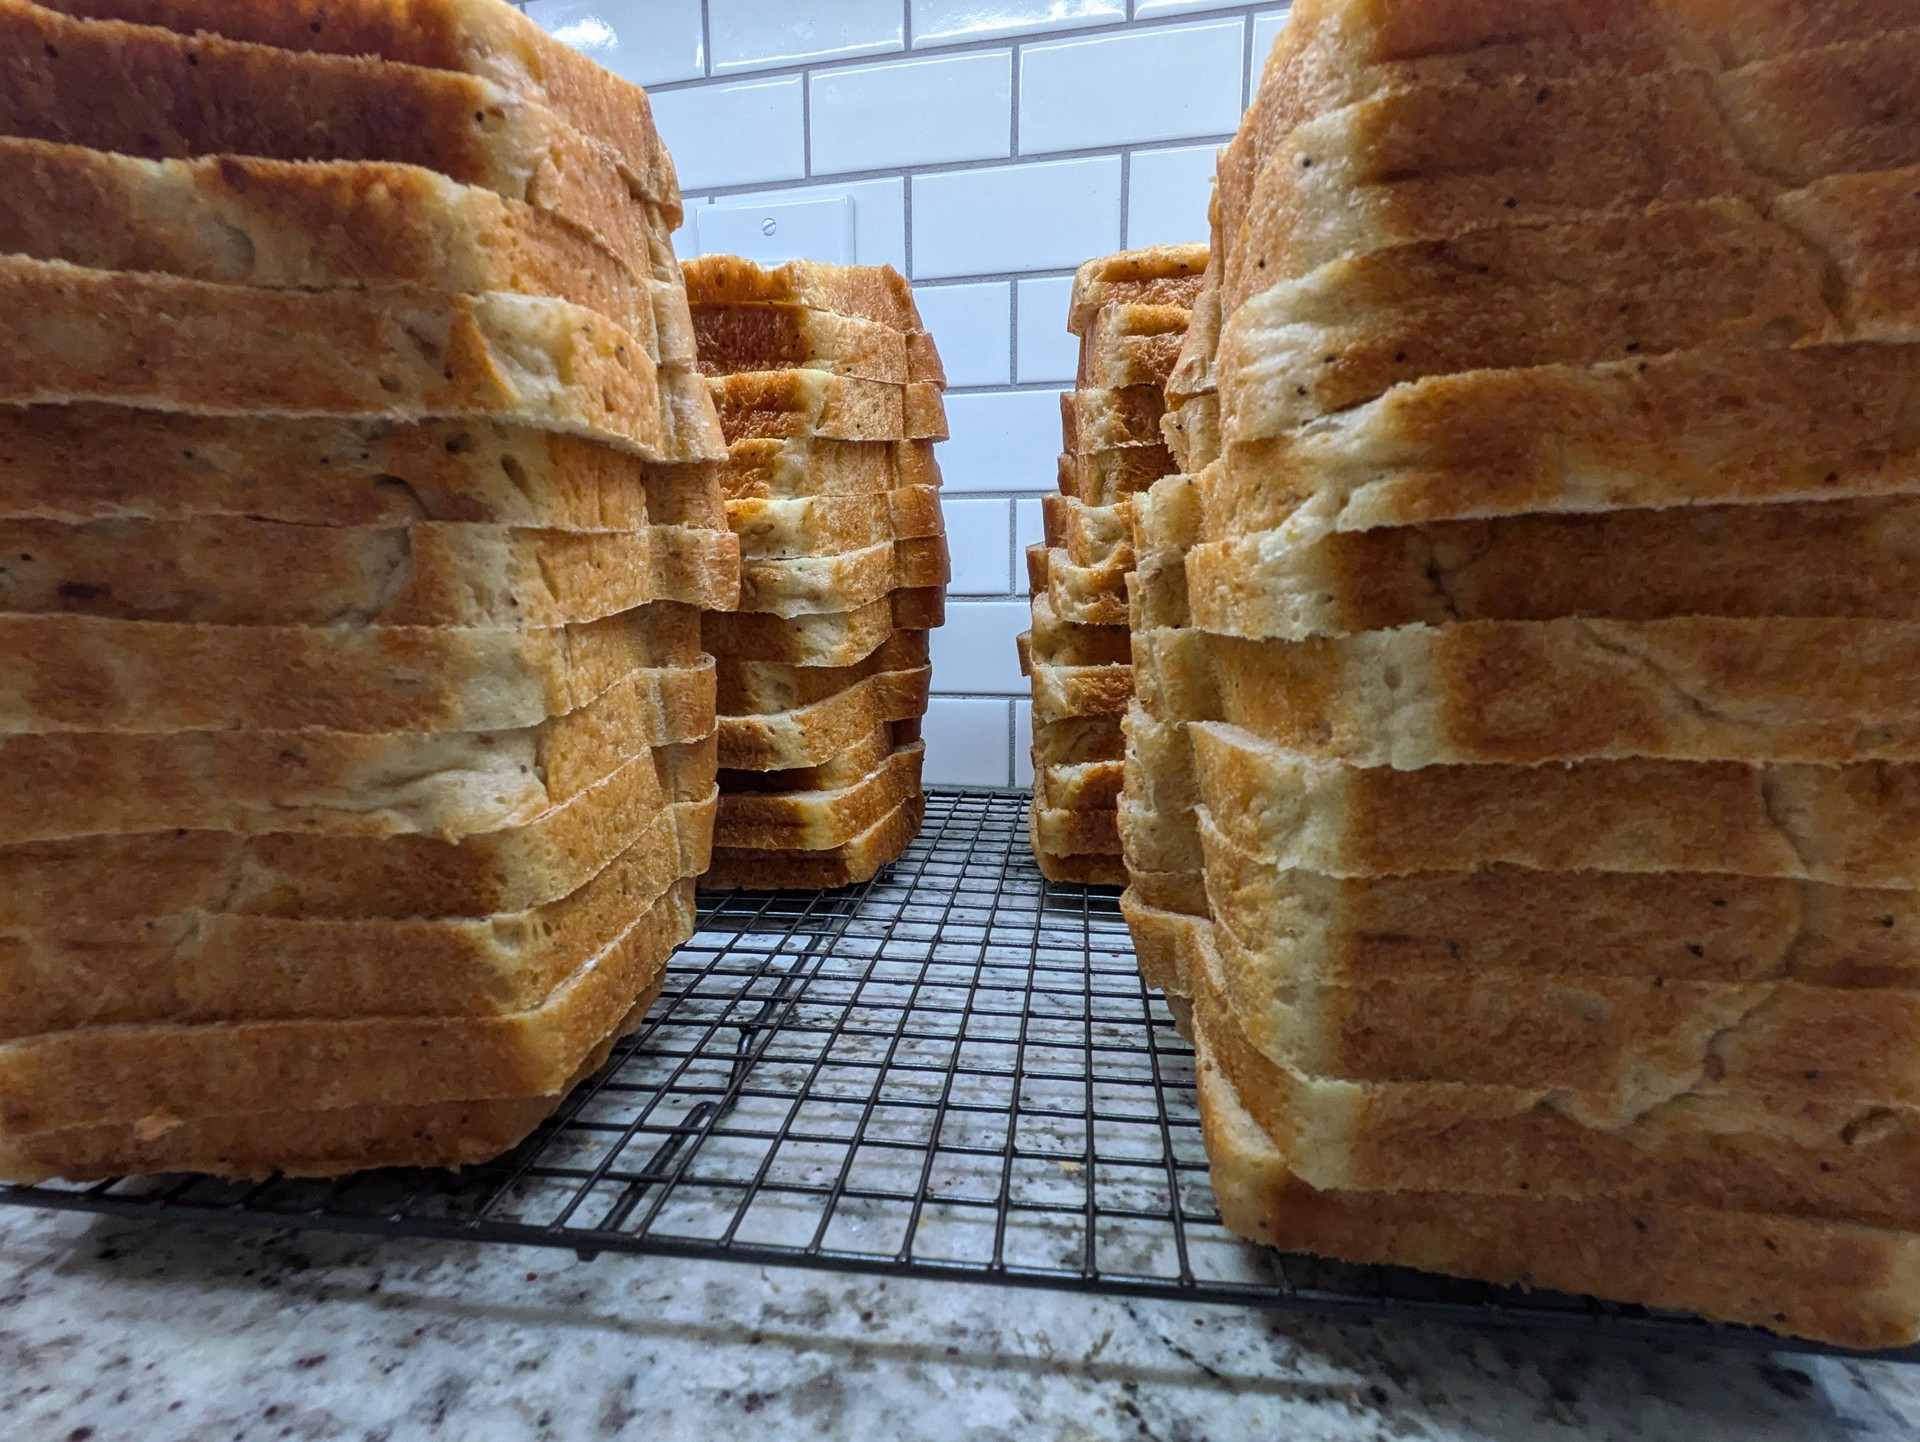
the minivan of breads
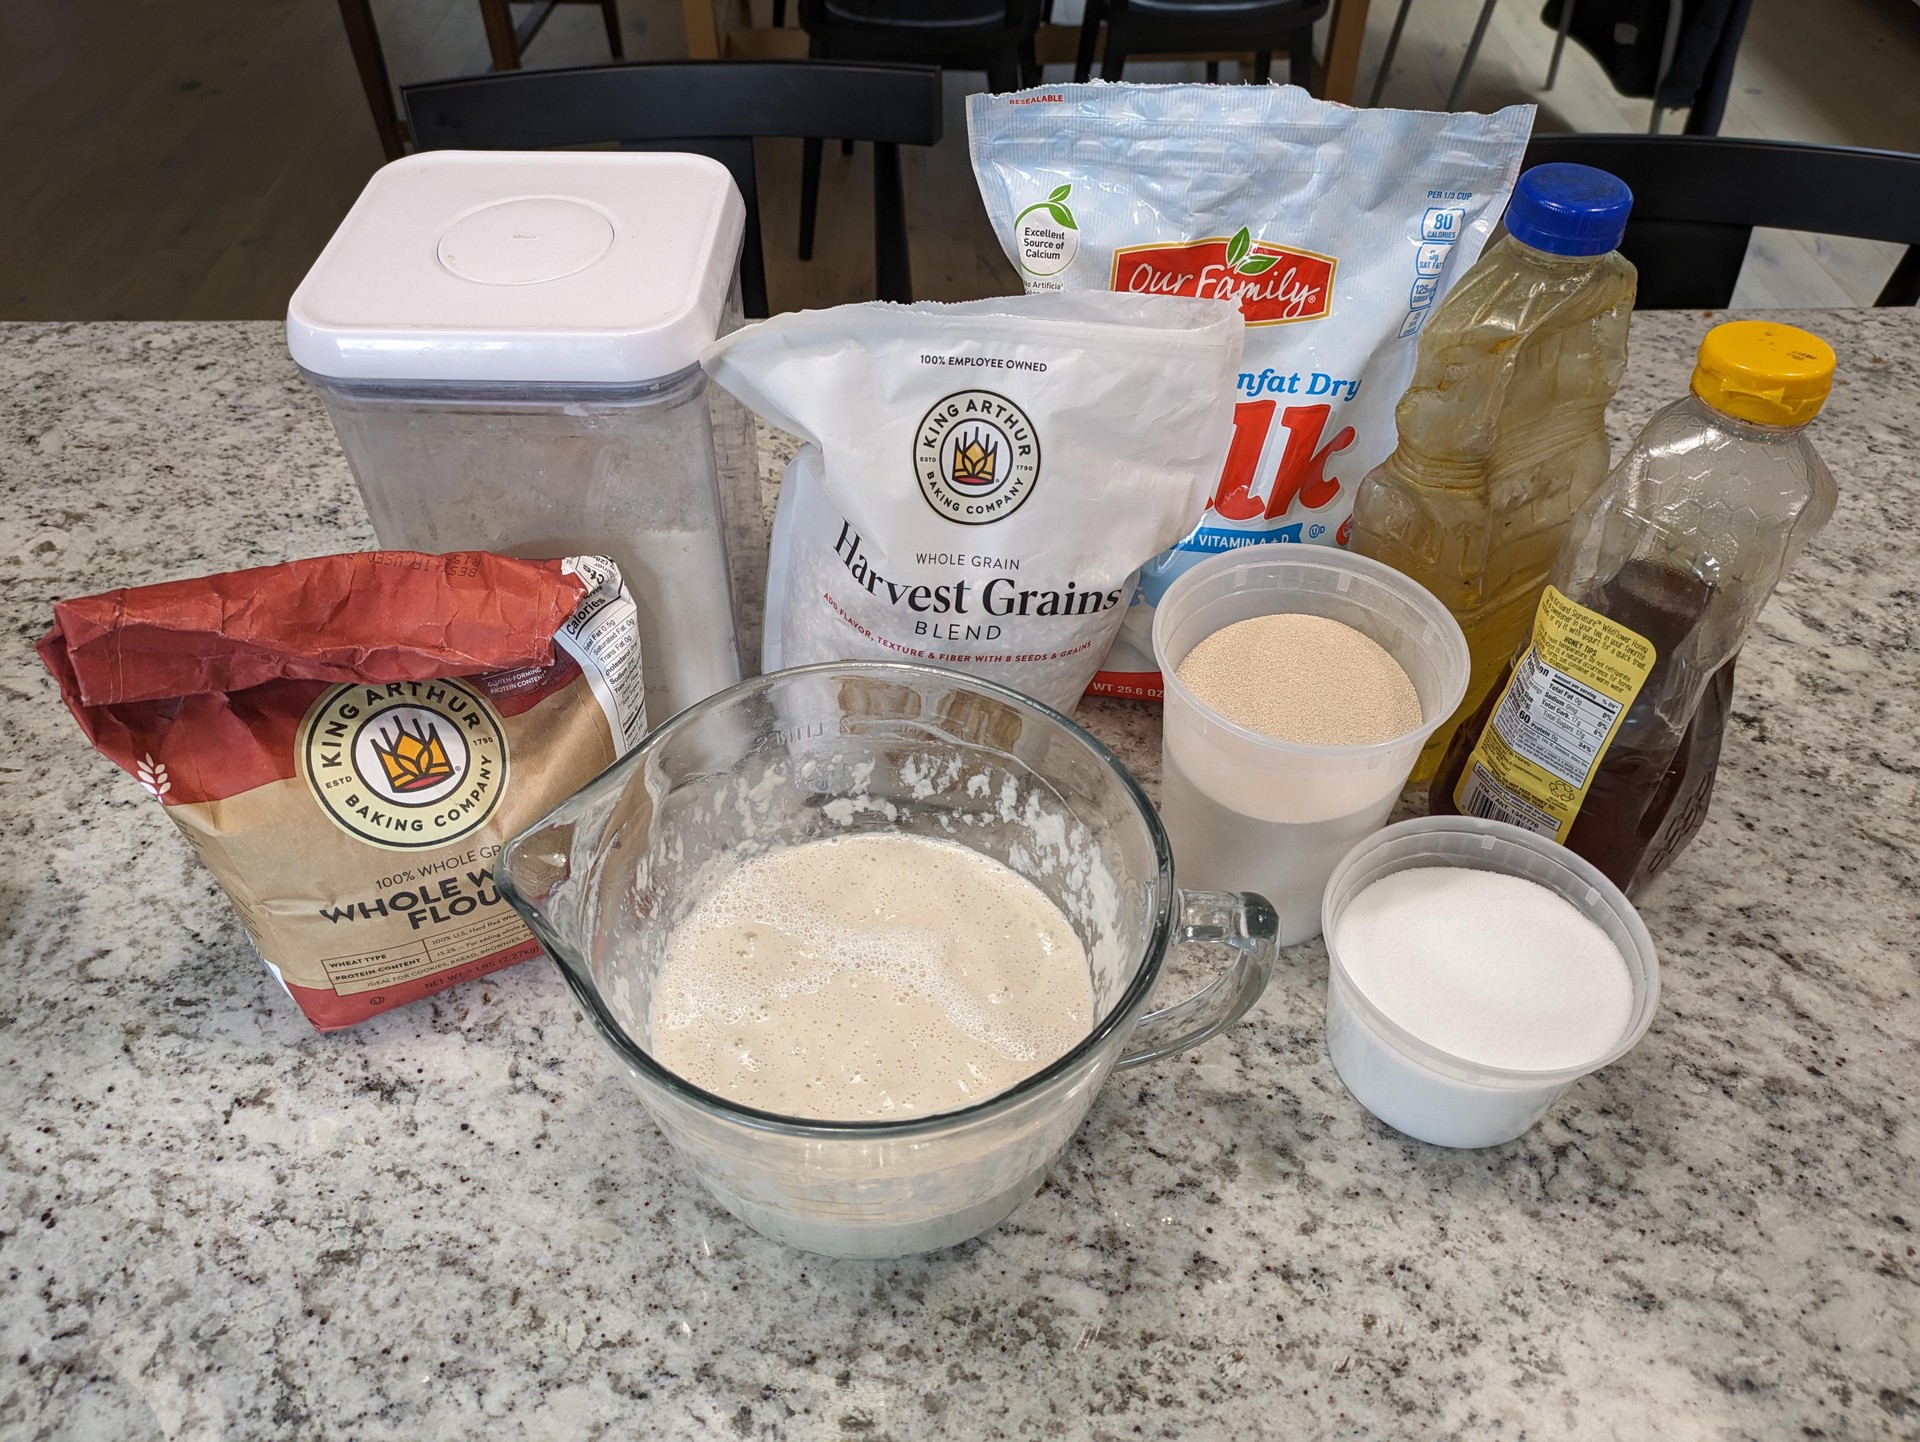
Ingredients
- 400 g water
- 300 g sourdough starter1
- 2 tsp instant yeast
- 16 g salt
- 50 g honey
- 57 g vegetable oil
- 50 g milk powder
- 725 g bread flour2
Dough + 1st Rise
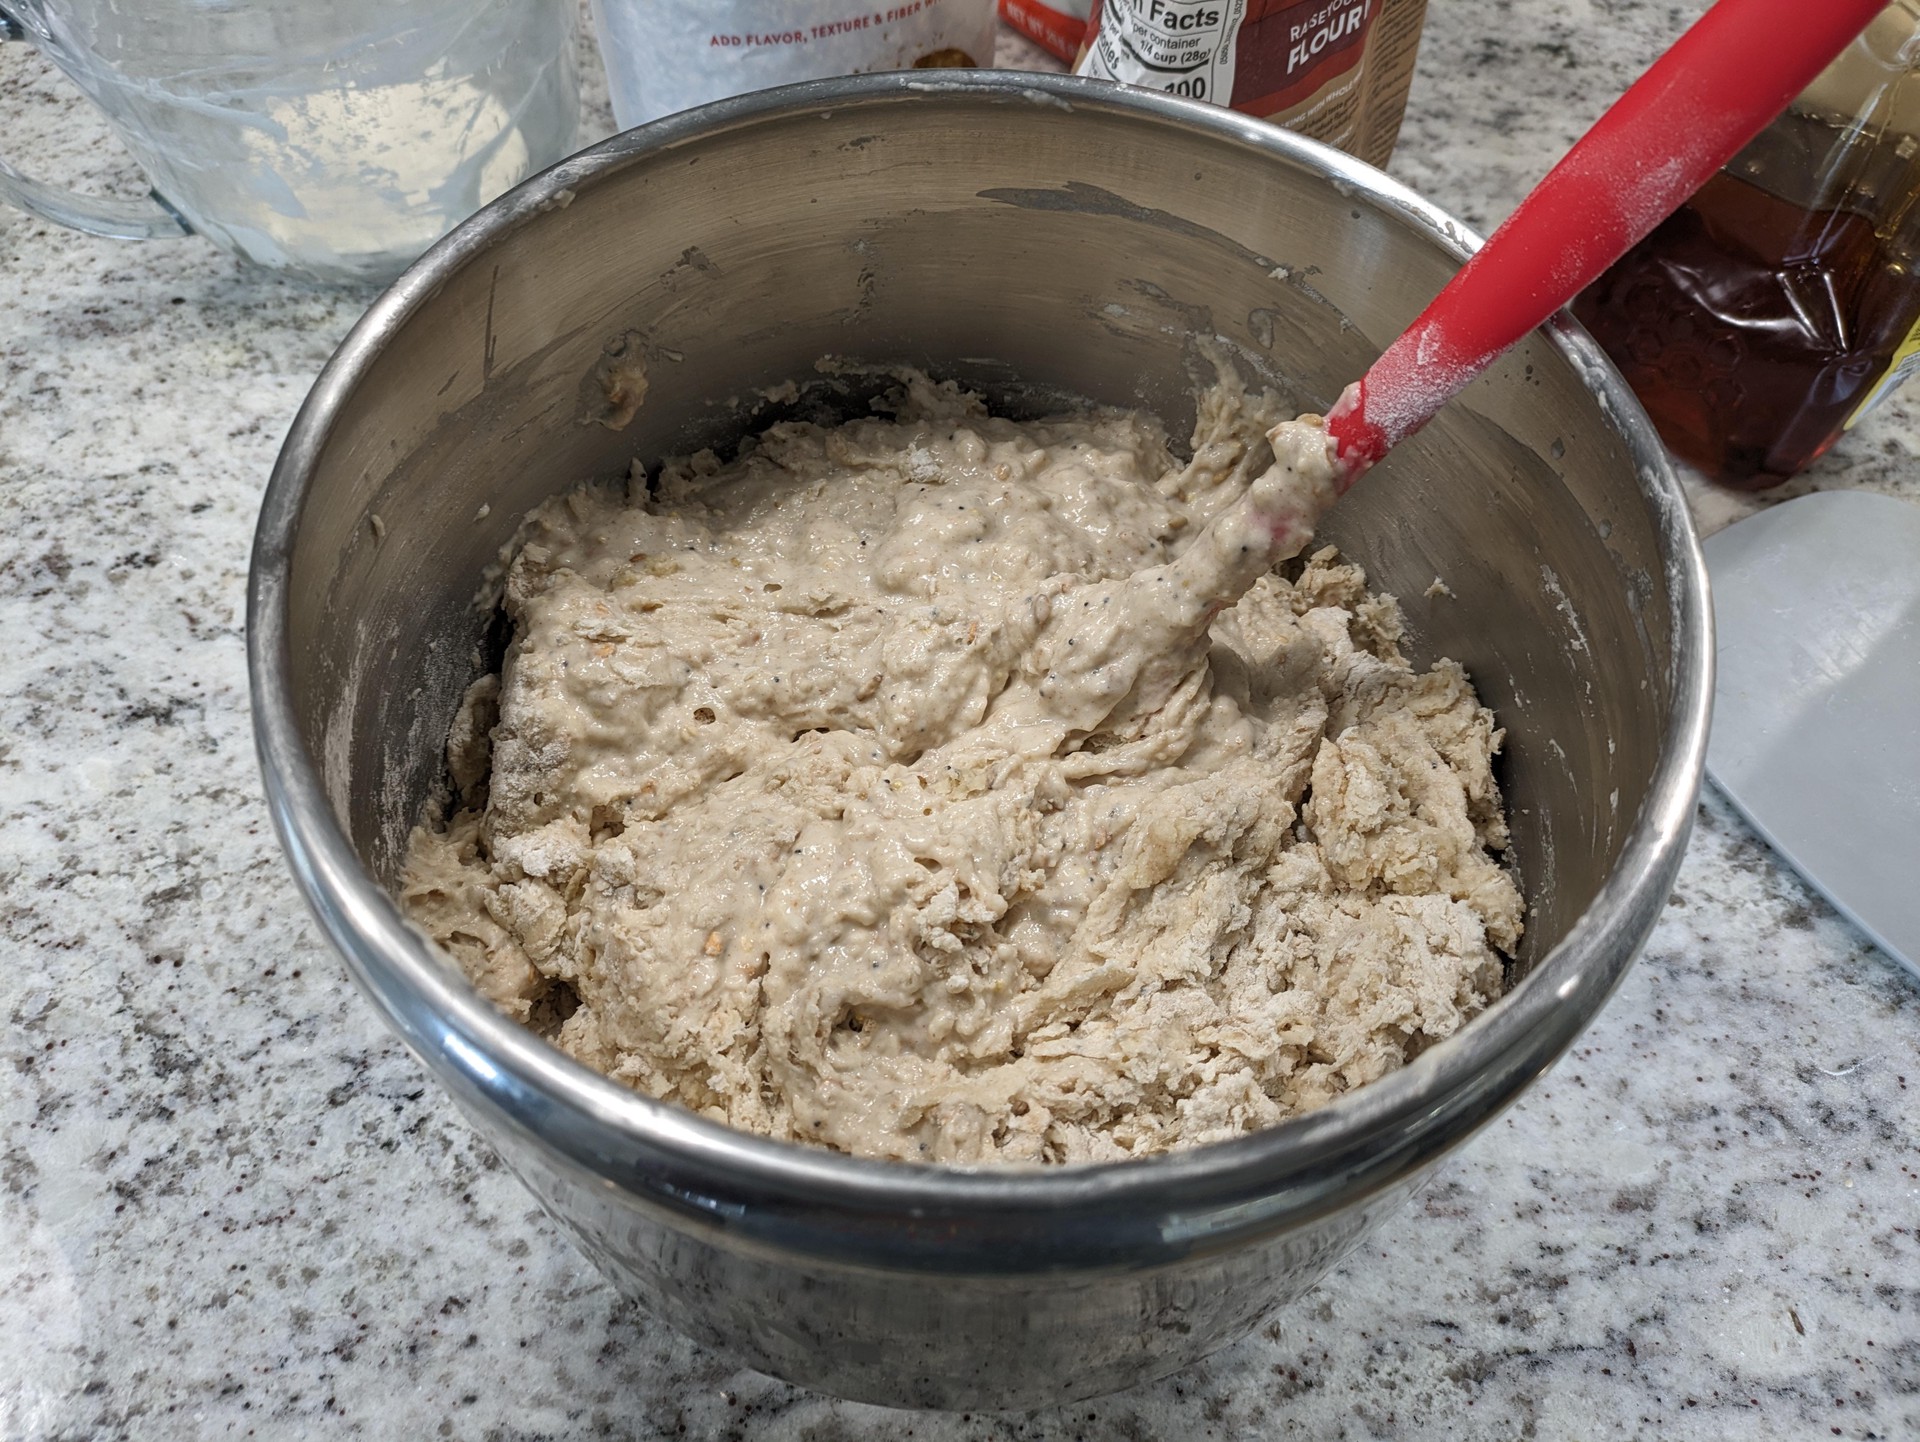
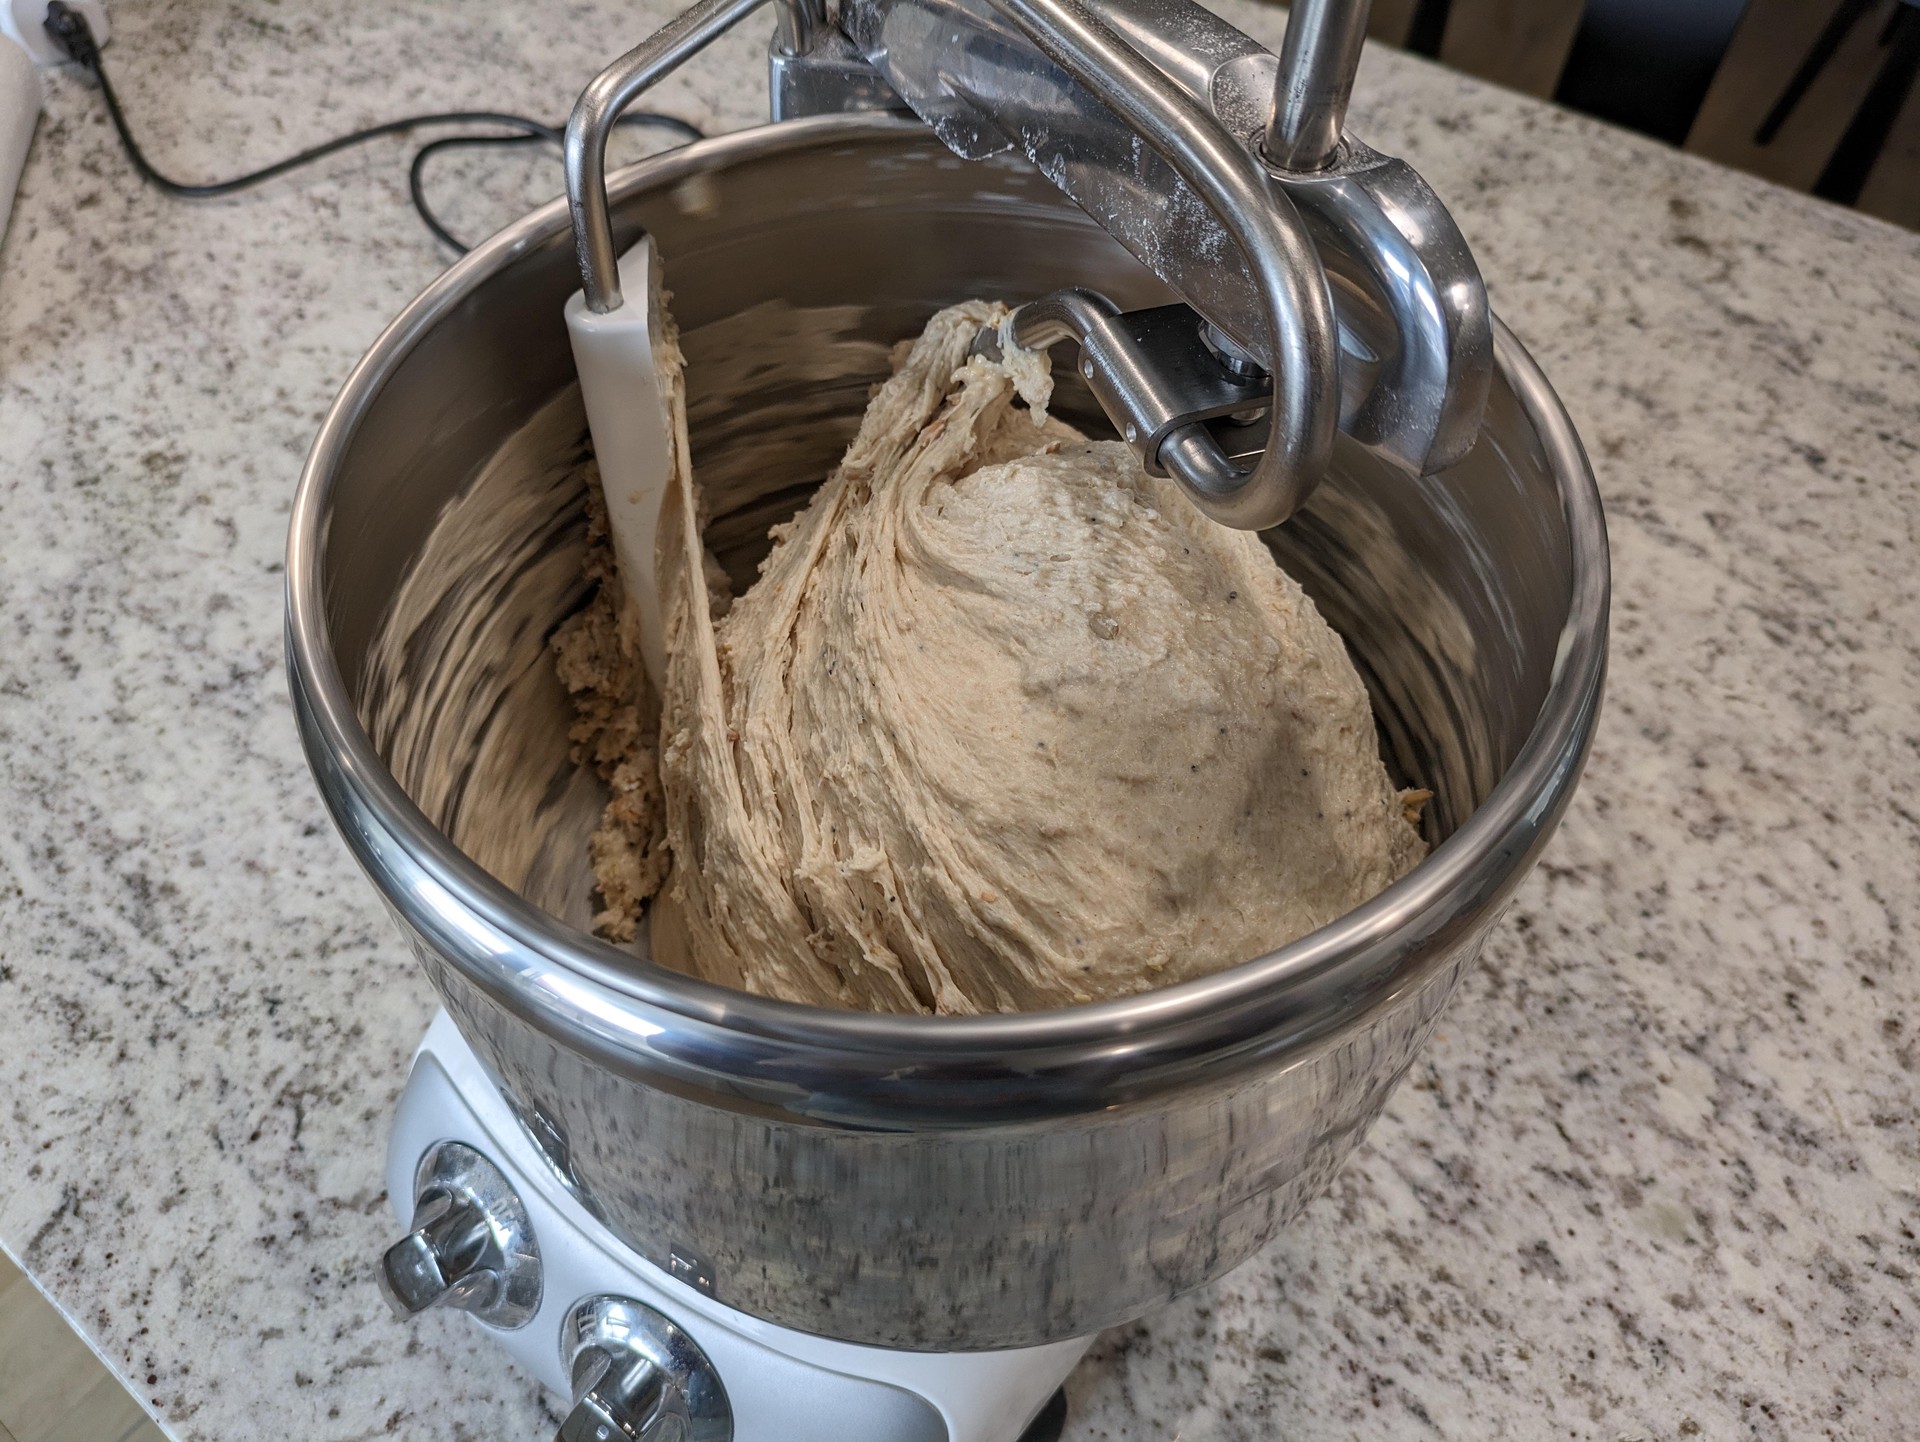
- In mixer bowl, combine ingredients in listed order, stirring after adding each
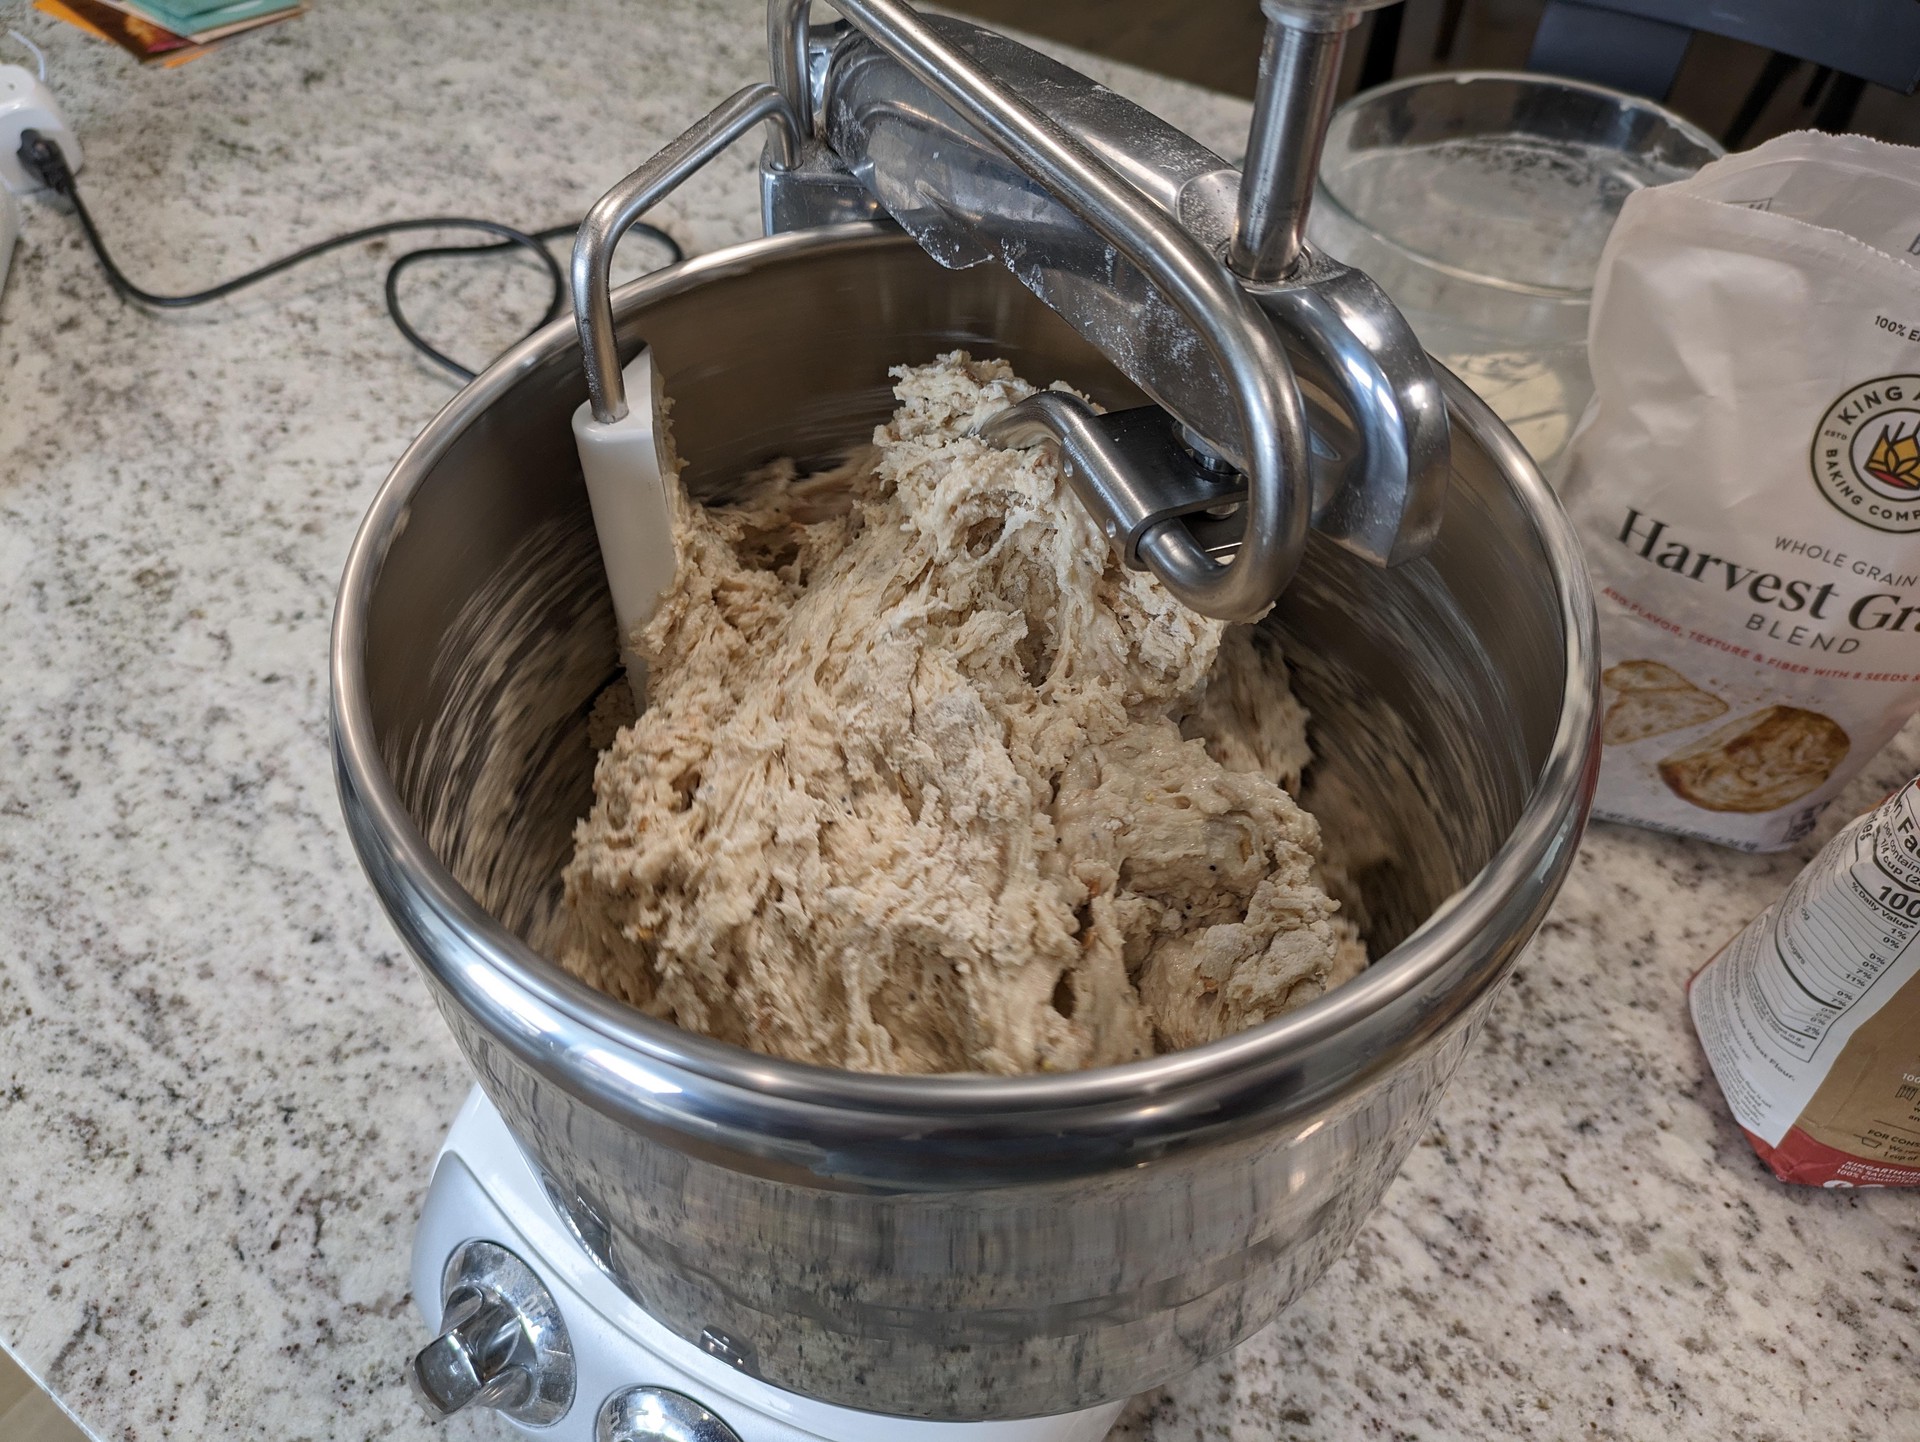
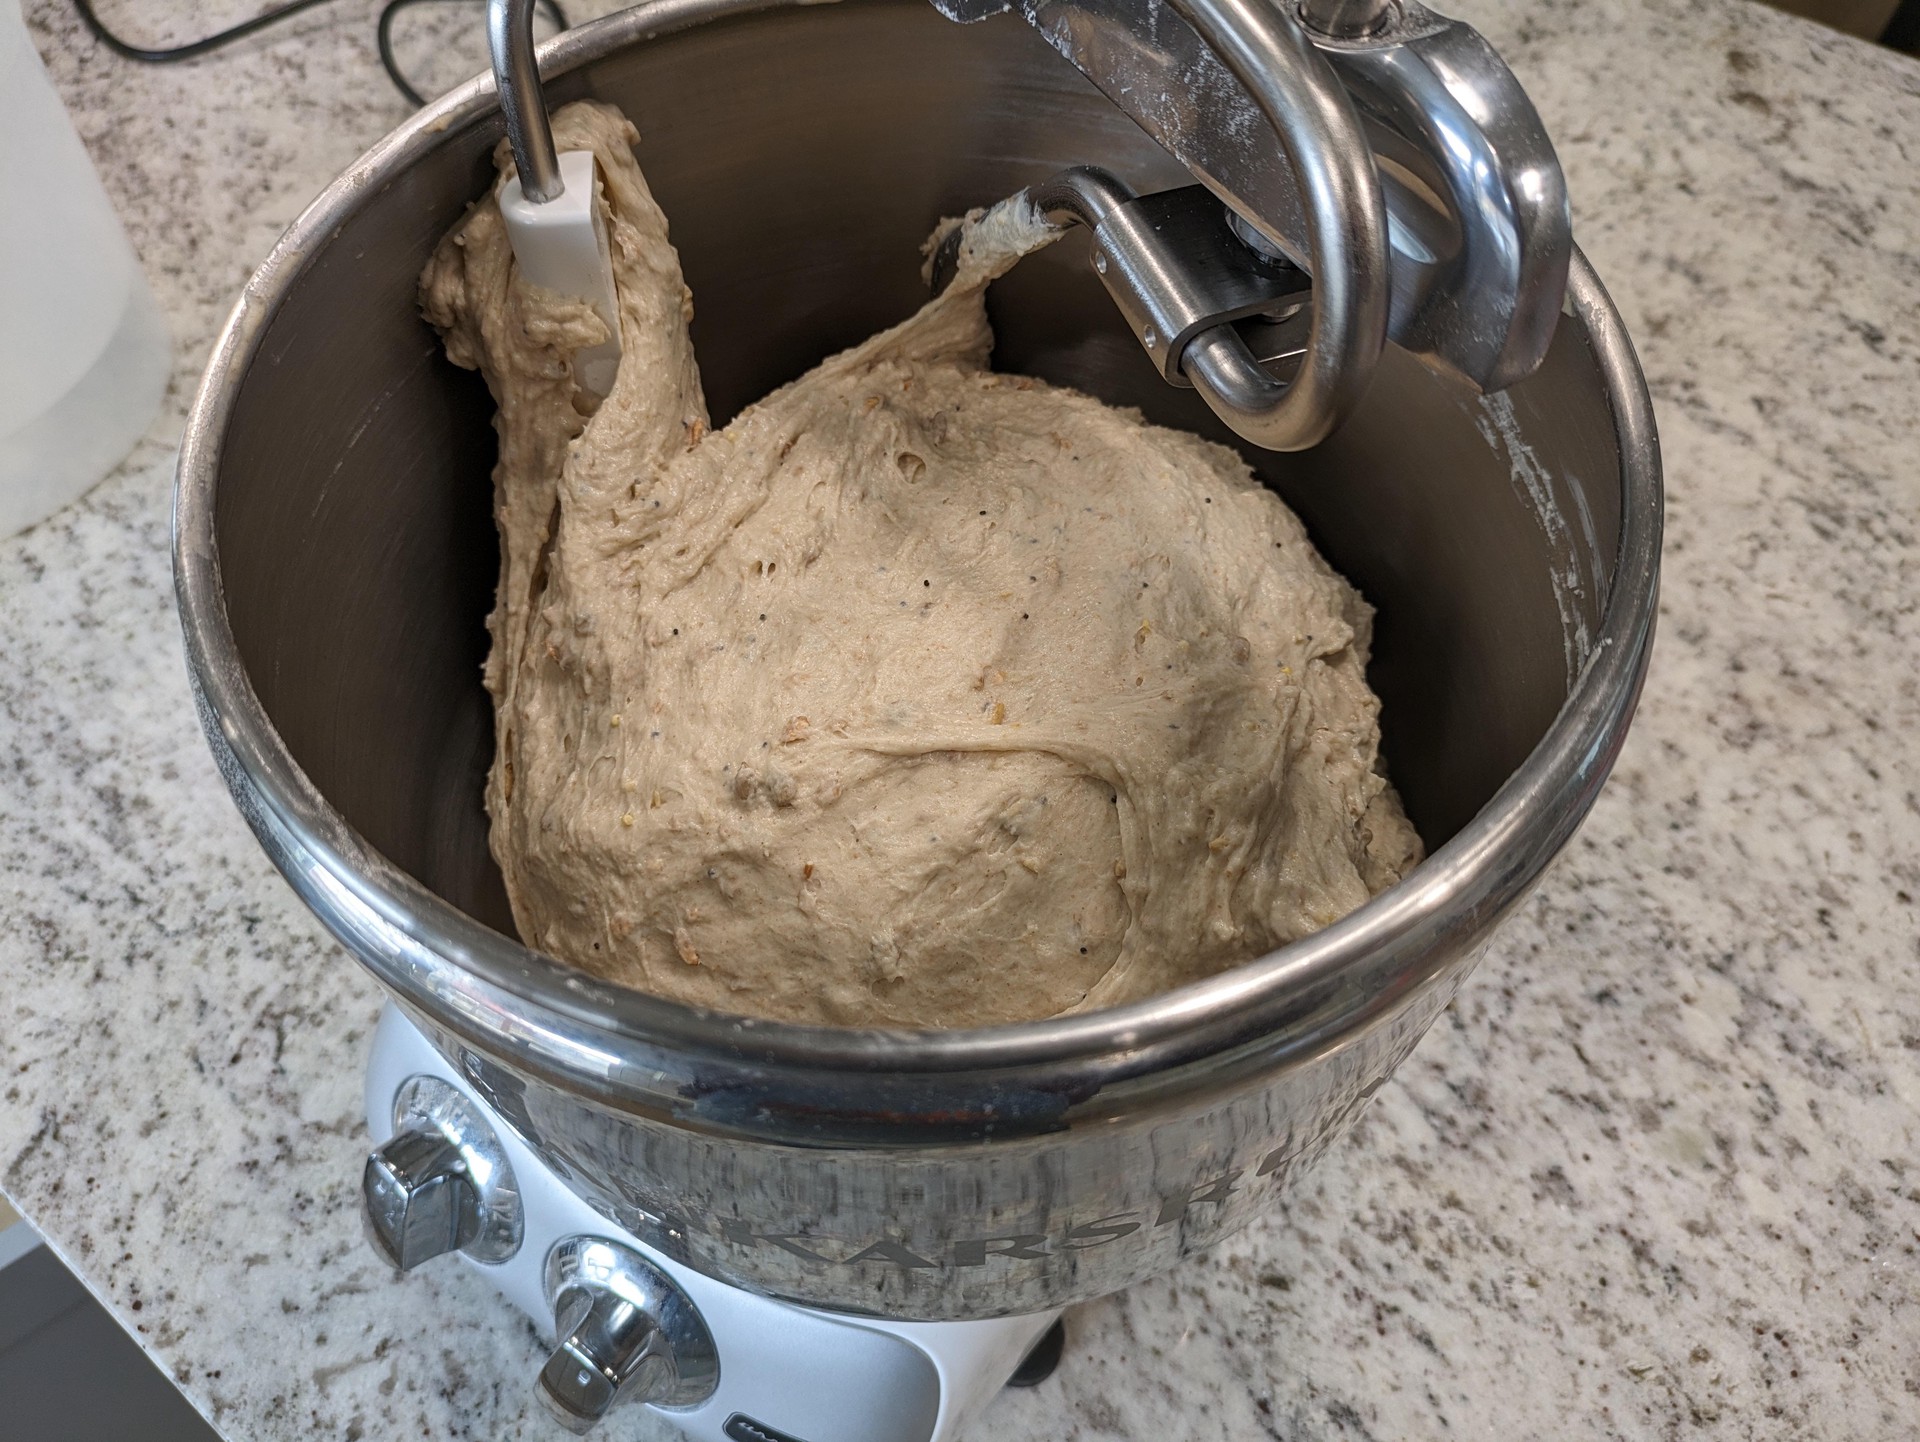
- Run mixer for 10 minutes on low speed, then cover and let rest for 5 minutes. Check for windowpane. Repeat the mix and rest cycle until dough passes the windowpane test
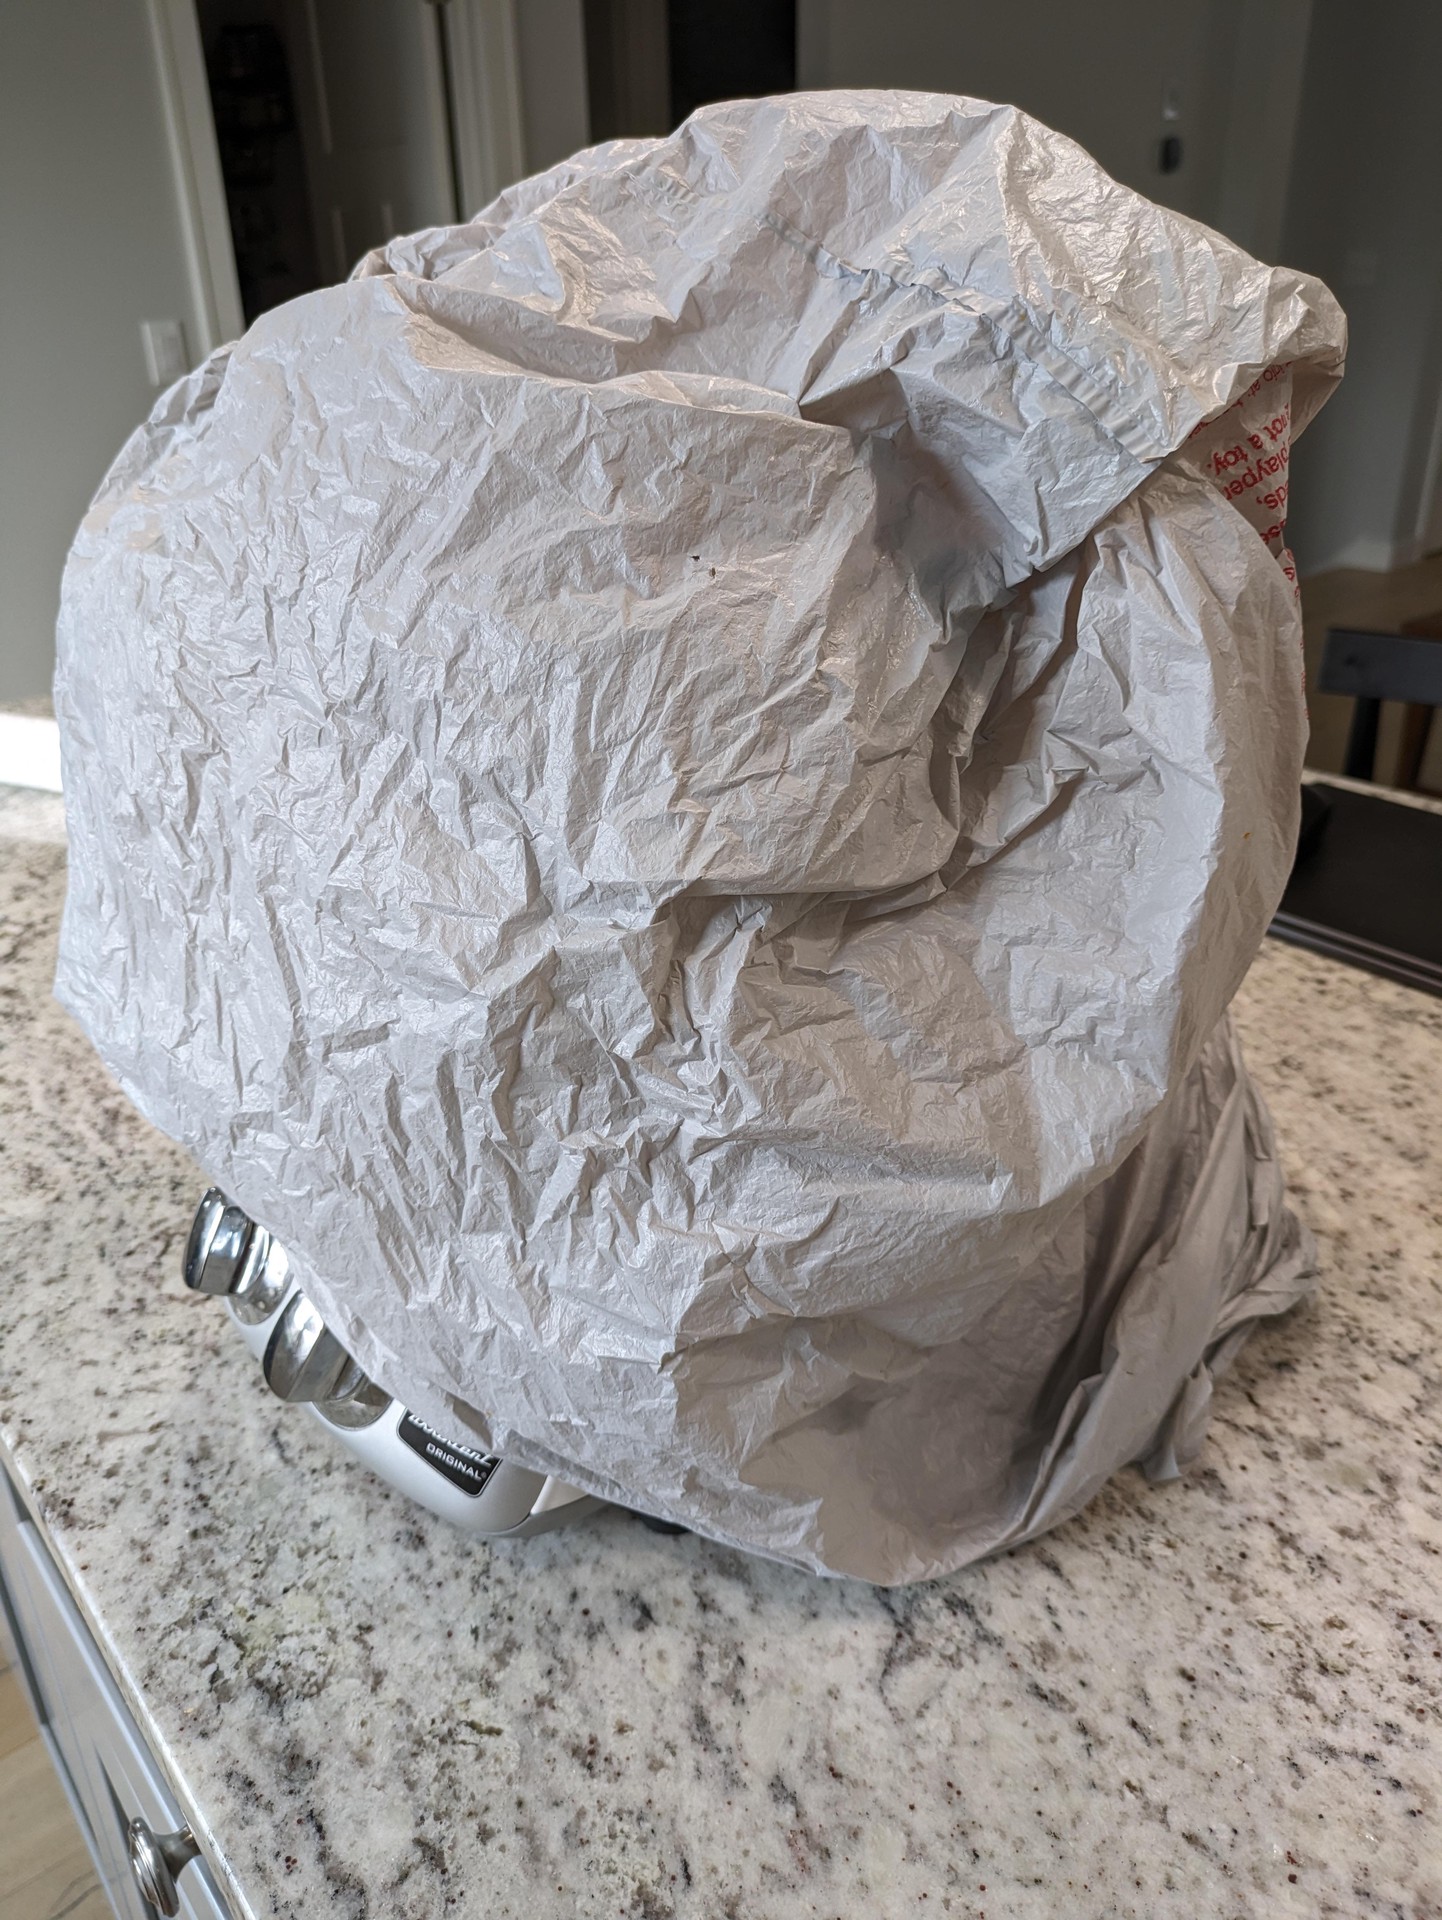
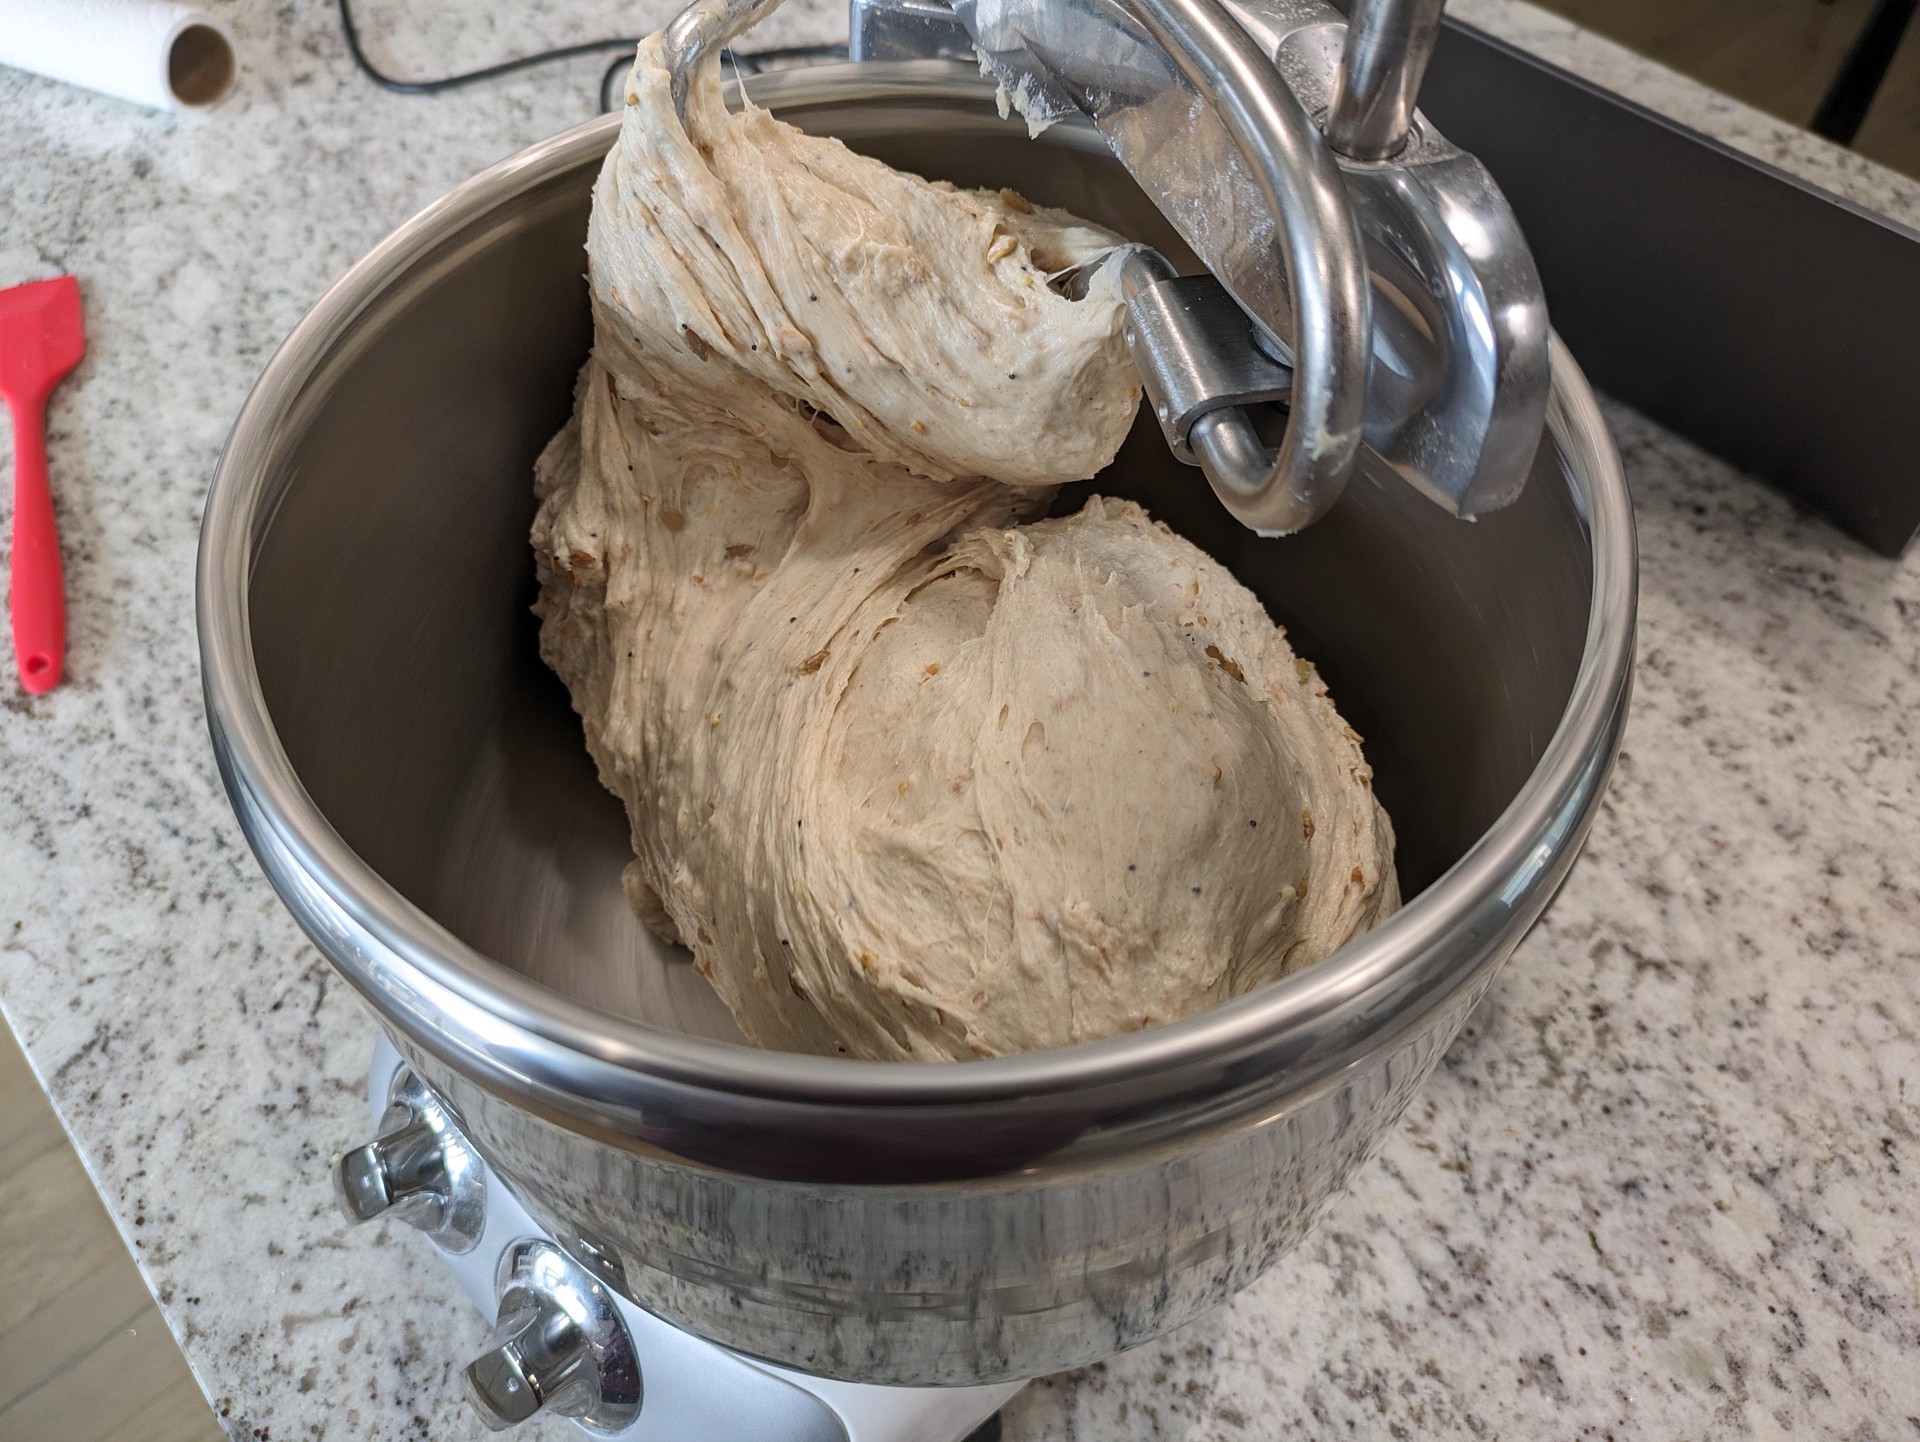
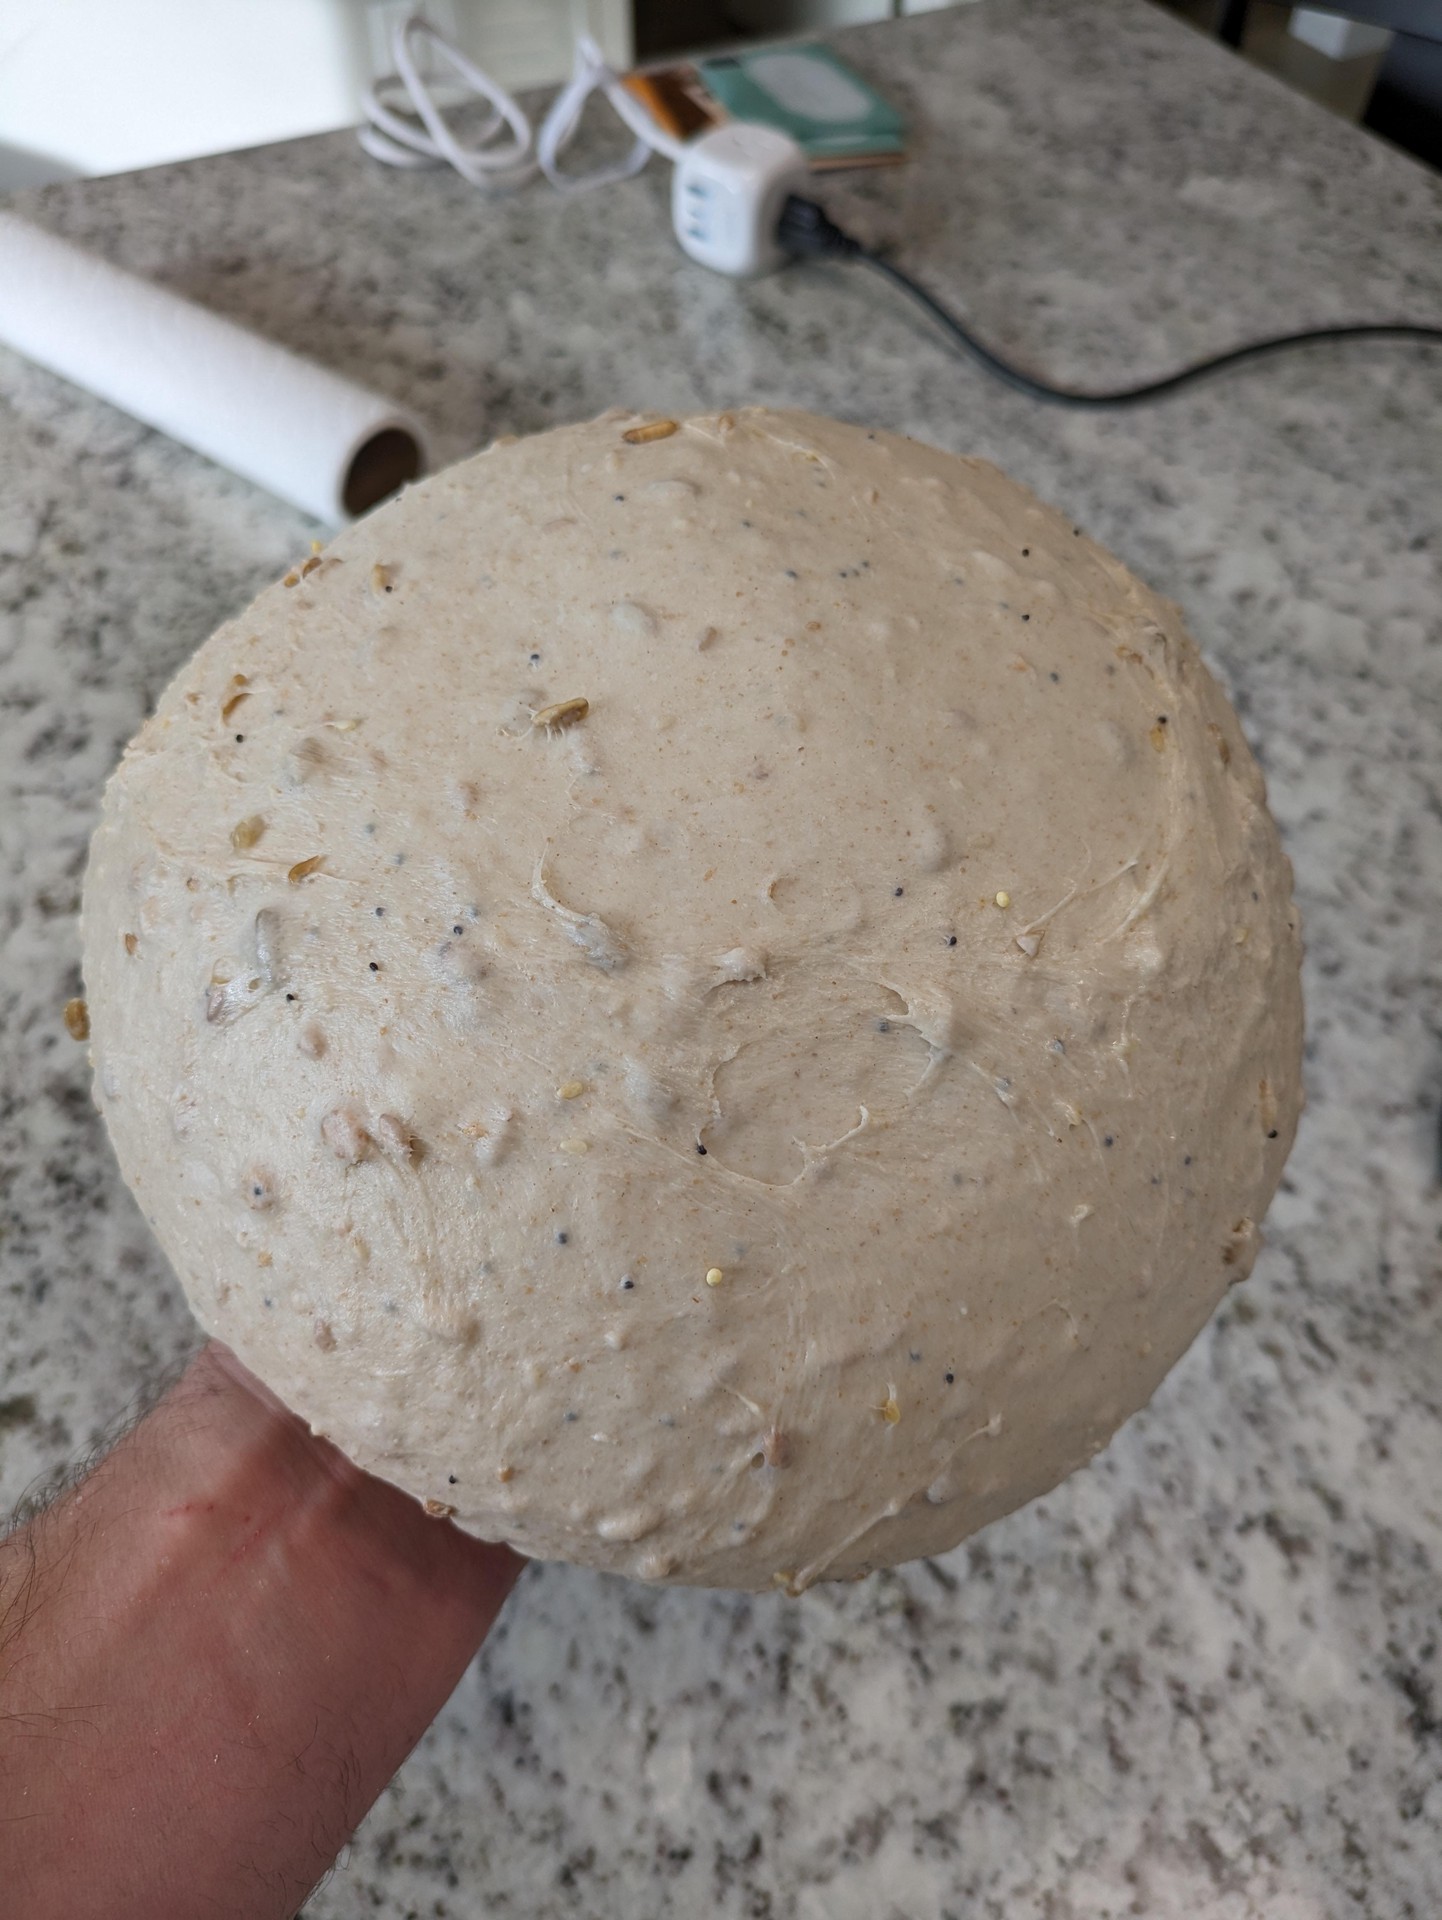
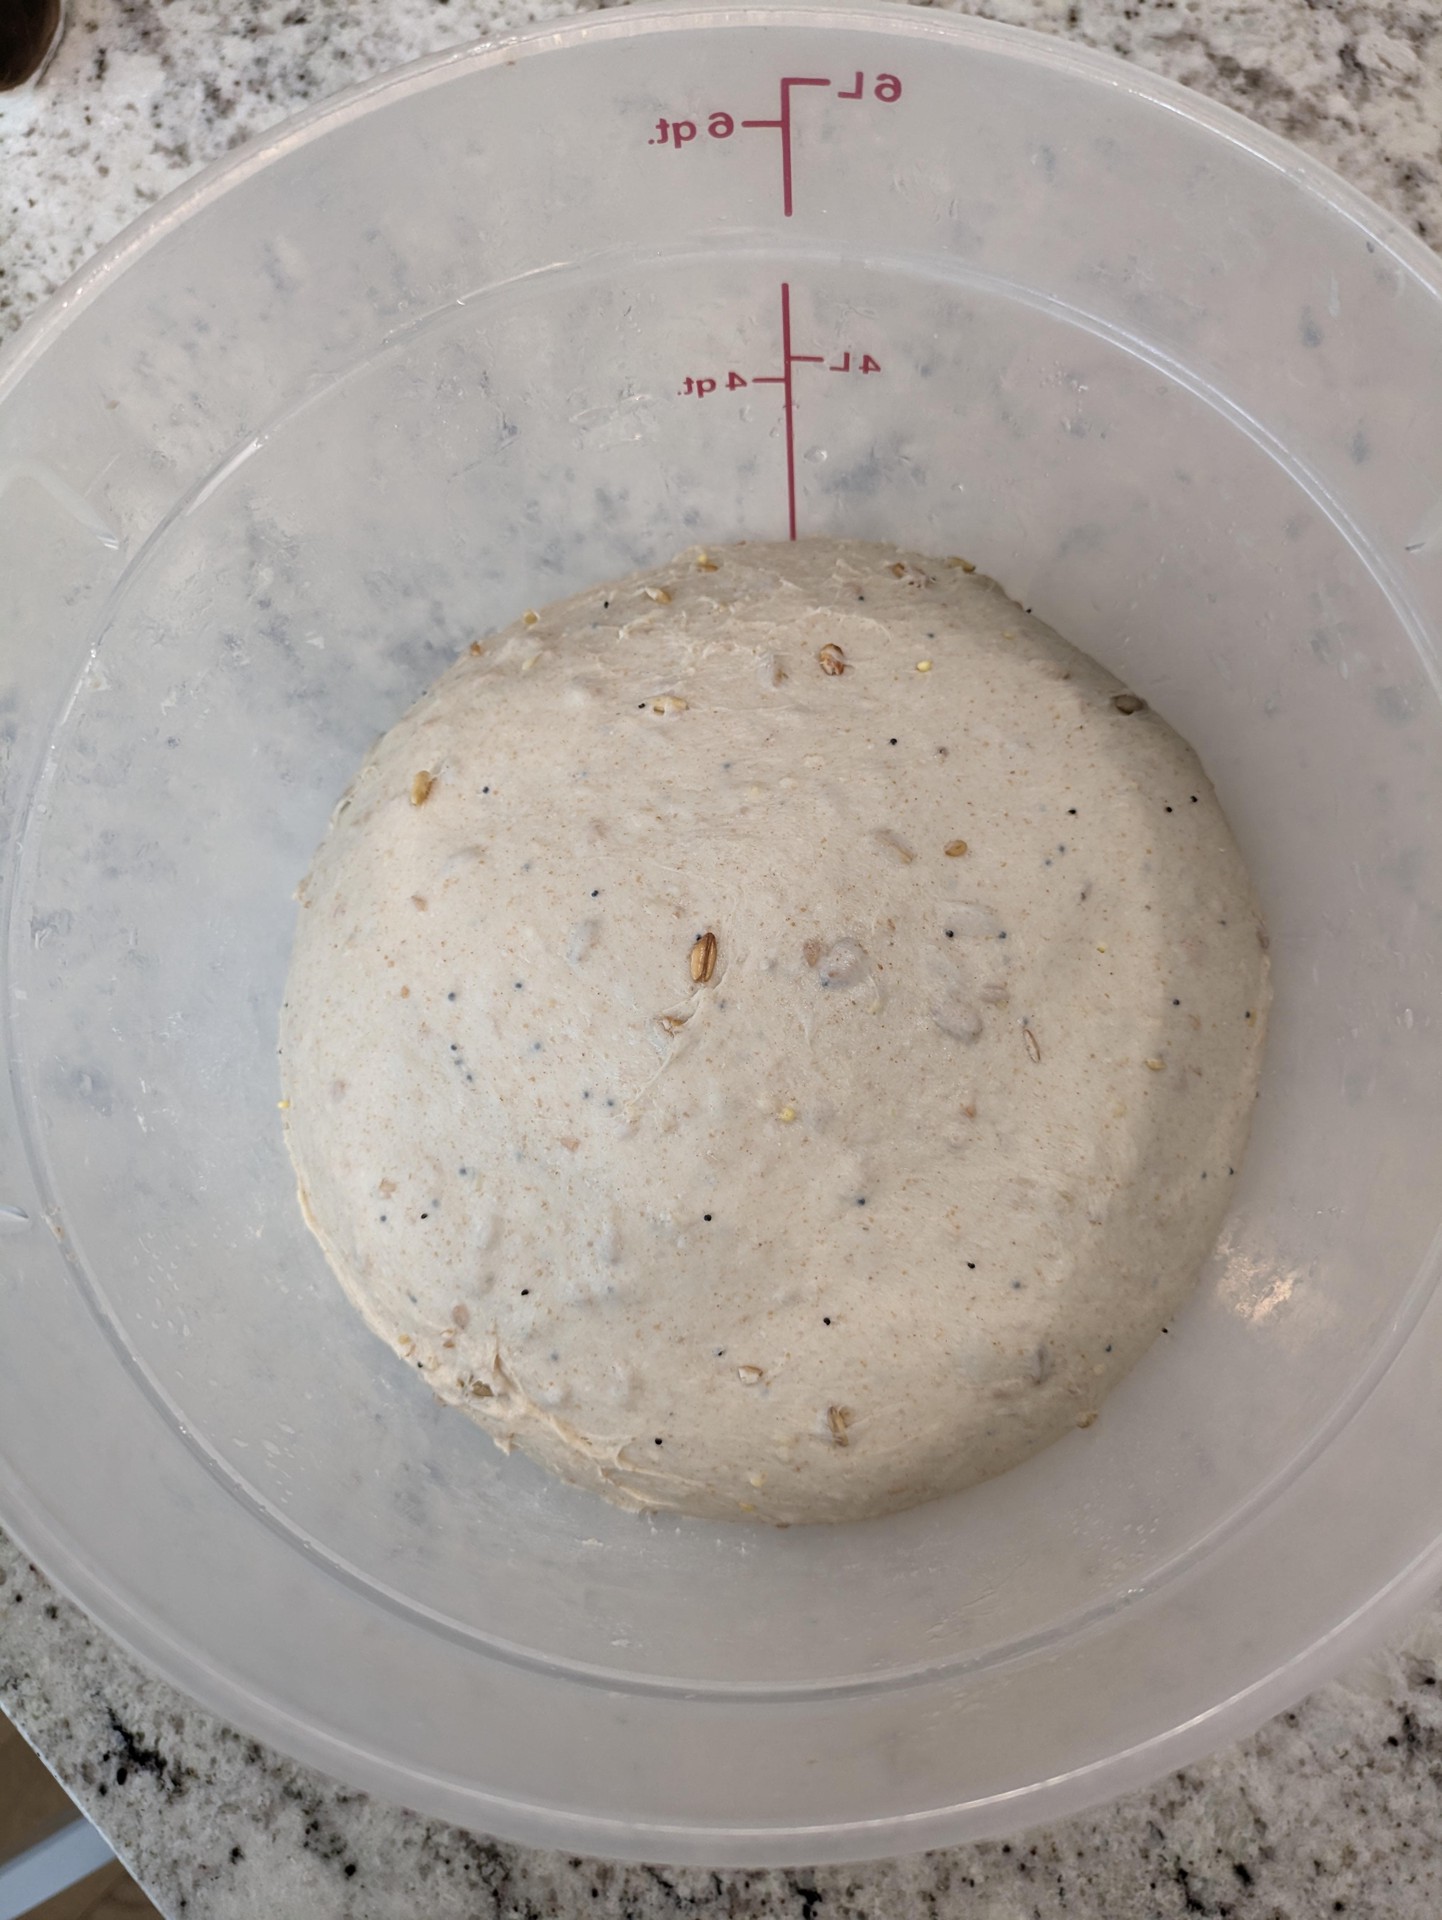
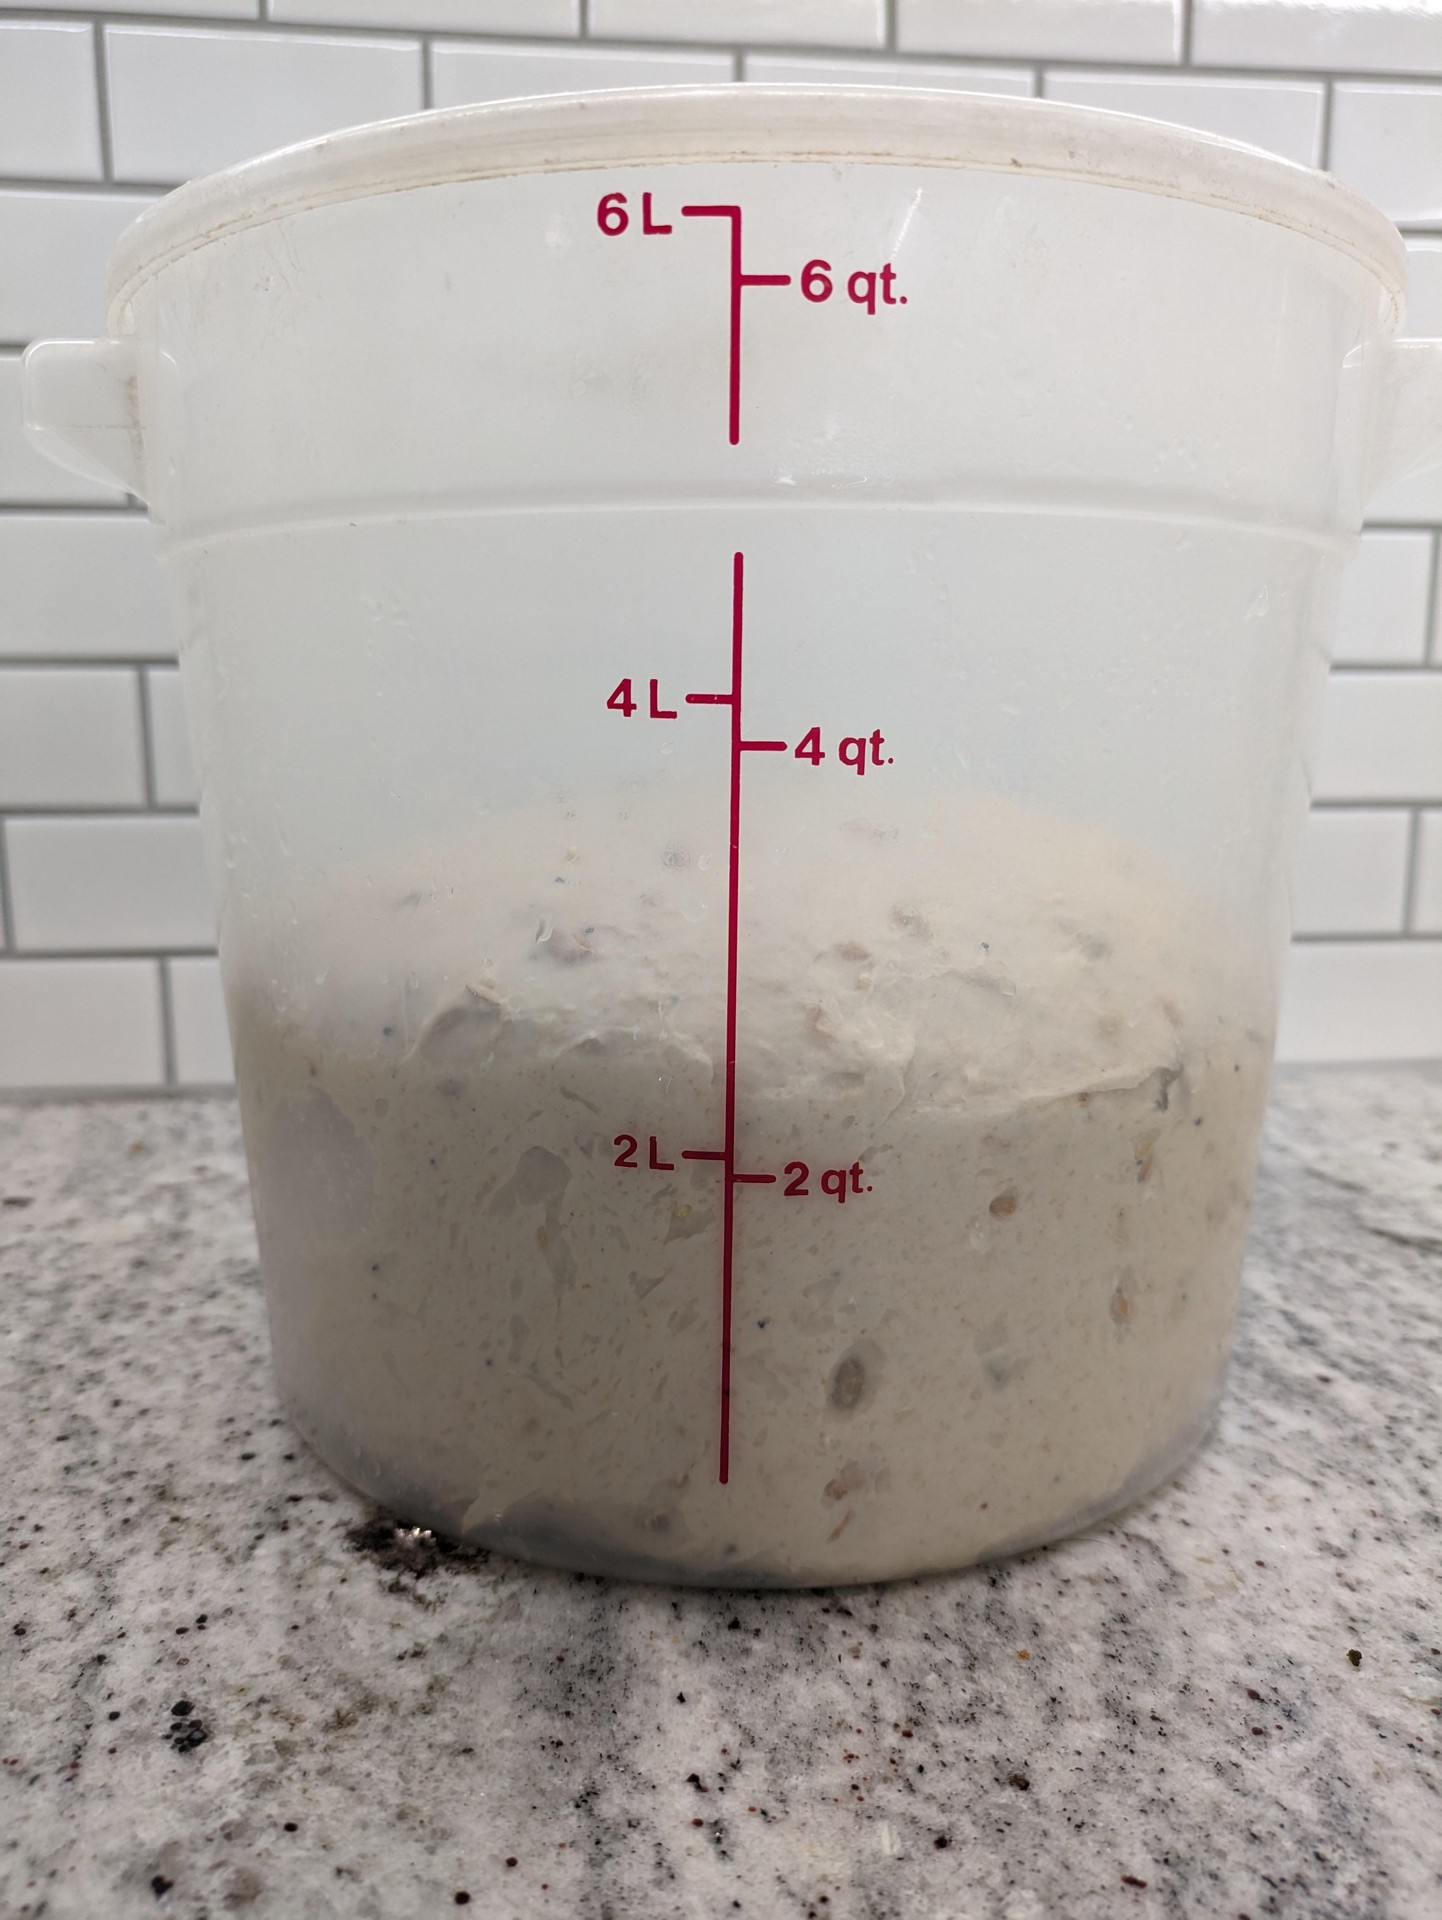
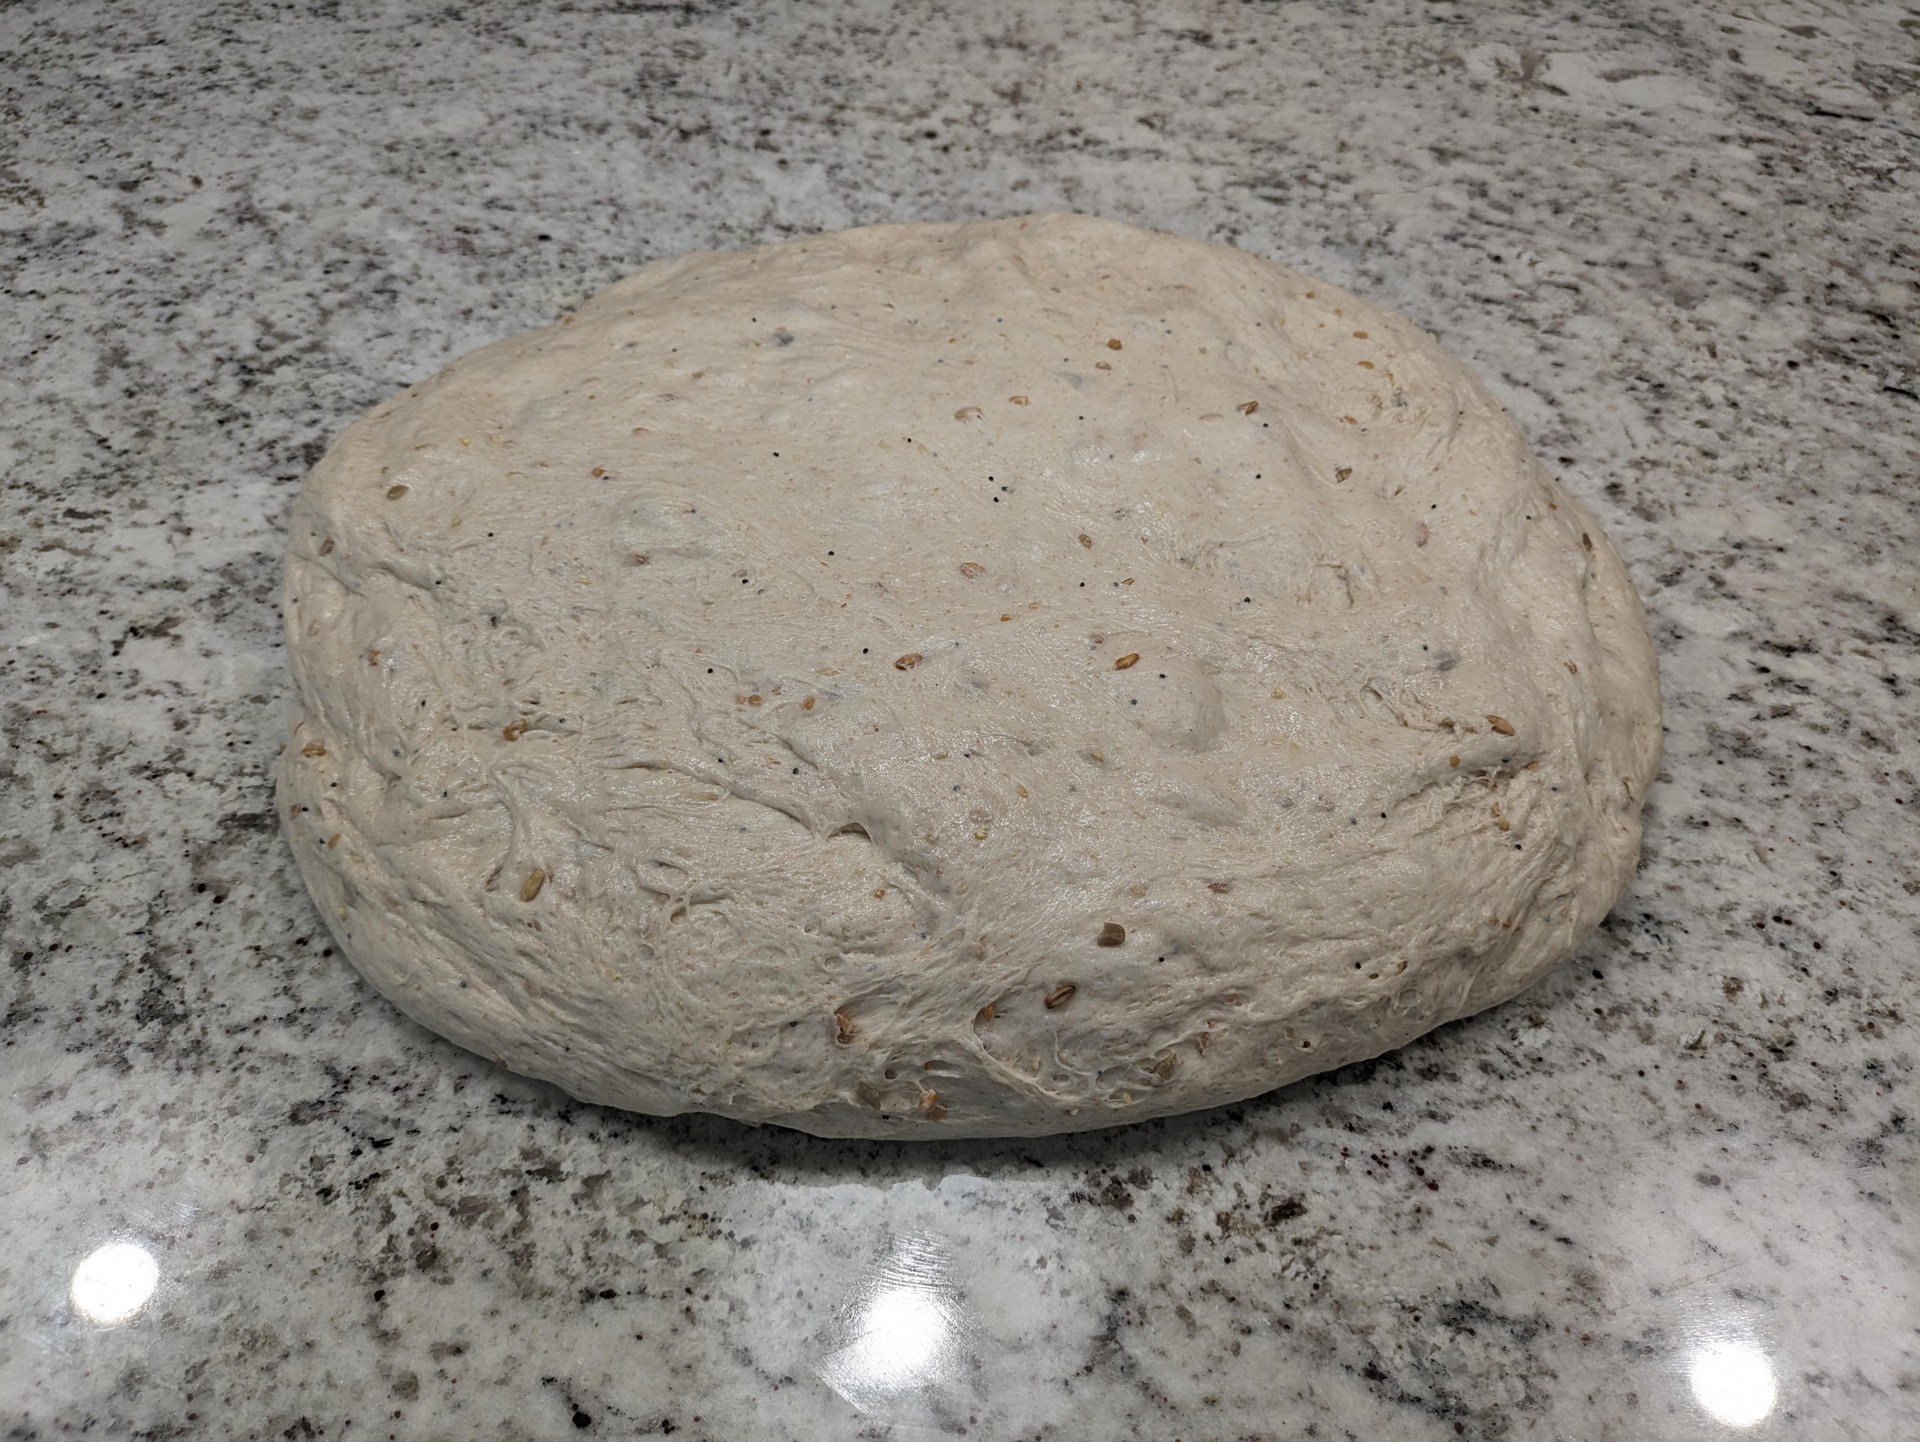
- Remove dough and manipulate with your hands into a tight ball. Put in greased bucket and cover. Let rest until at least doubled

Shape + 2nd Rise
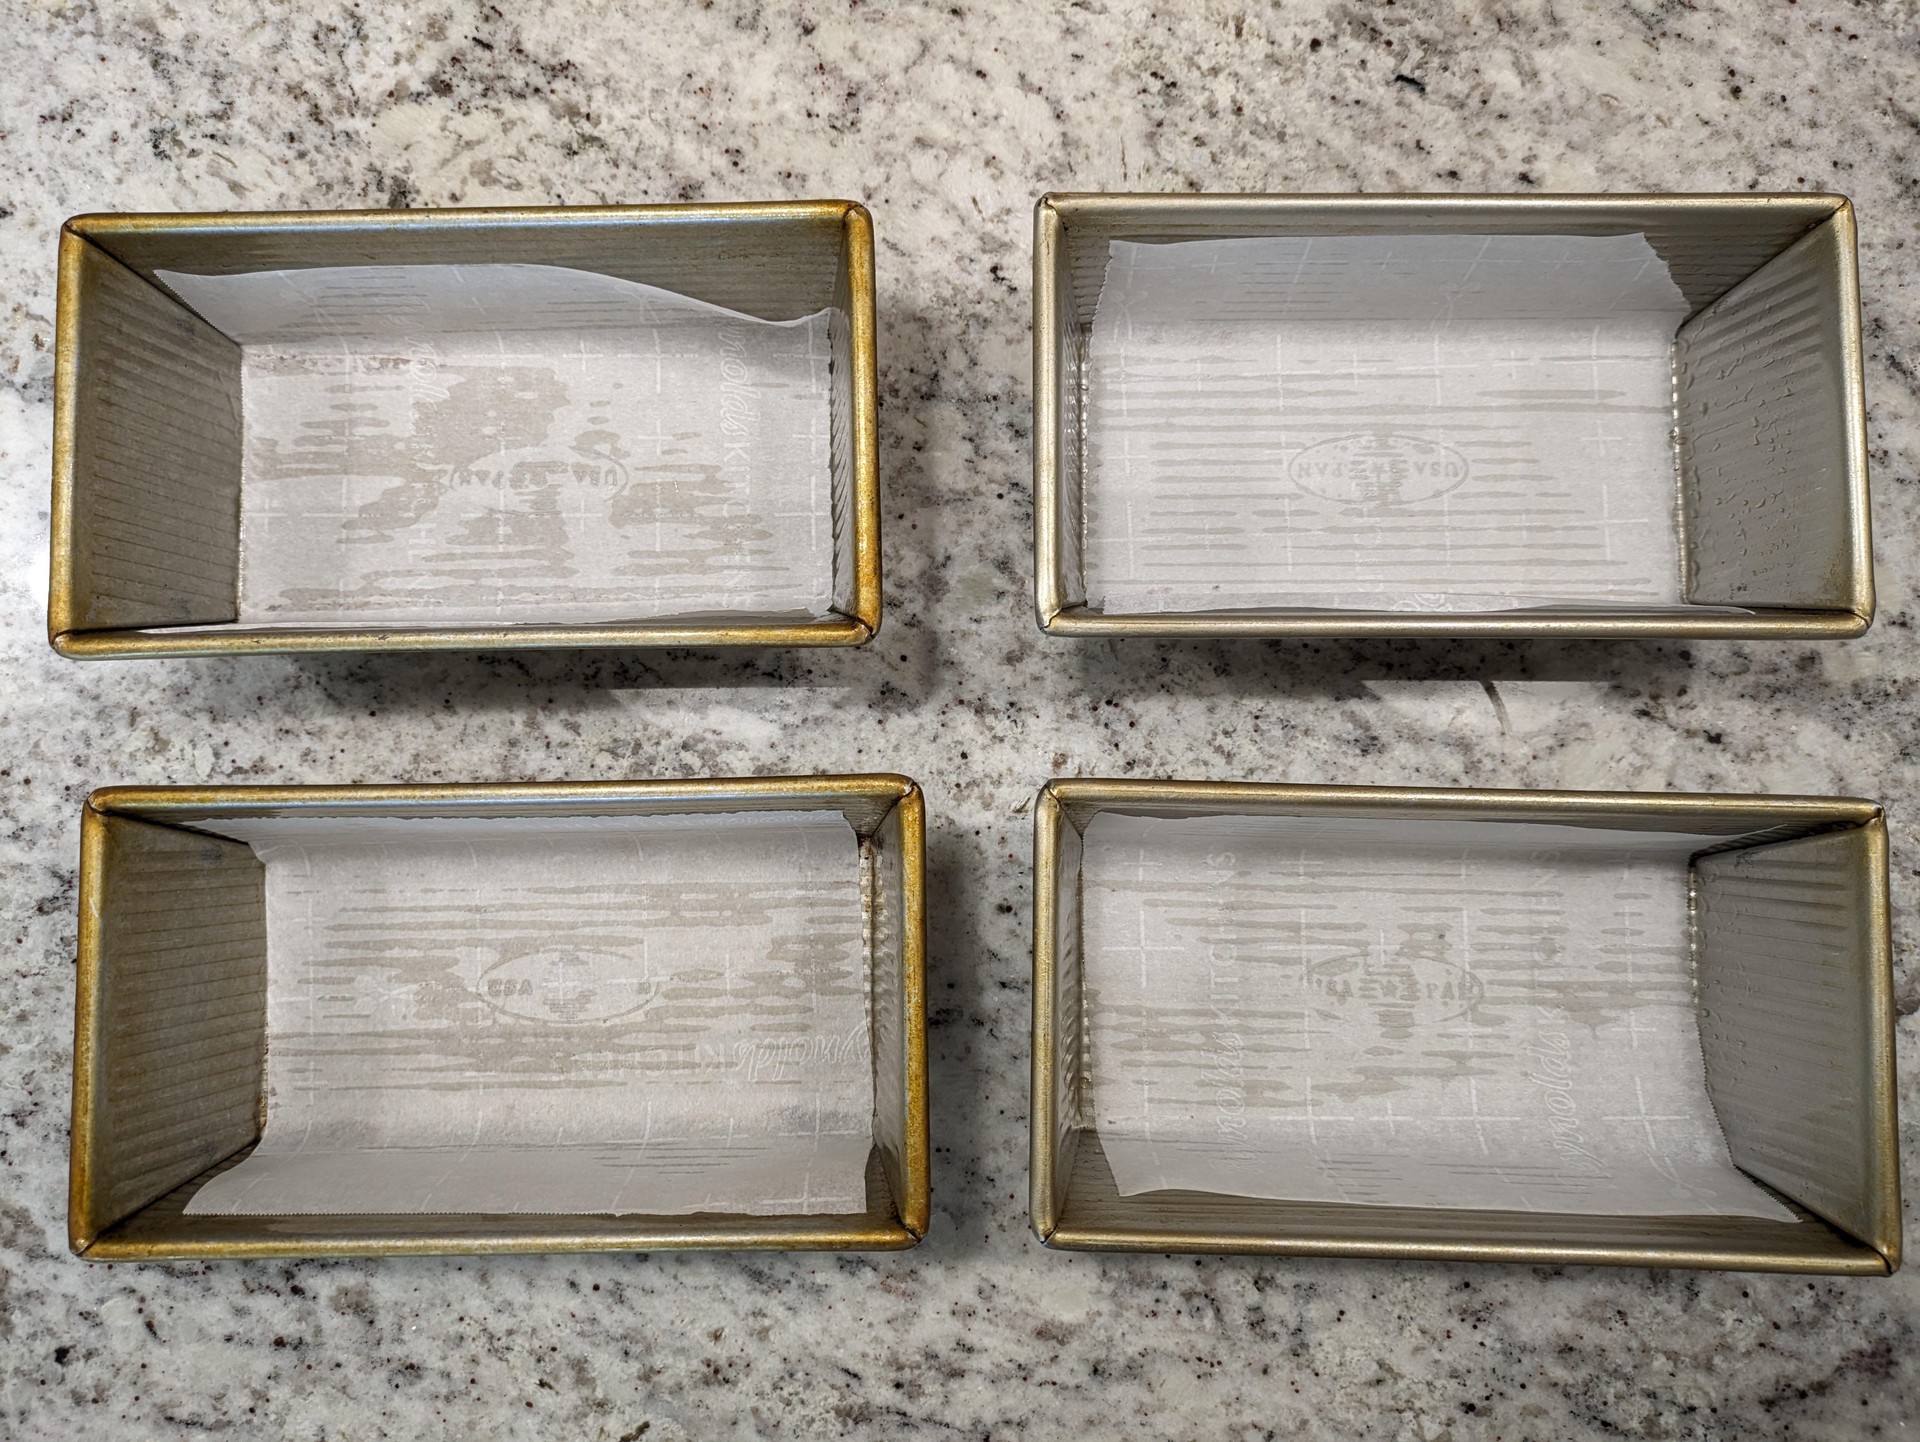
- Grease bread pans and line with parchment paper. Grease counter
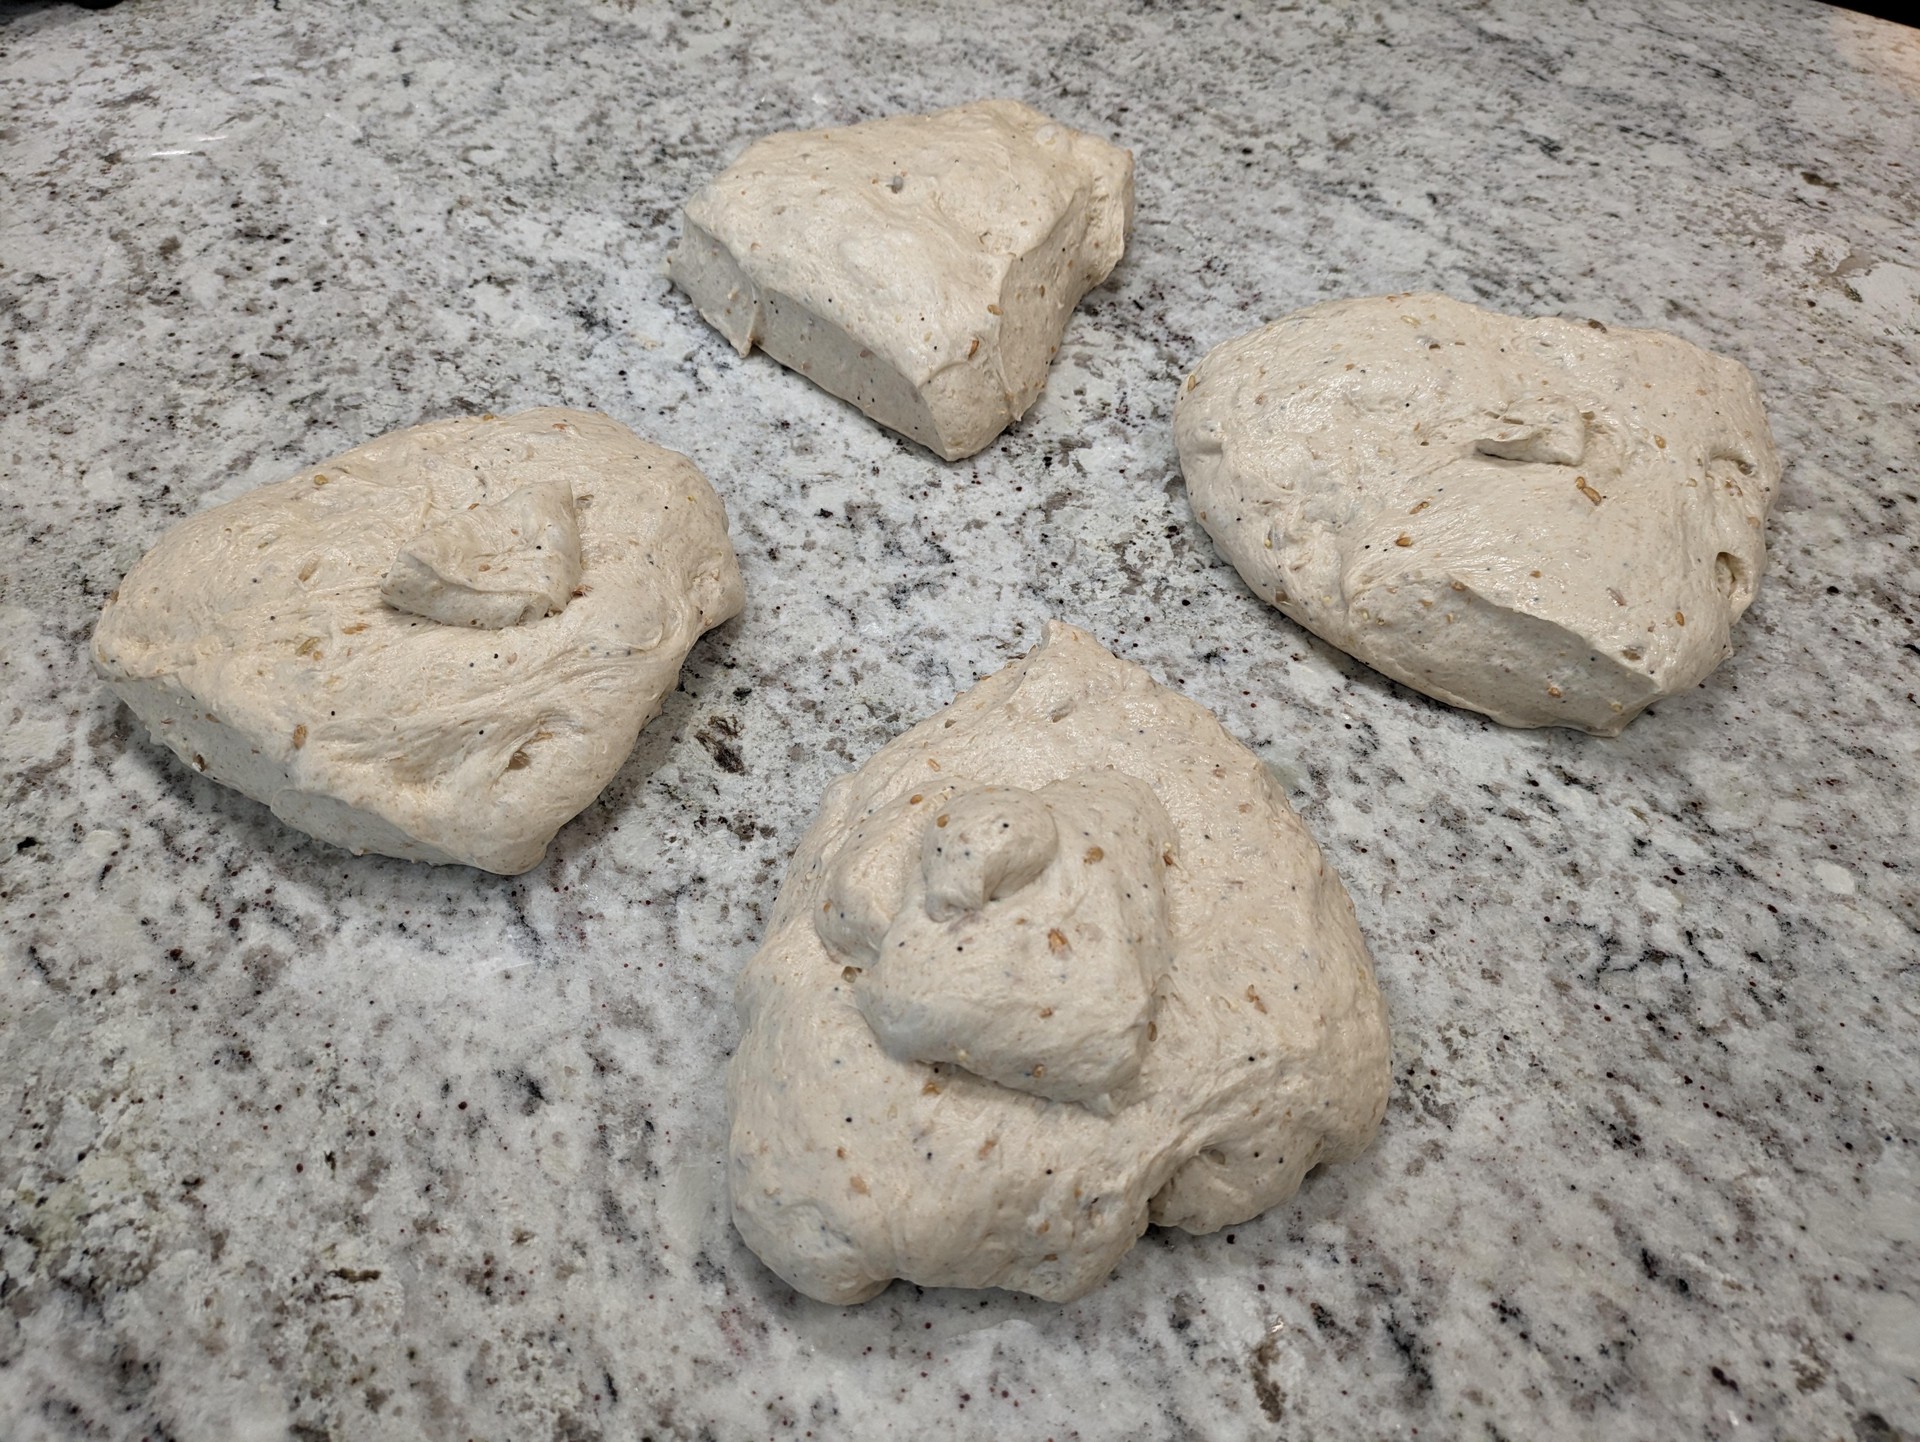
- Punch down dough and dump/scrape onto counter. Divide into 2 pieces, weighing ~800g each
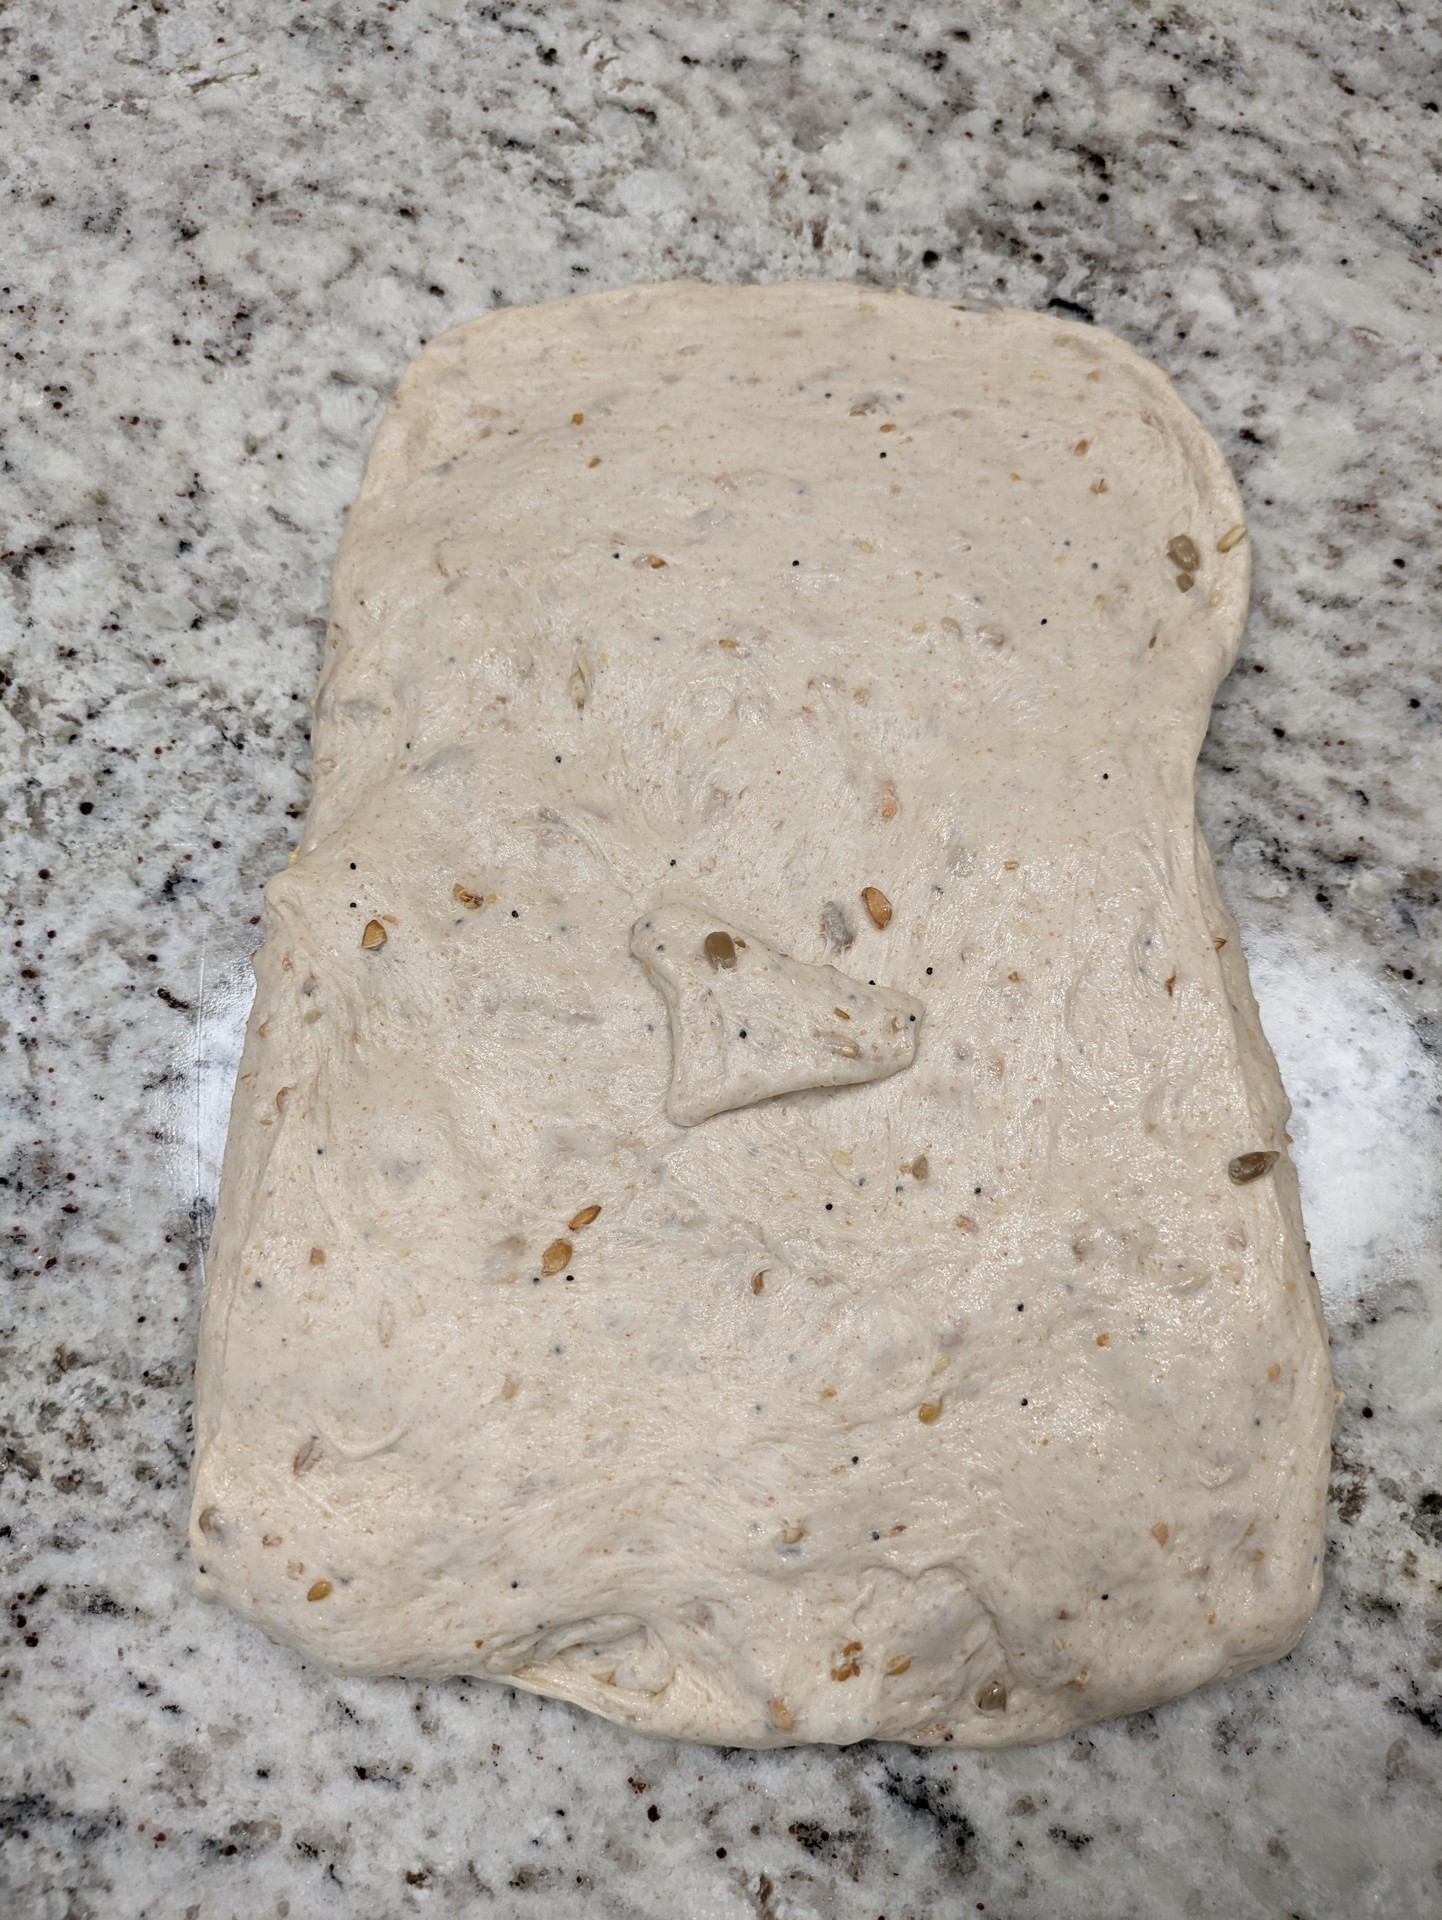
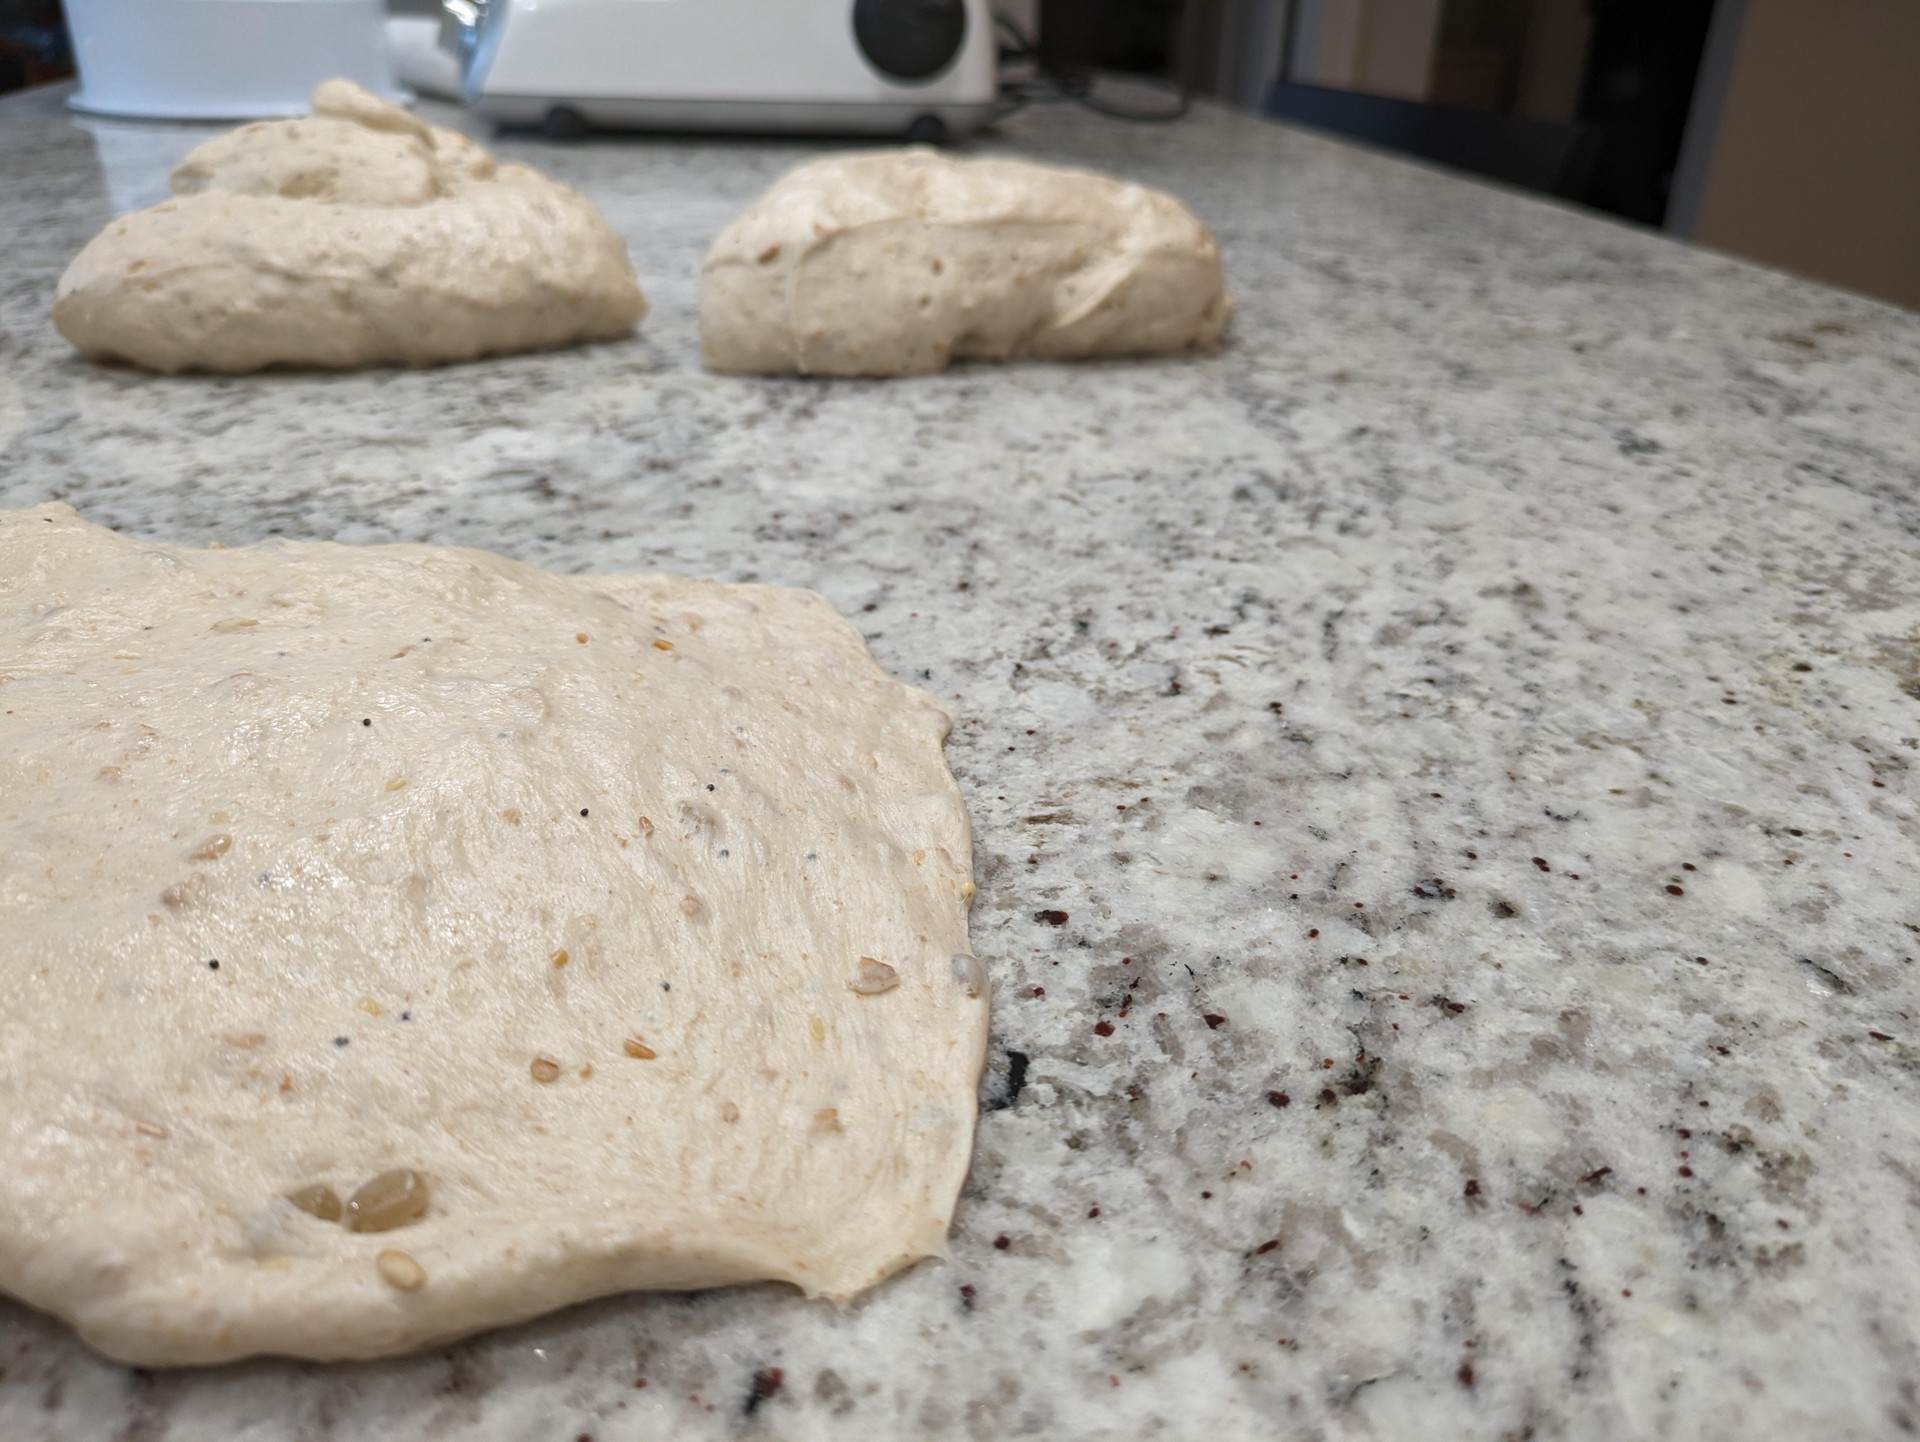
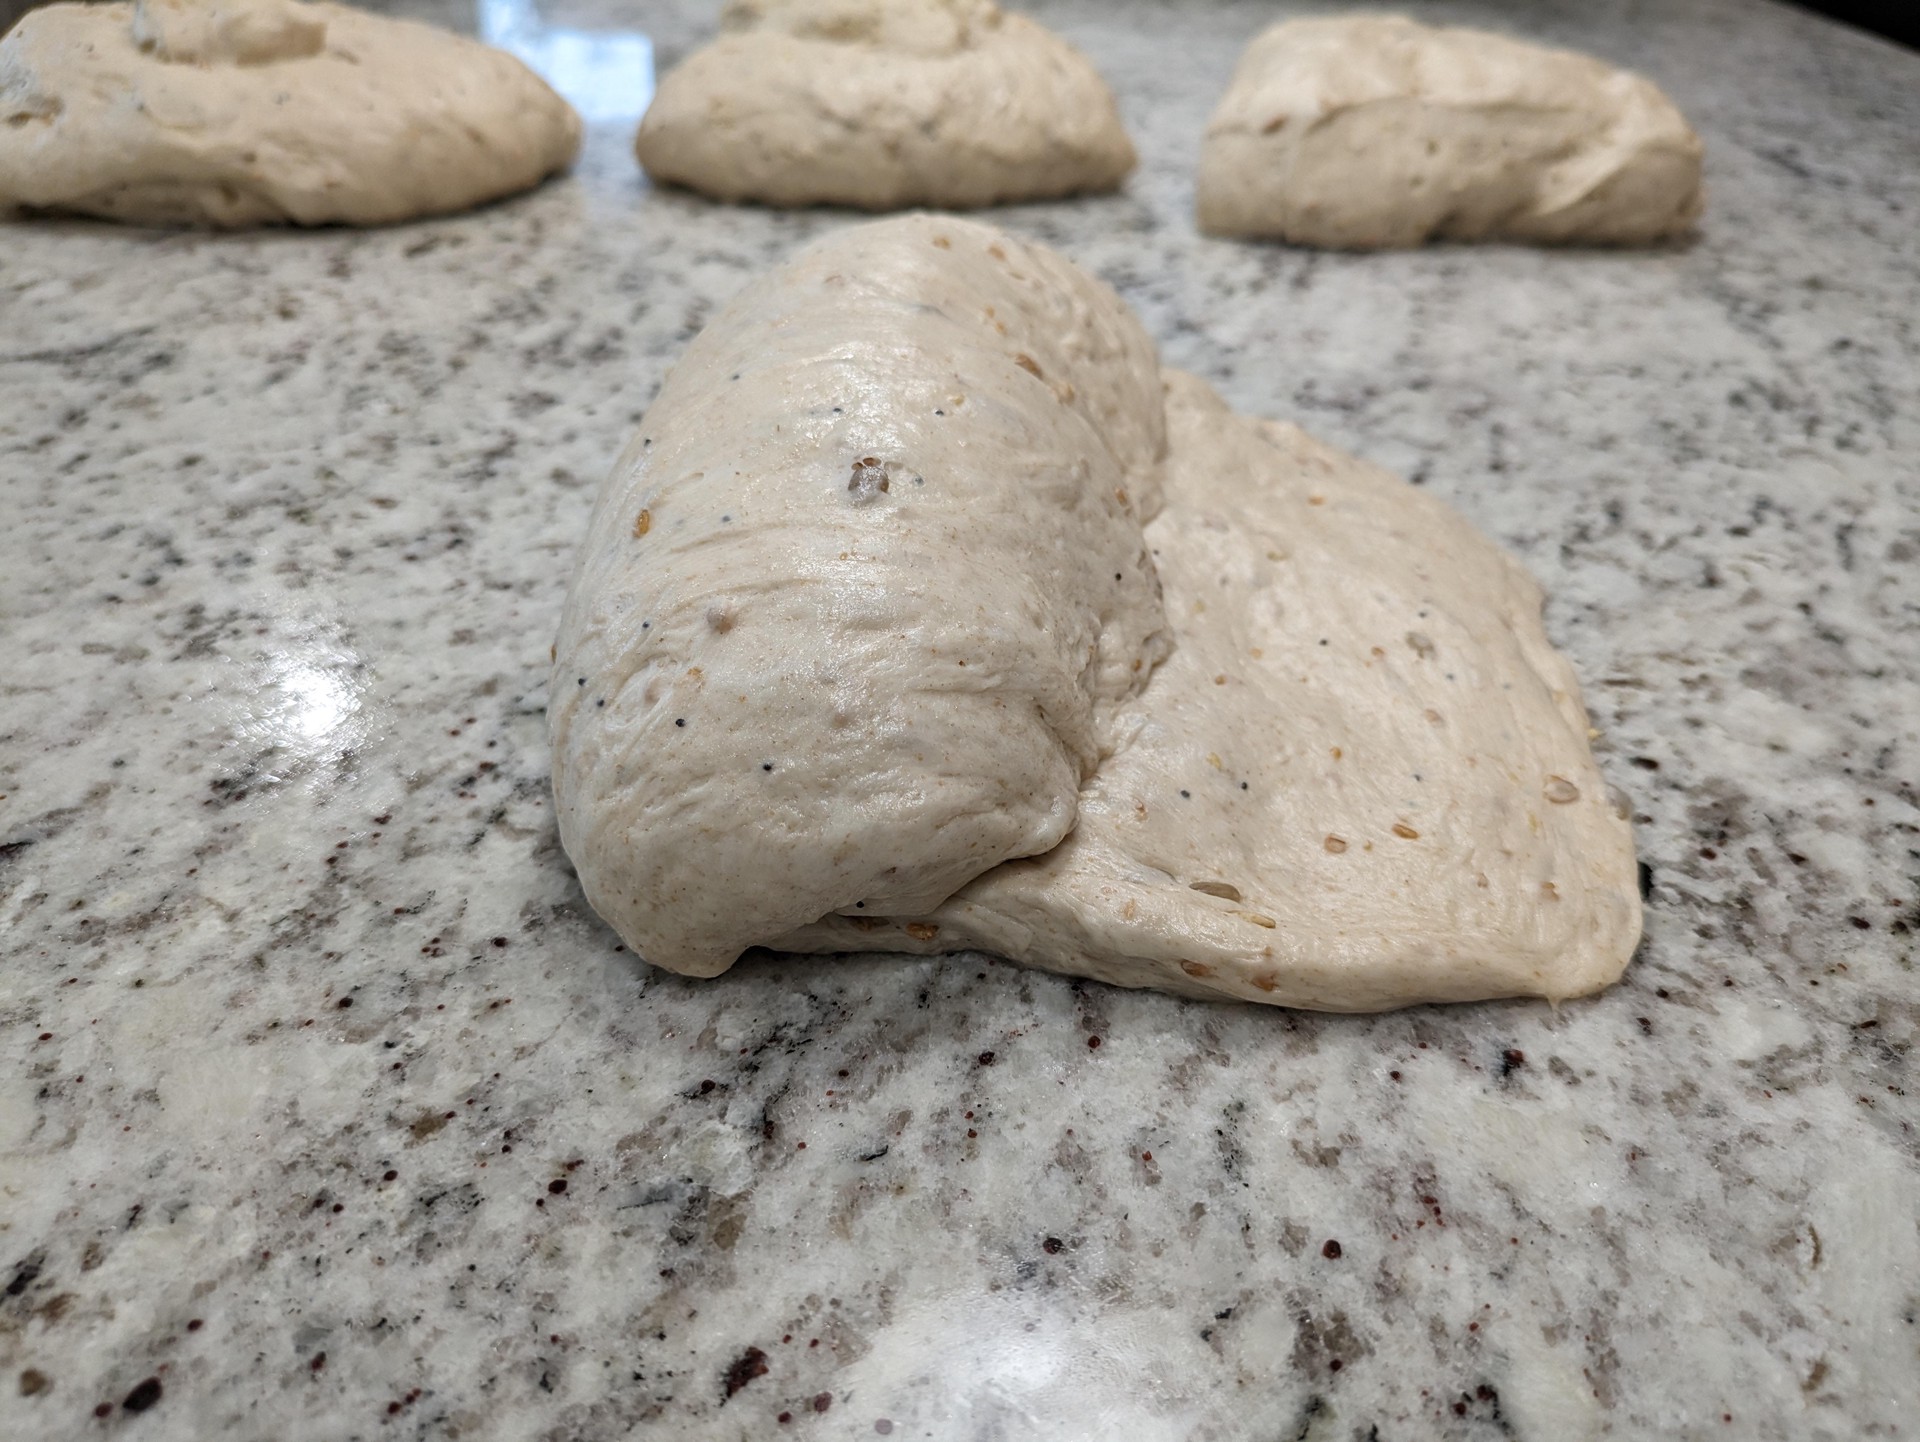
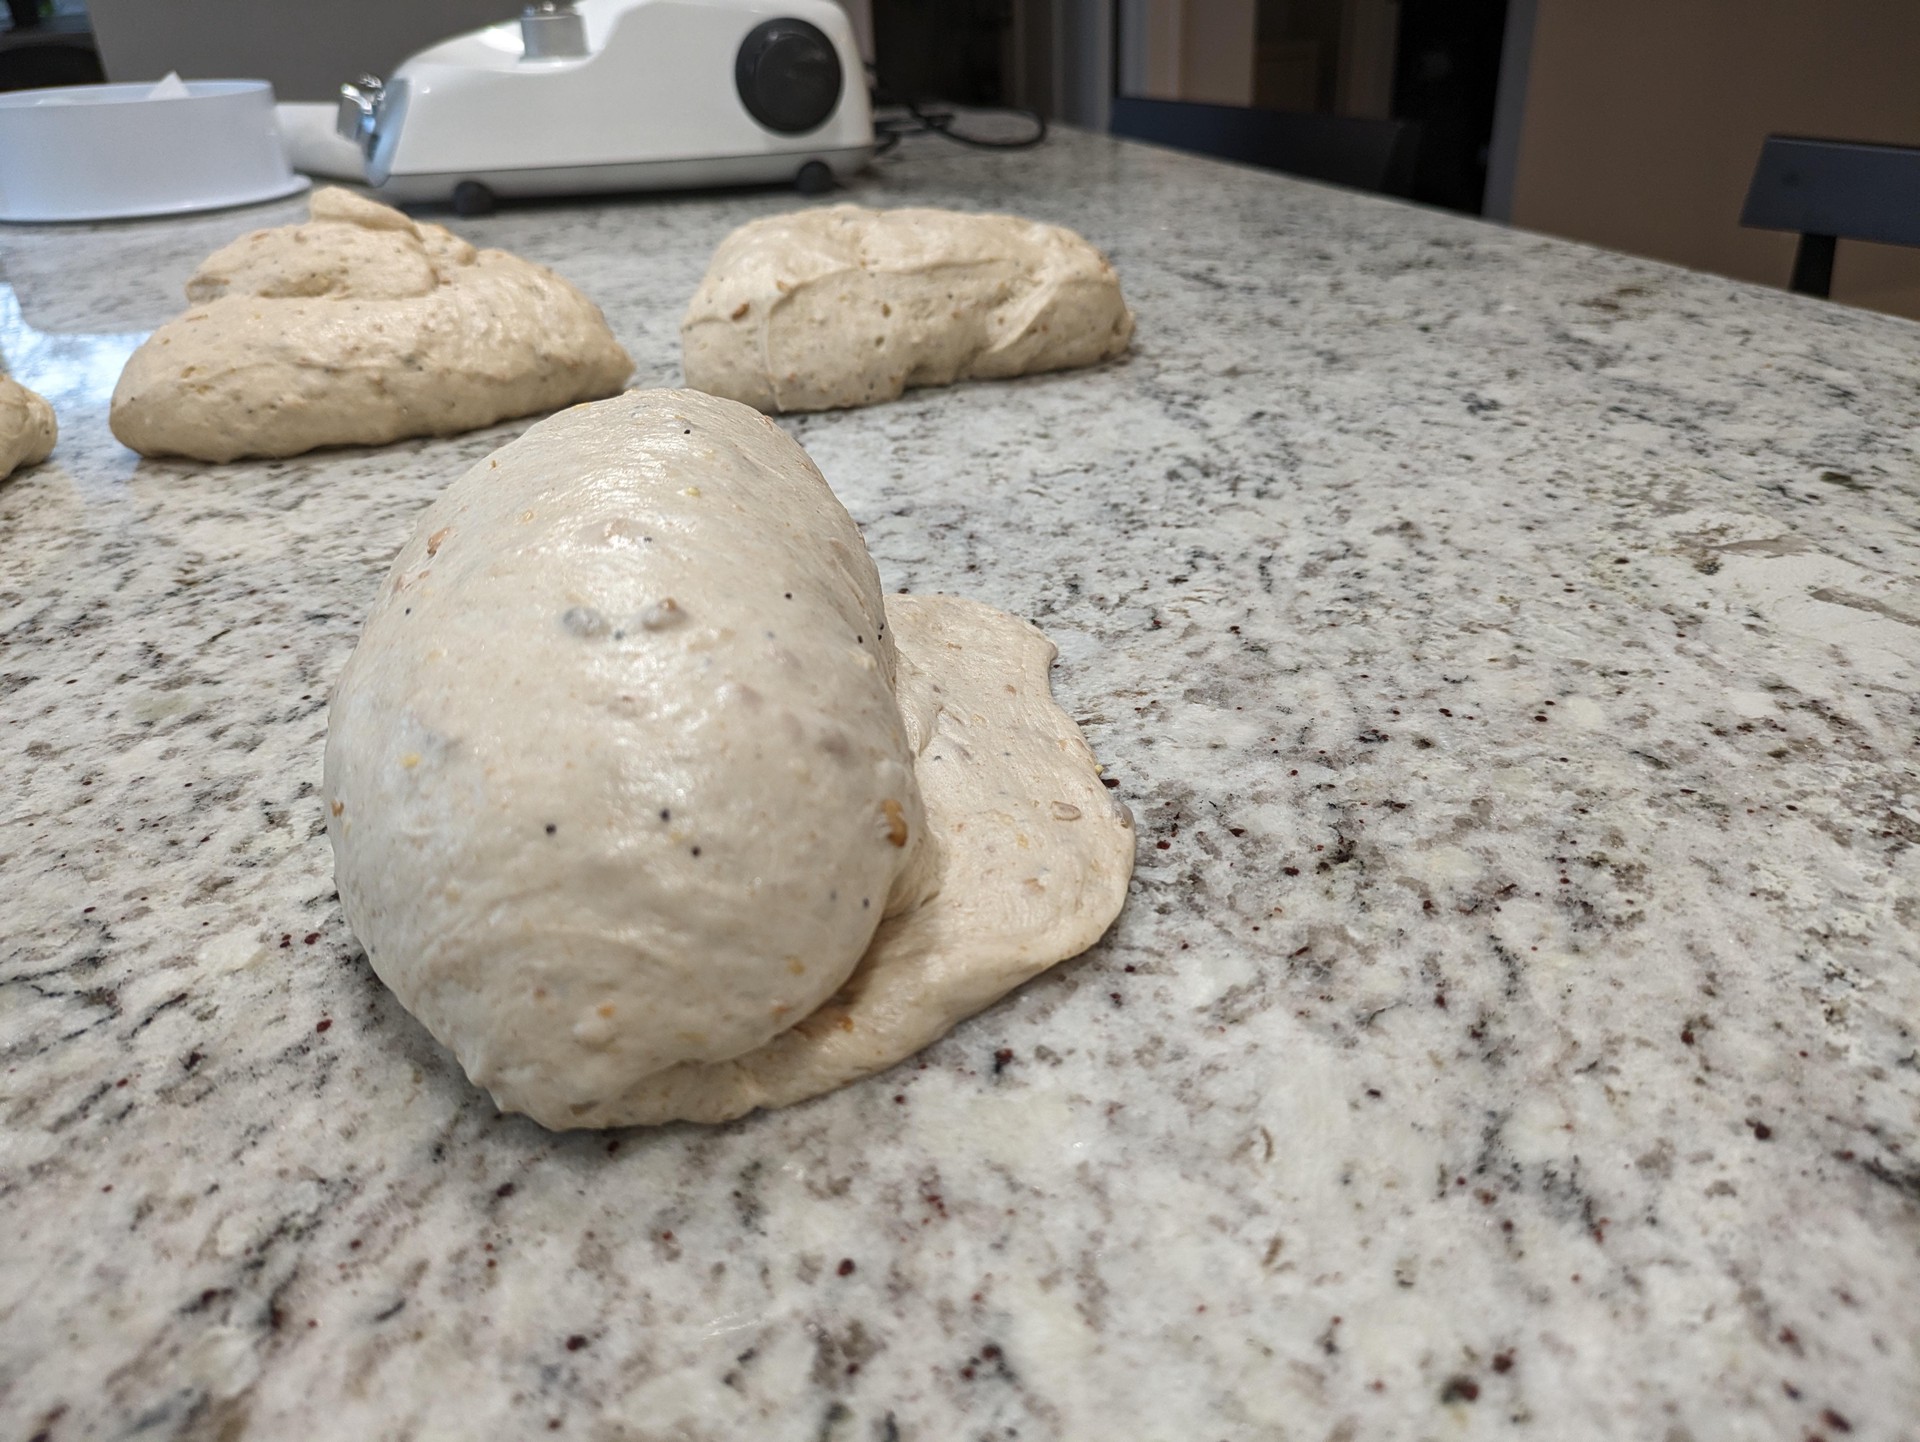
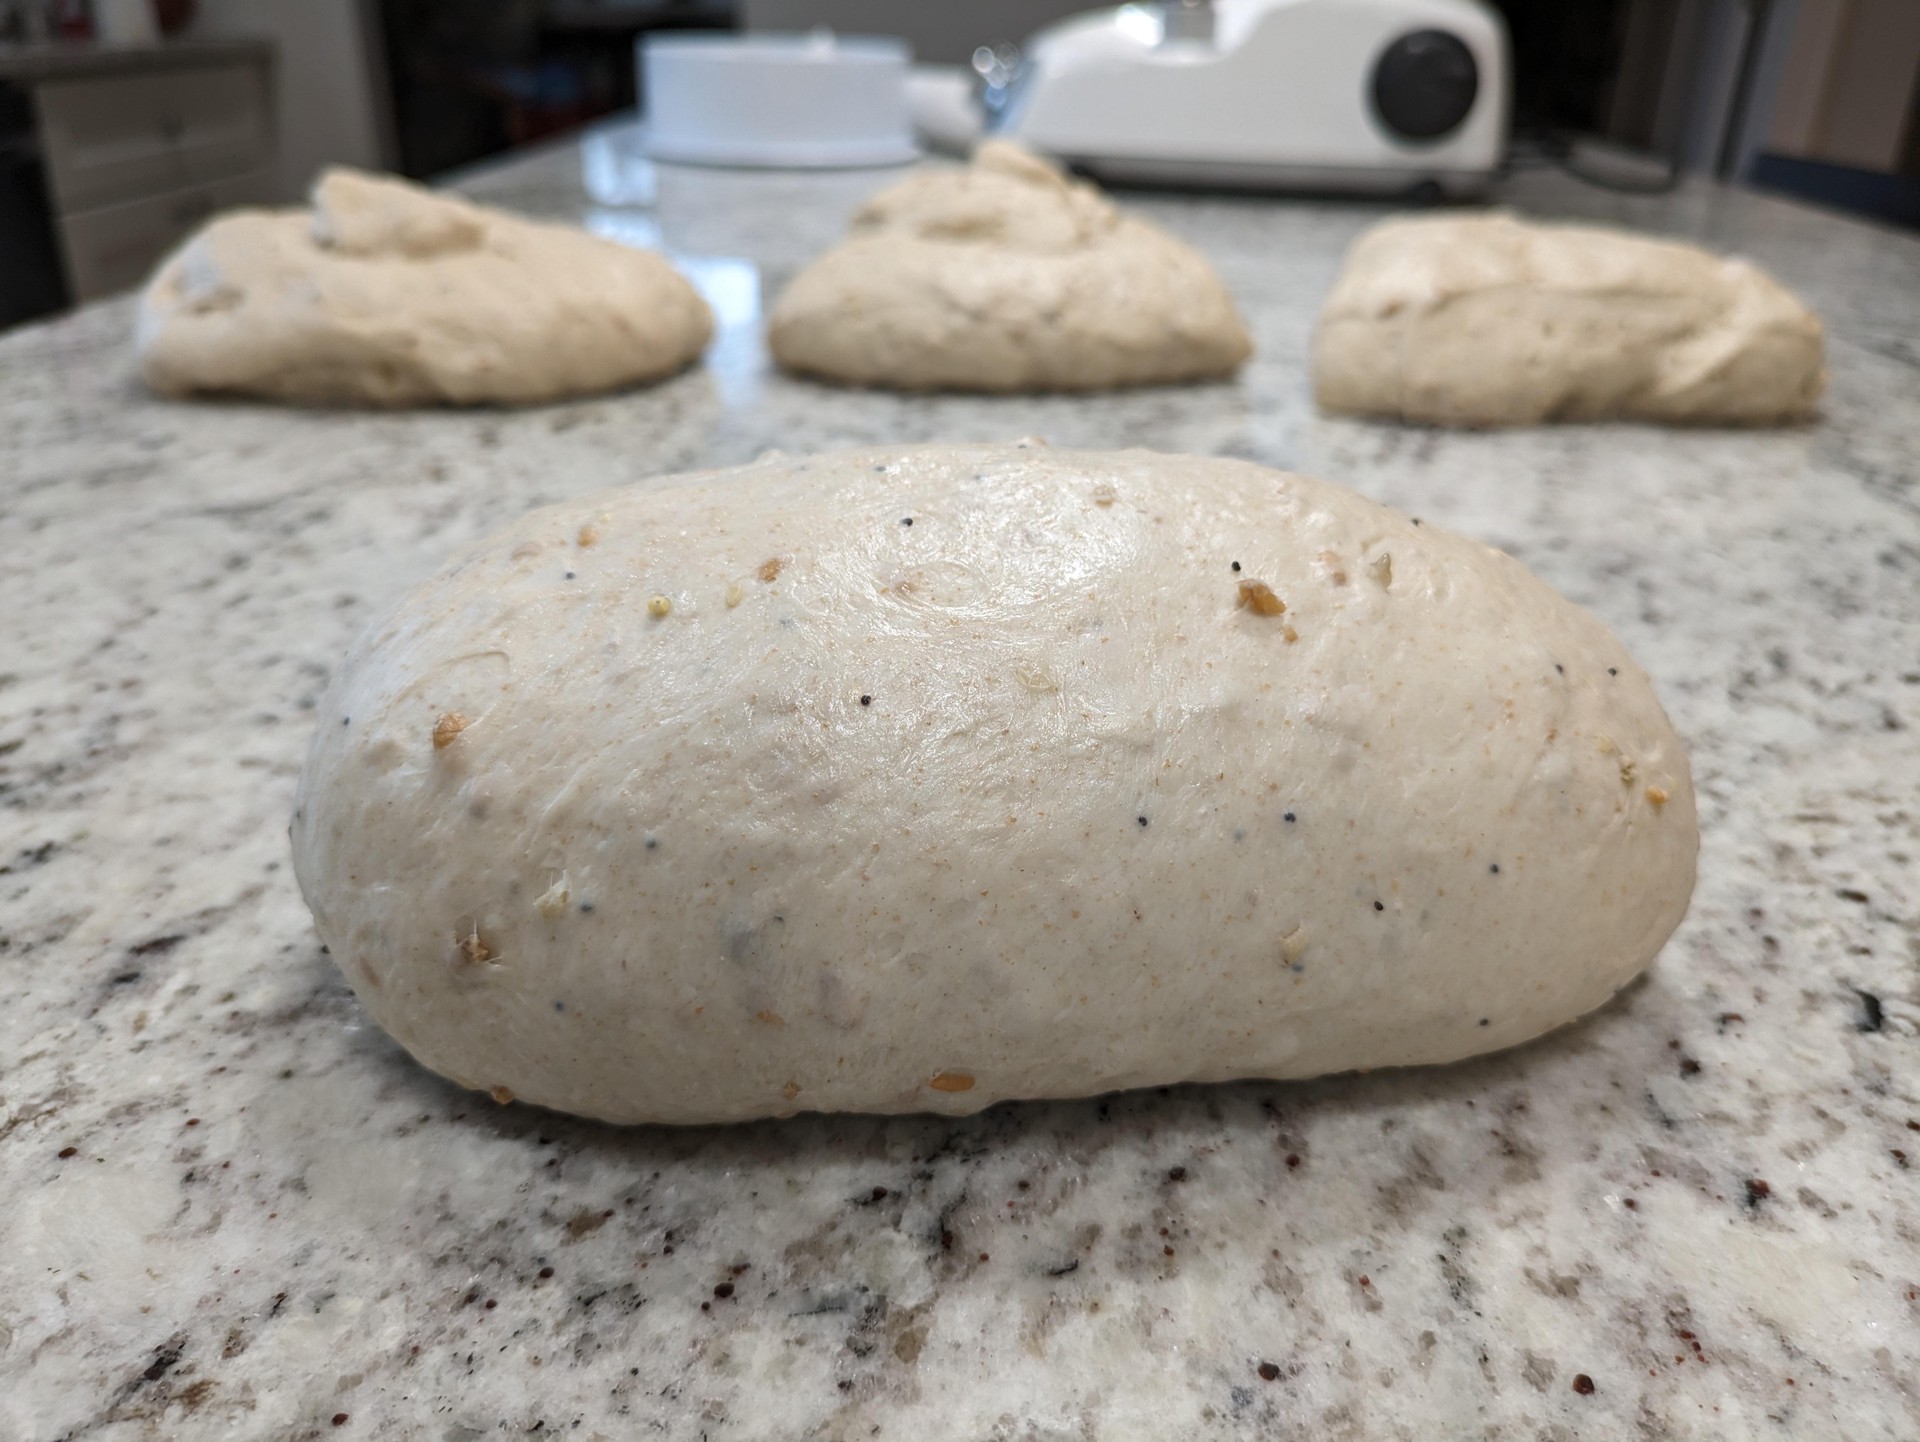
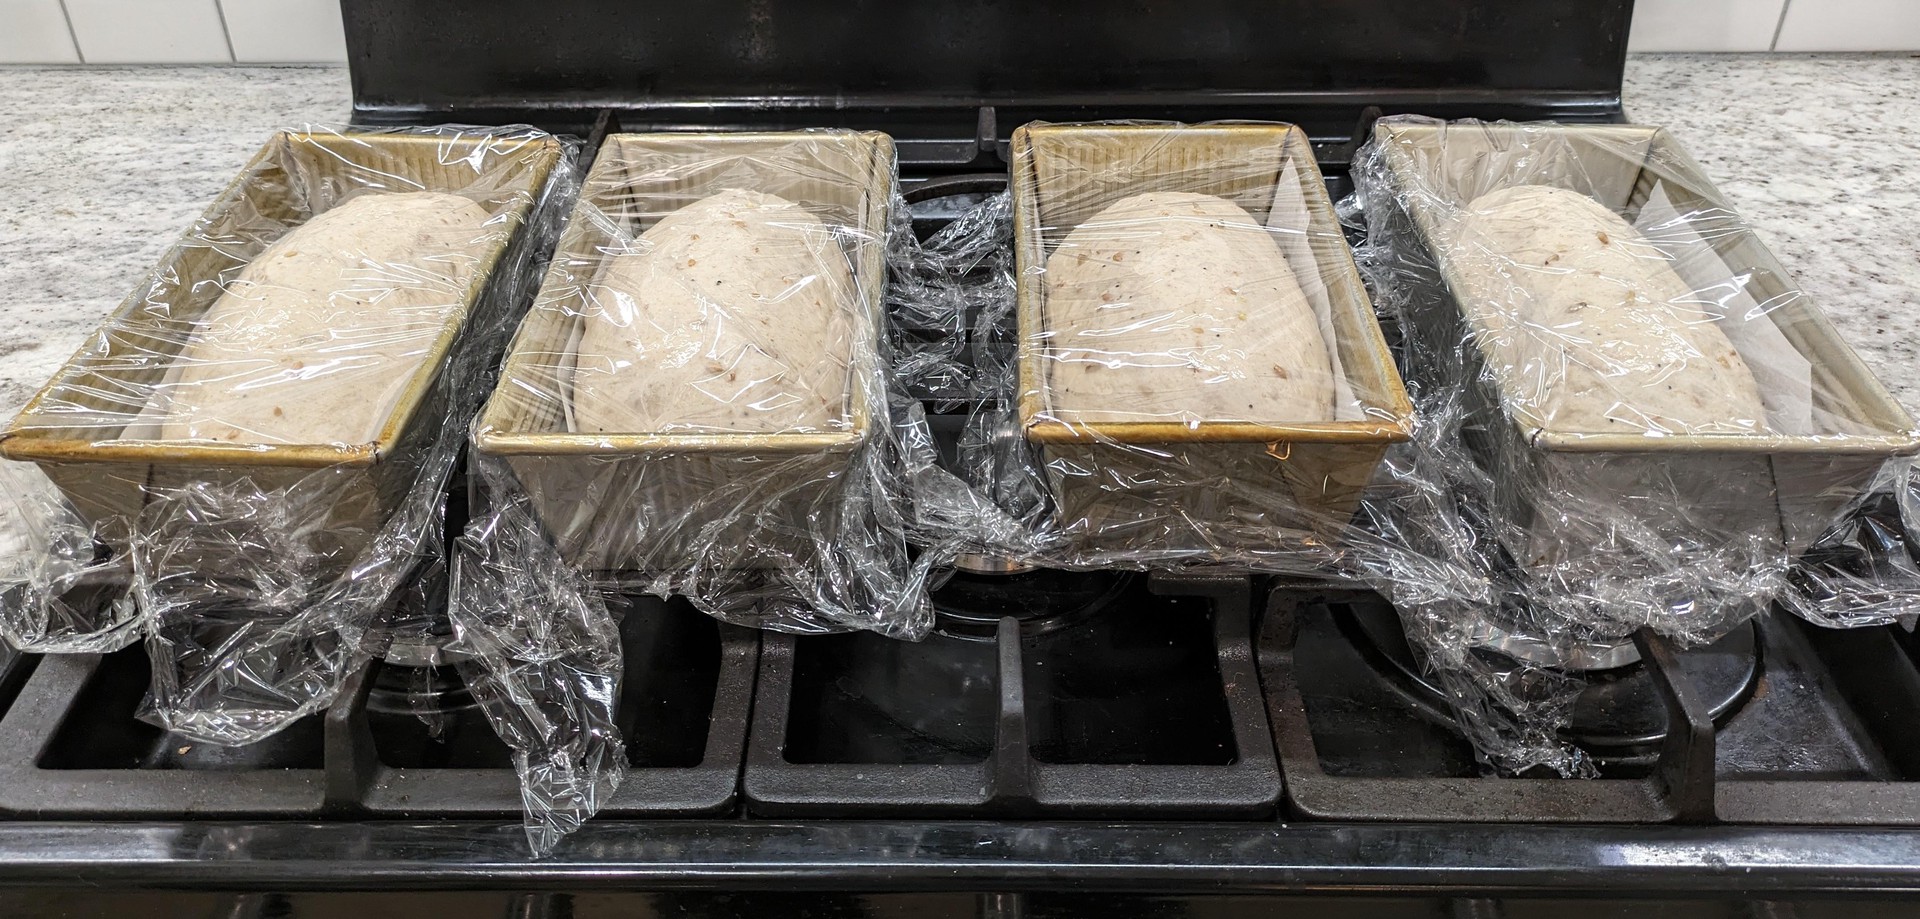
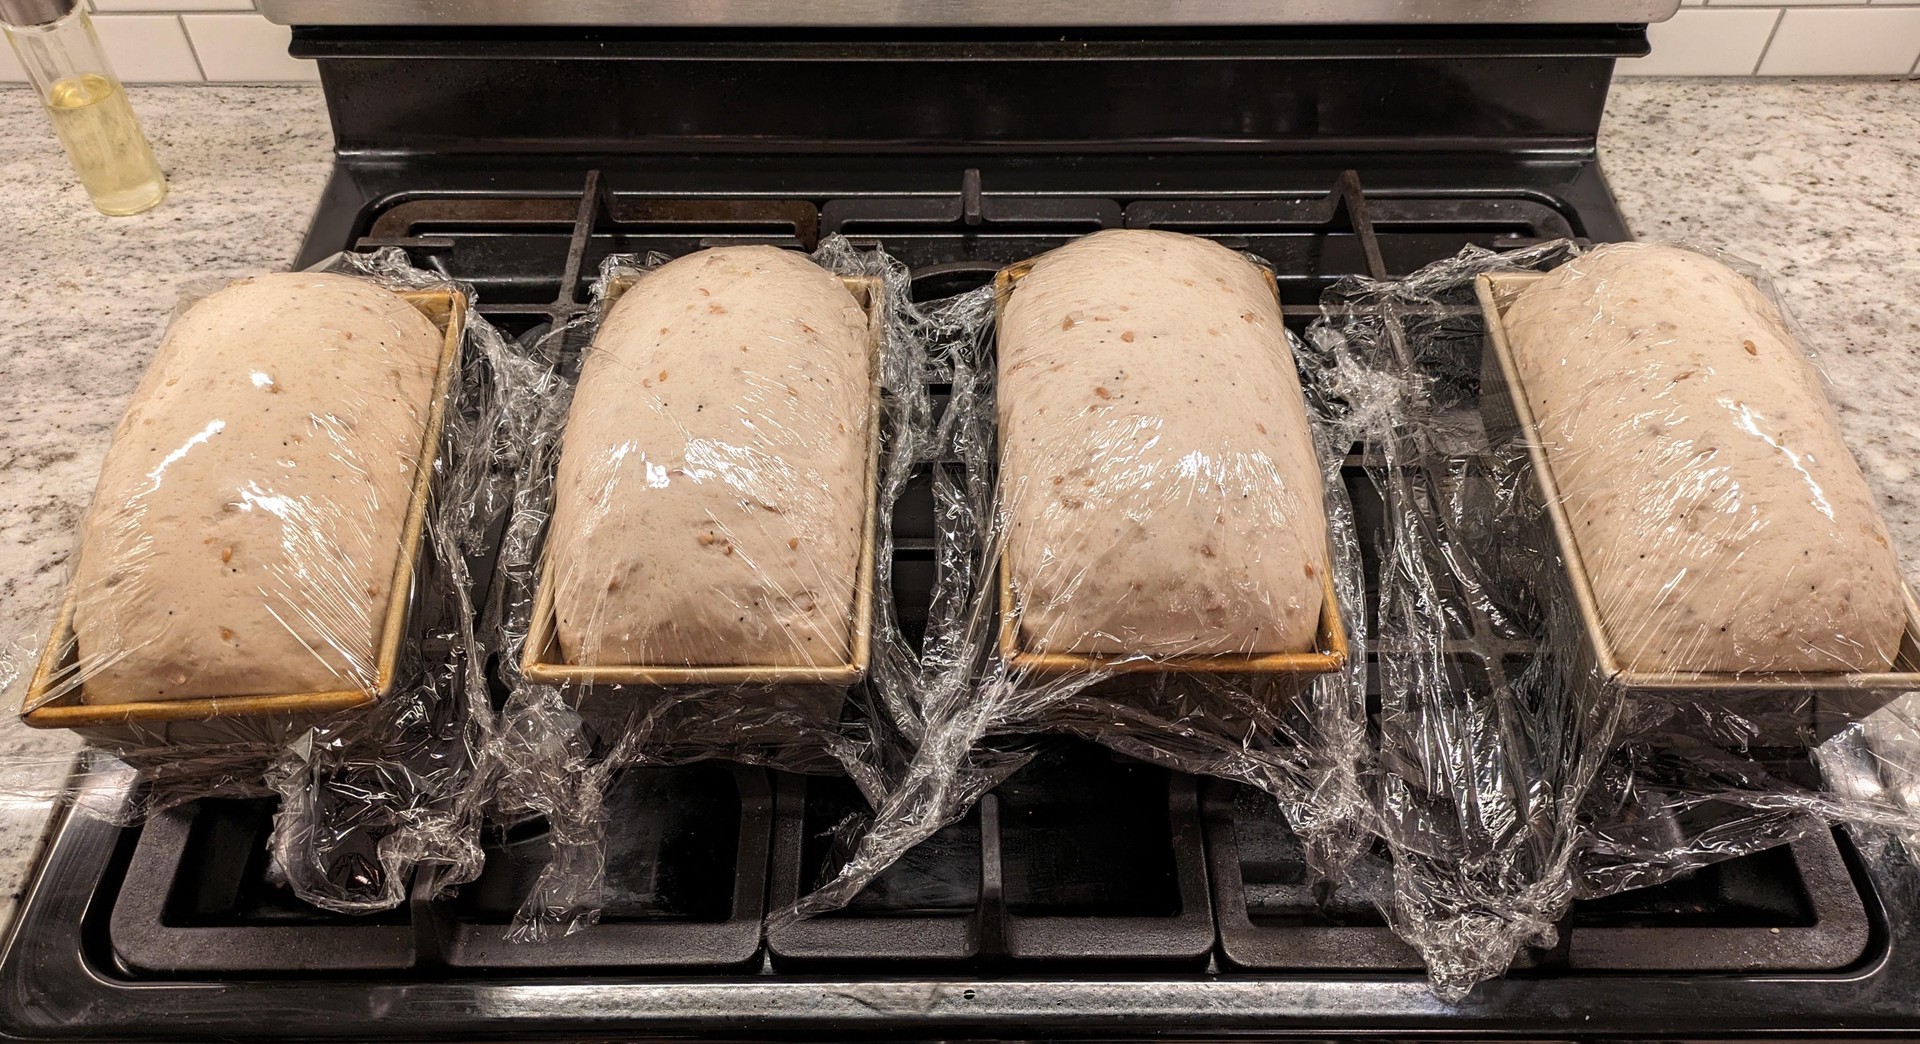
- Pat dough into rectangle roughly the same width as the pans’ length. Press the furthest edge to be thinner3. Then roll from nearest edge a quarter of the way, pulling back and tucking, to build tension. Repeat until you reach the end, then use your palm to smoosh and seal the seams. Then cup your hands into a C shape and use your palms to fix up the shape and add some tension. Transfer to the bread pan and cover with greased plastic wrap
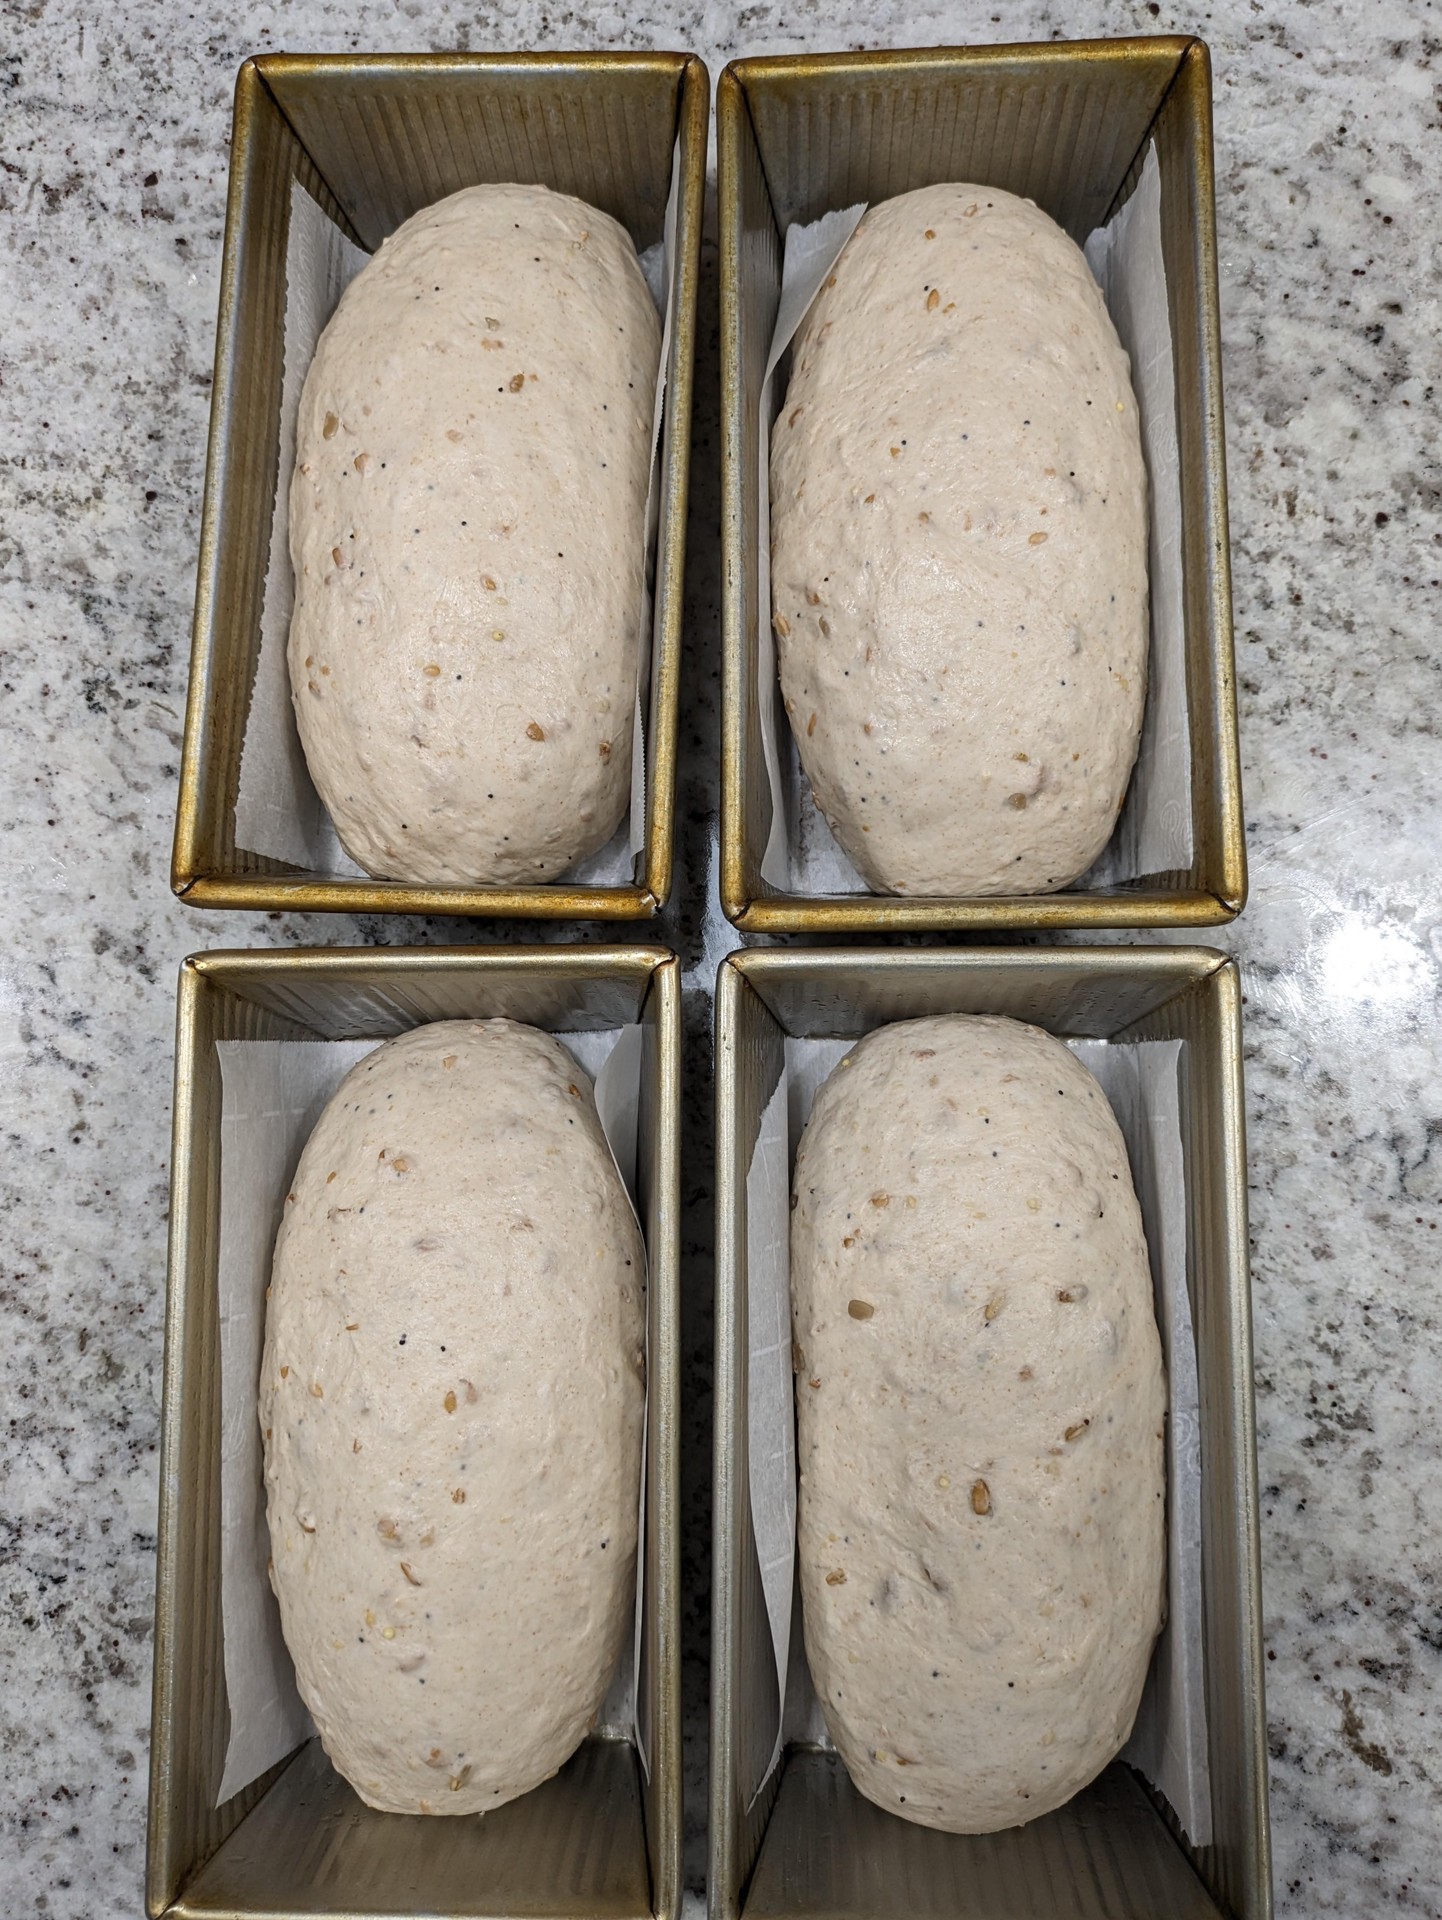
- Let rest until the dough sticks out of the pan by 1-2 inches. The dough should pass the poke test through the plastic wrap, leaving the imprint and not springing back.


Bake
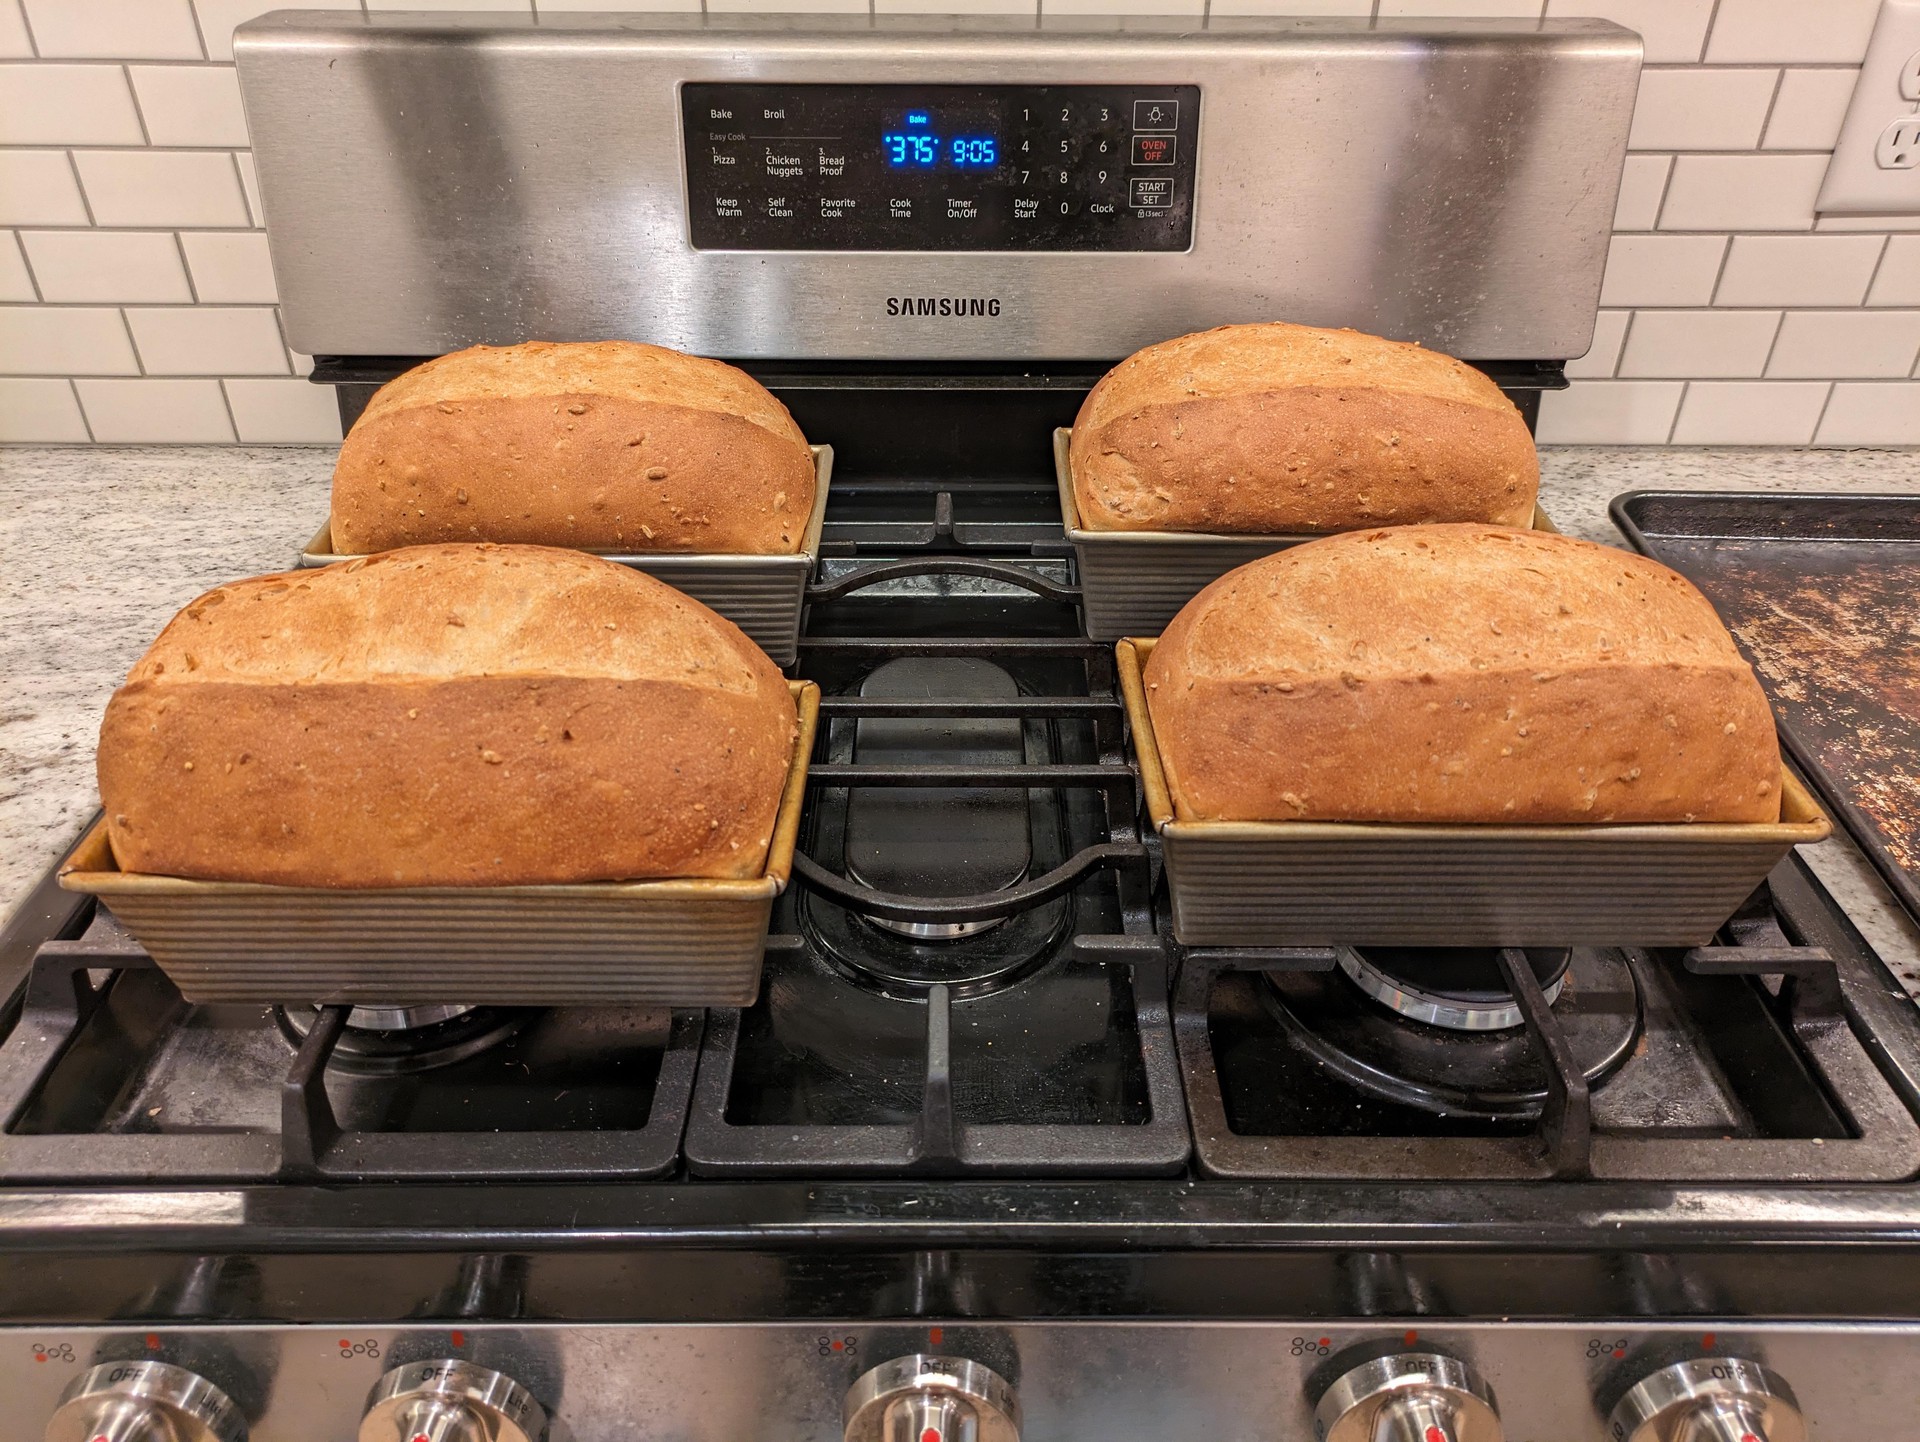
- Get oven to 425°F
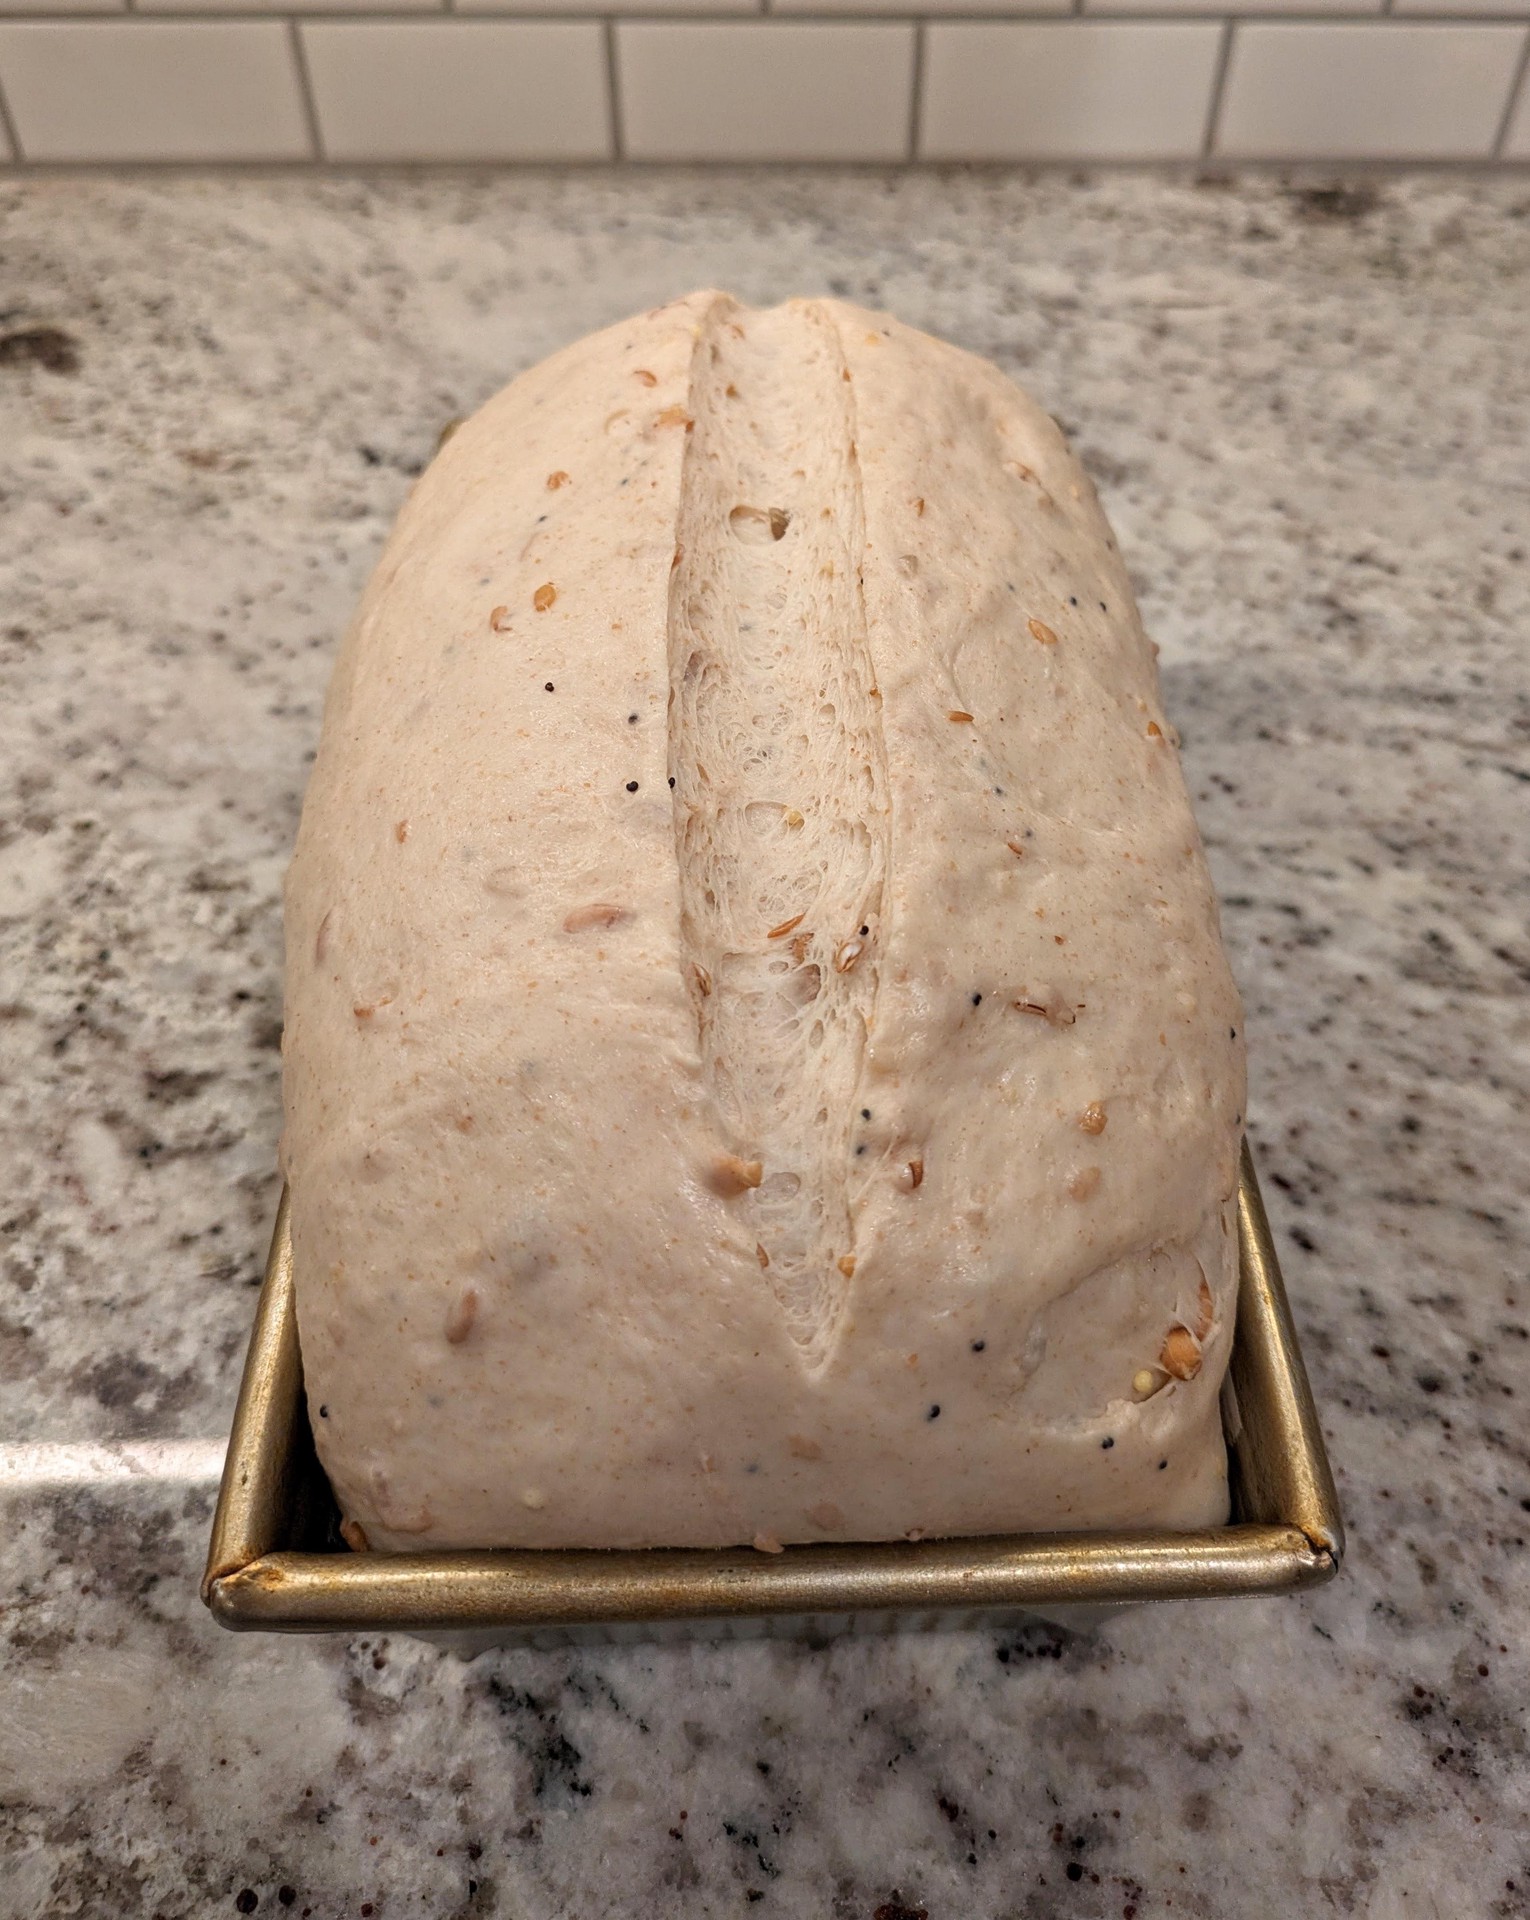
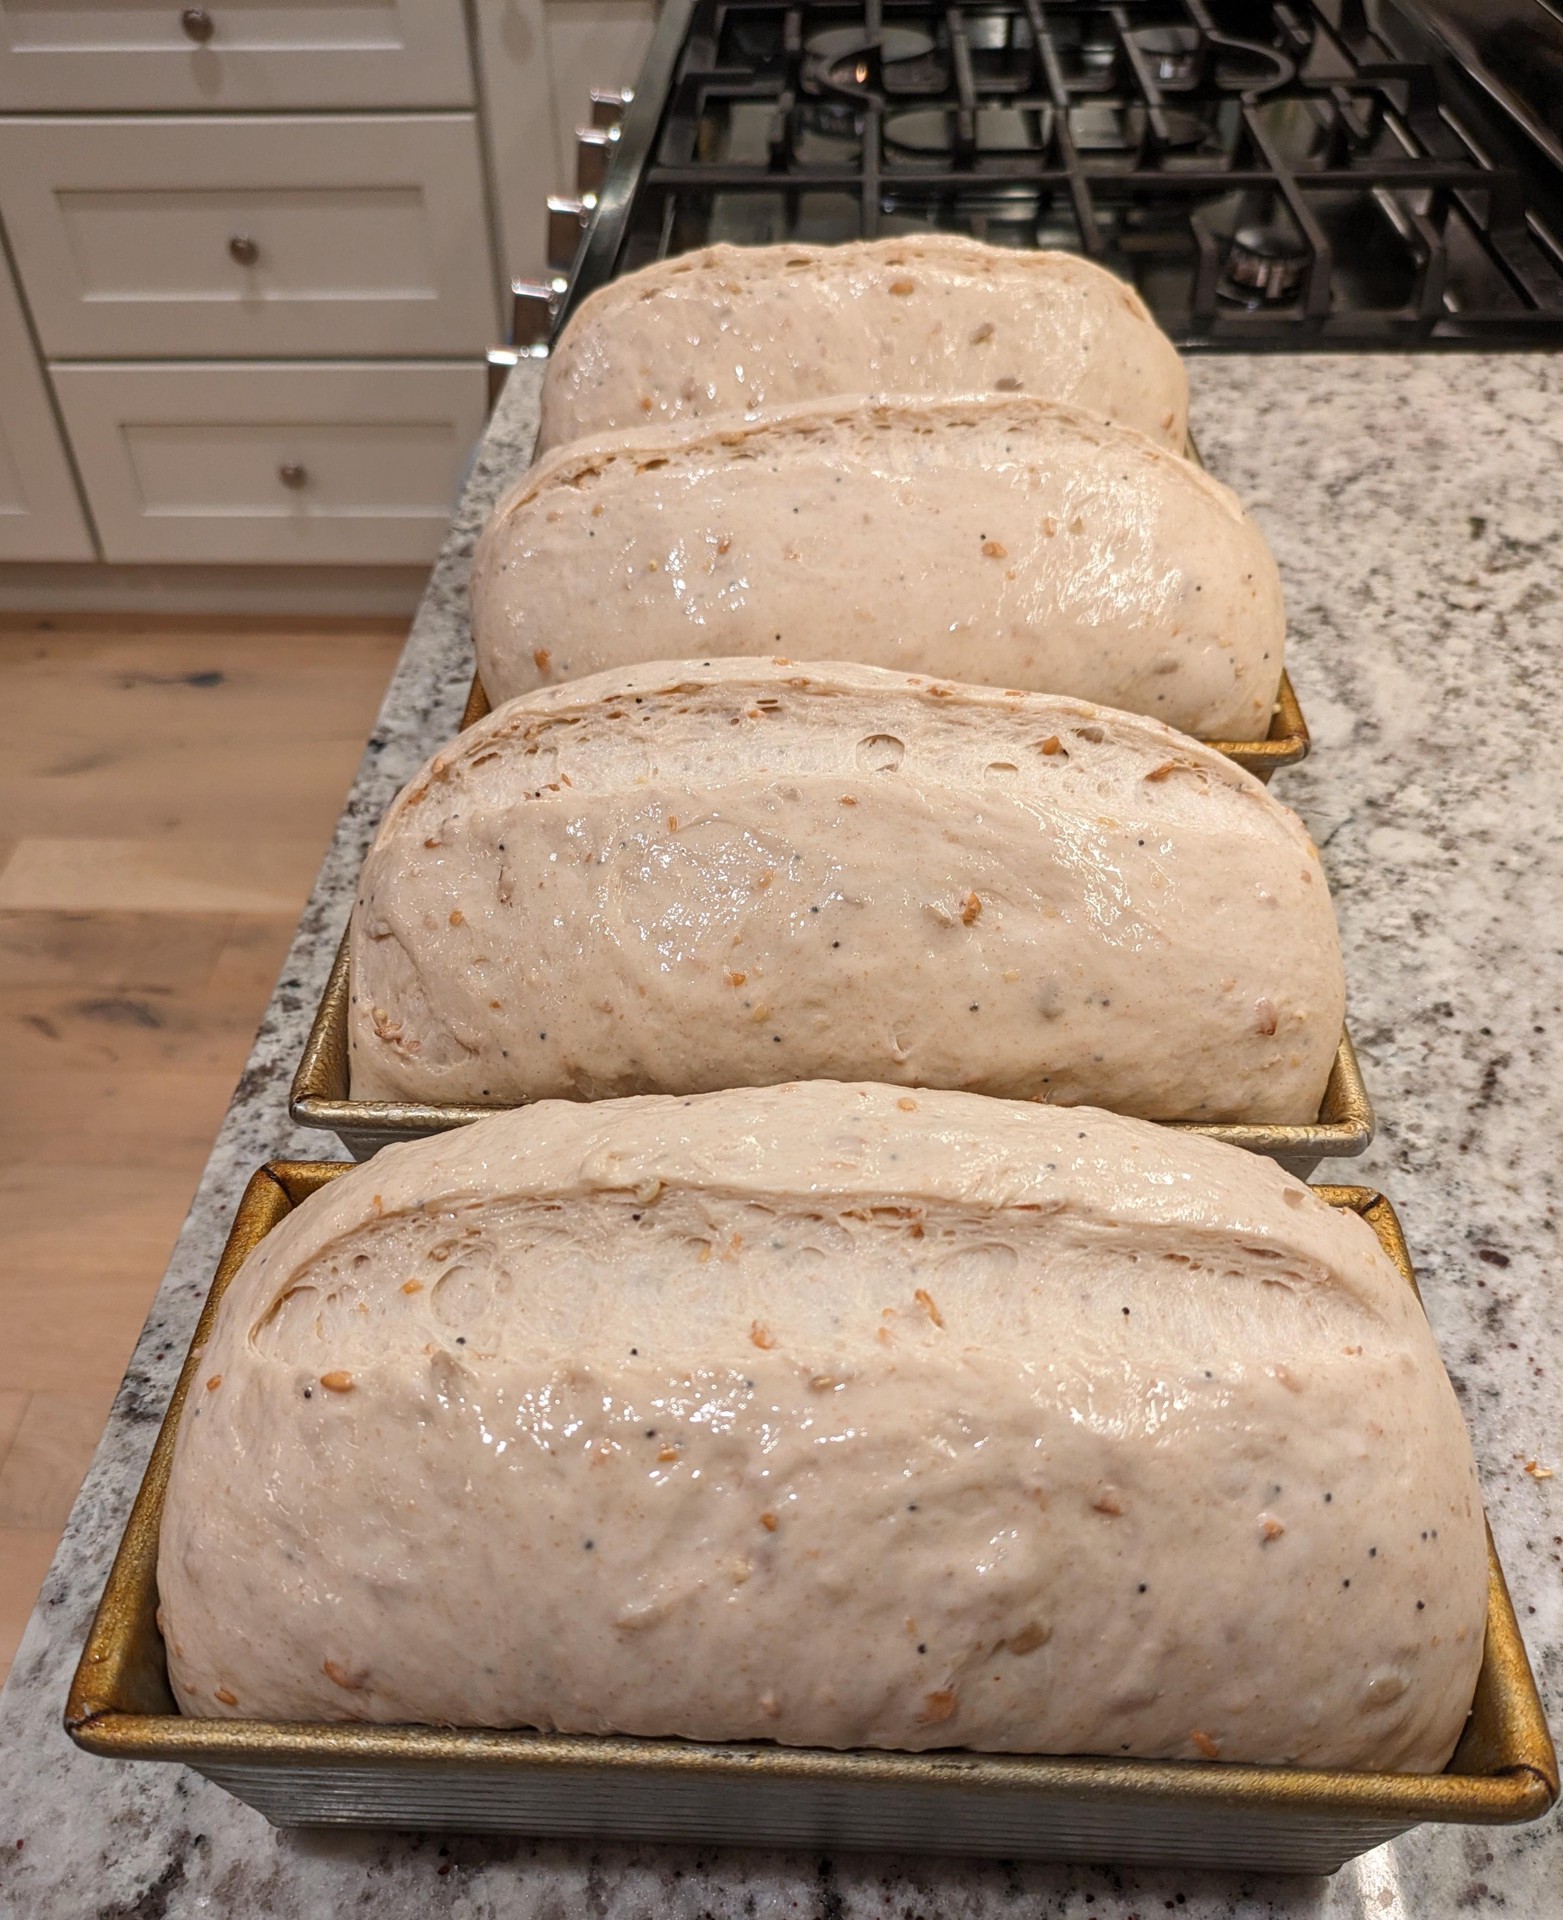
- Score top-to-bottom with a lame or sharp knife, with the blade held vertically. Spray with water
- Launch pans on middle rack, lower heat to 375°F, and bake for 15 minutes. Rotate pans and bake for 15 more minutes
- Optionally, move the loaves to a sheet pan, to get better browning on the sides. Either way, bake for 5 more minutes or until a nice color
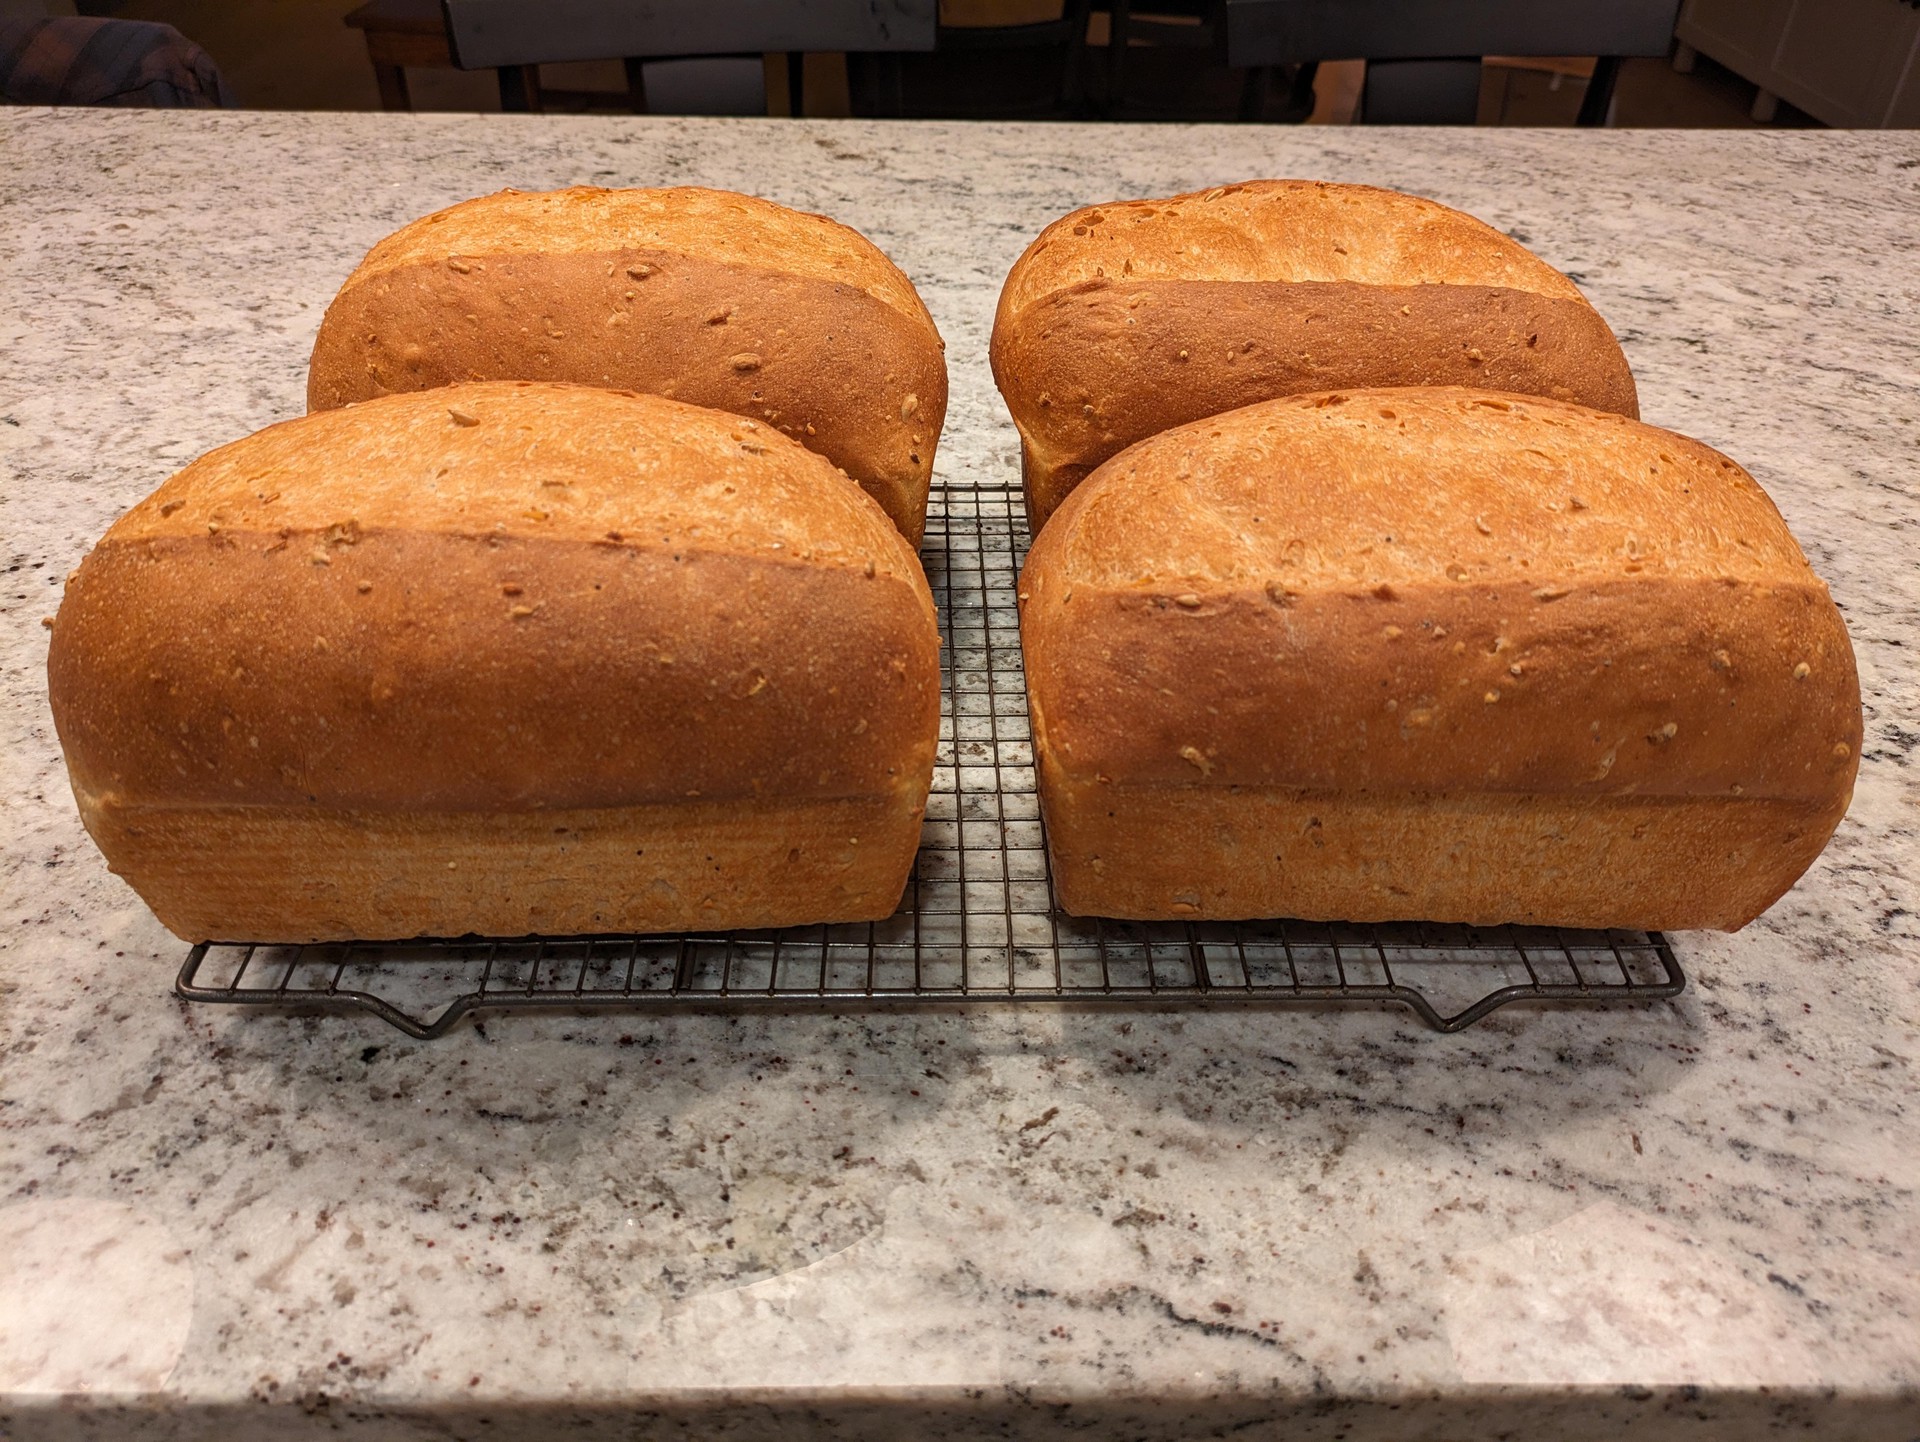
- Leave on cooling rack for at least 4 hours
Slice
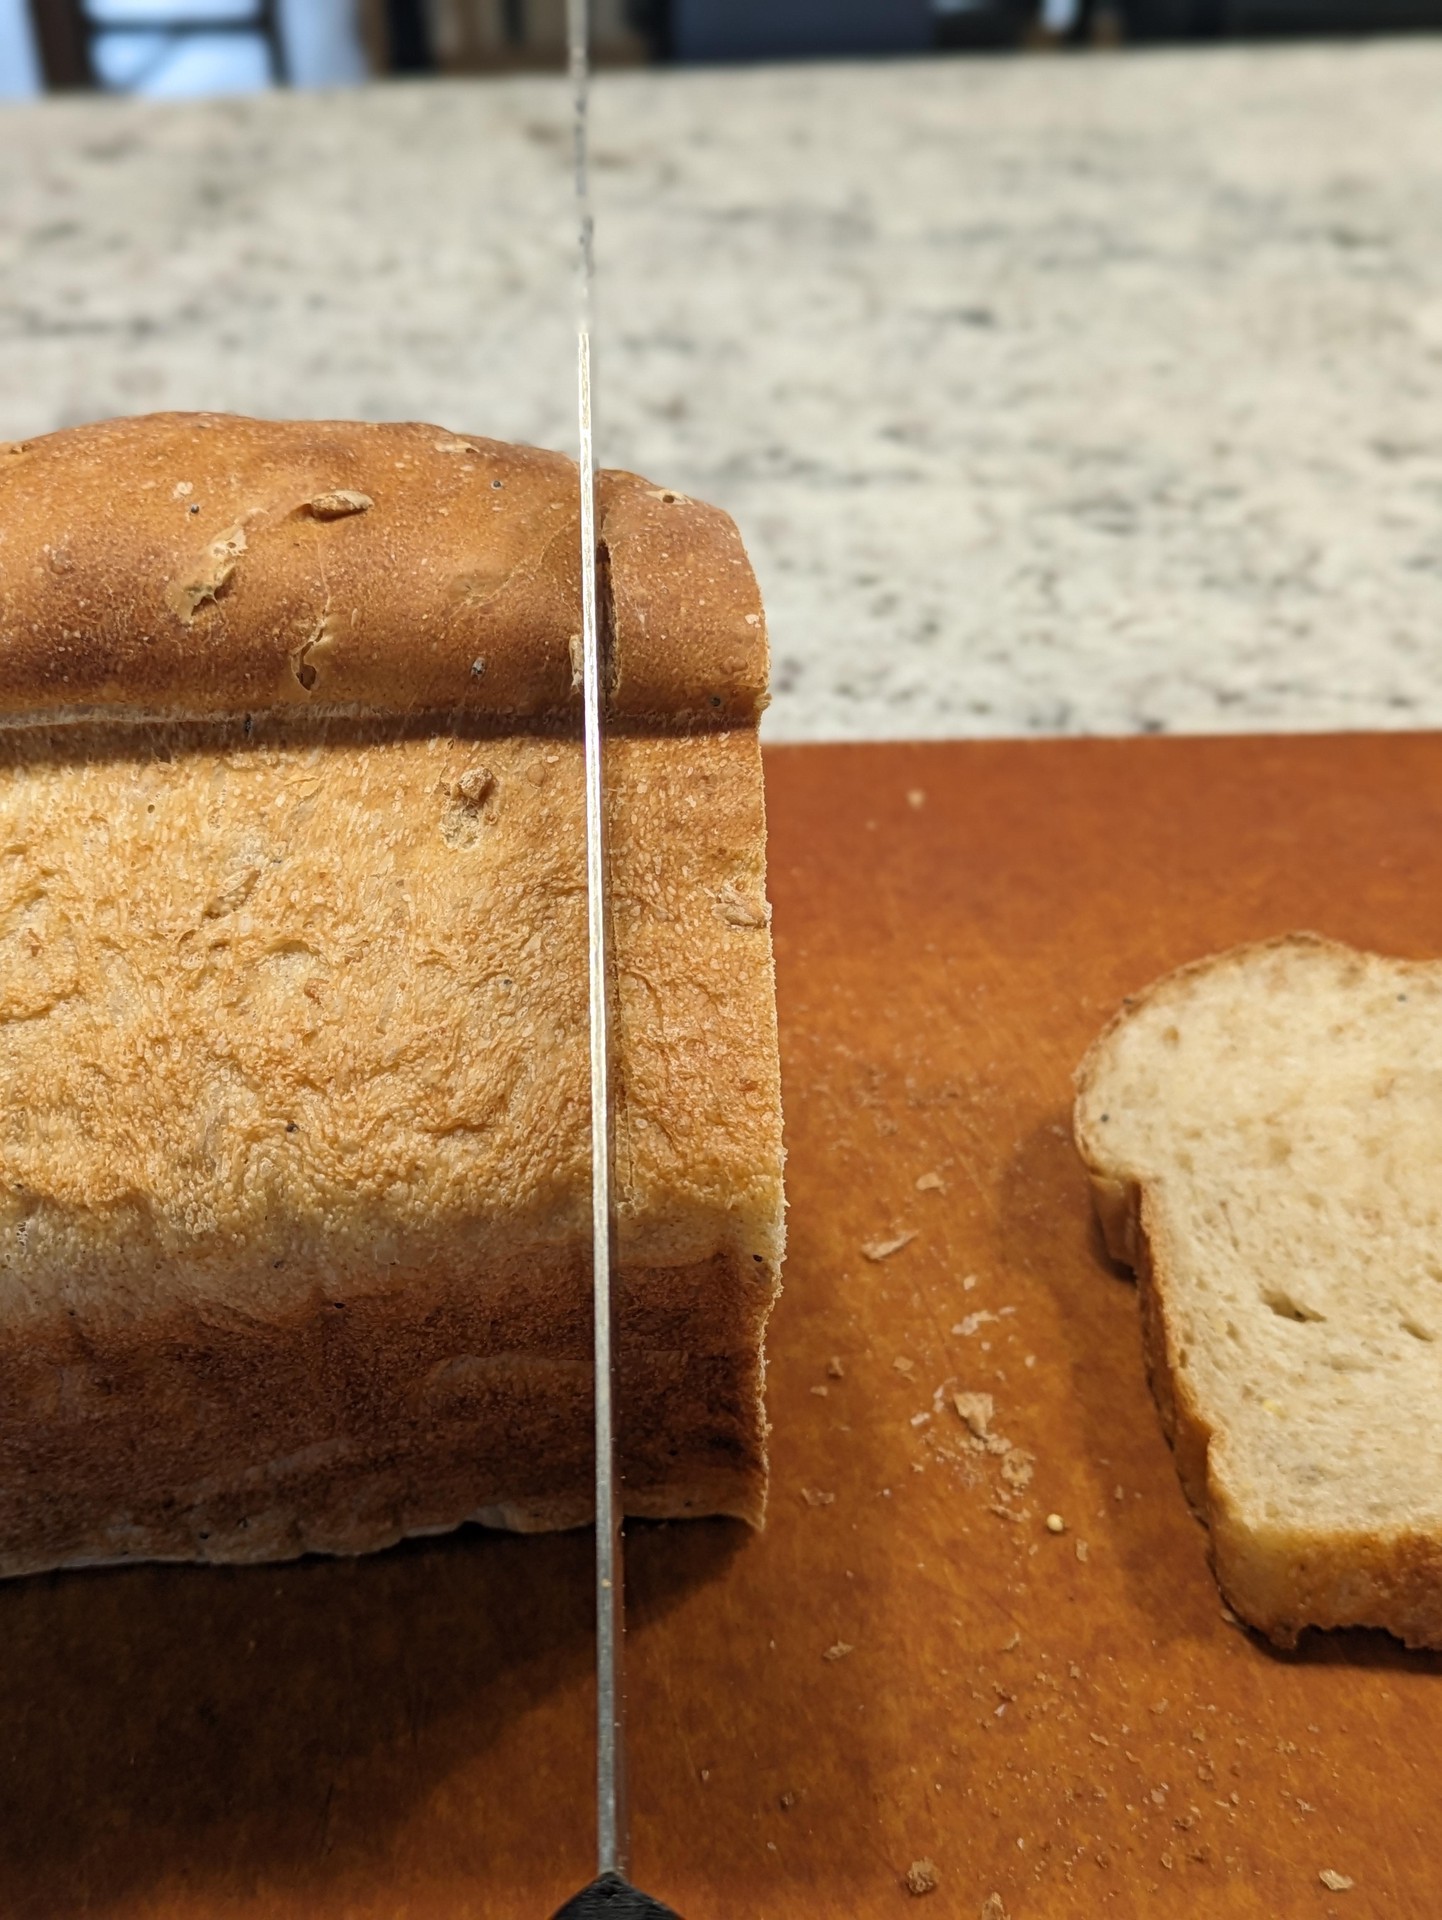
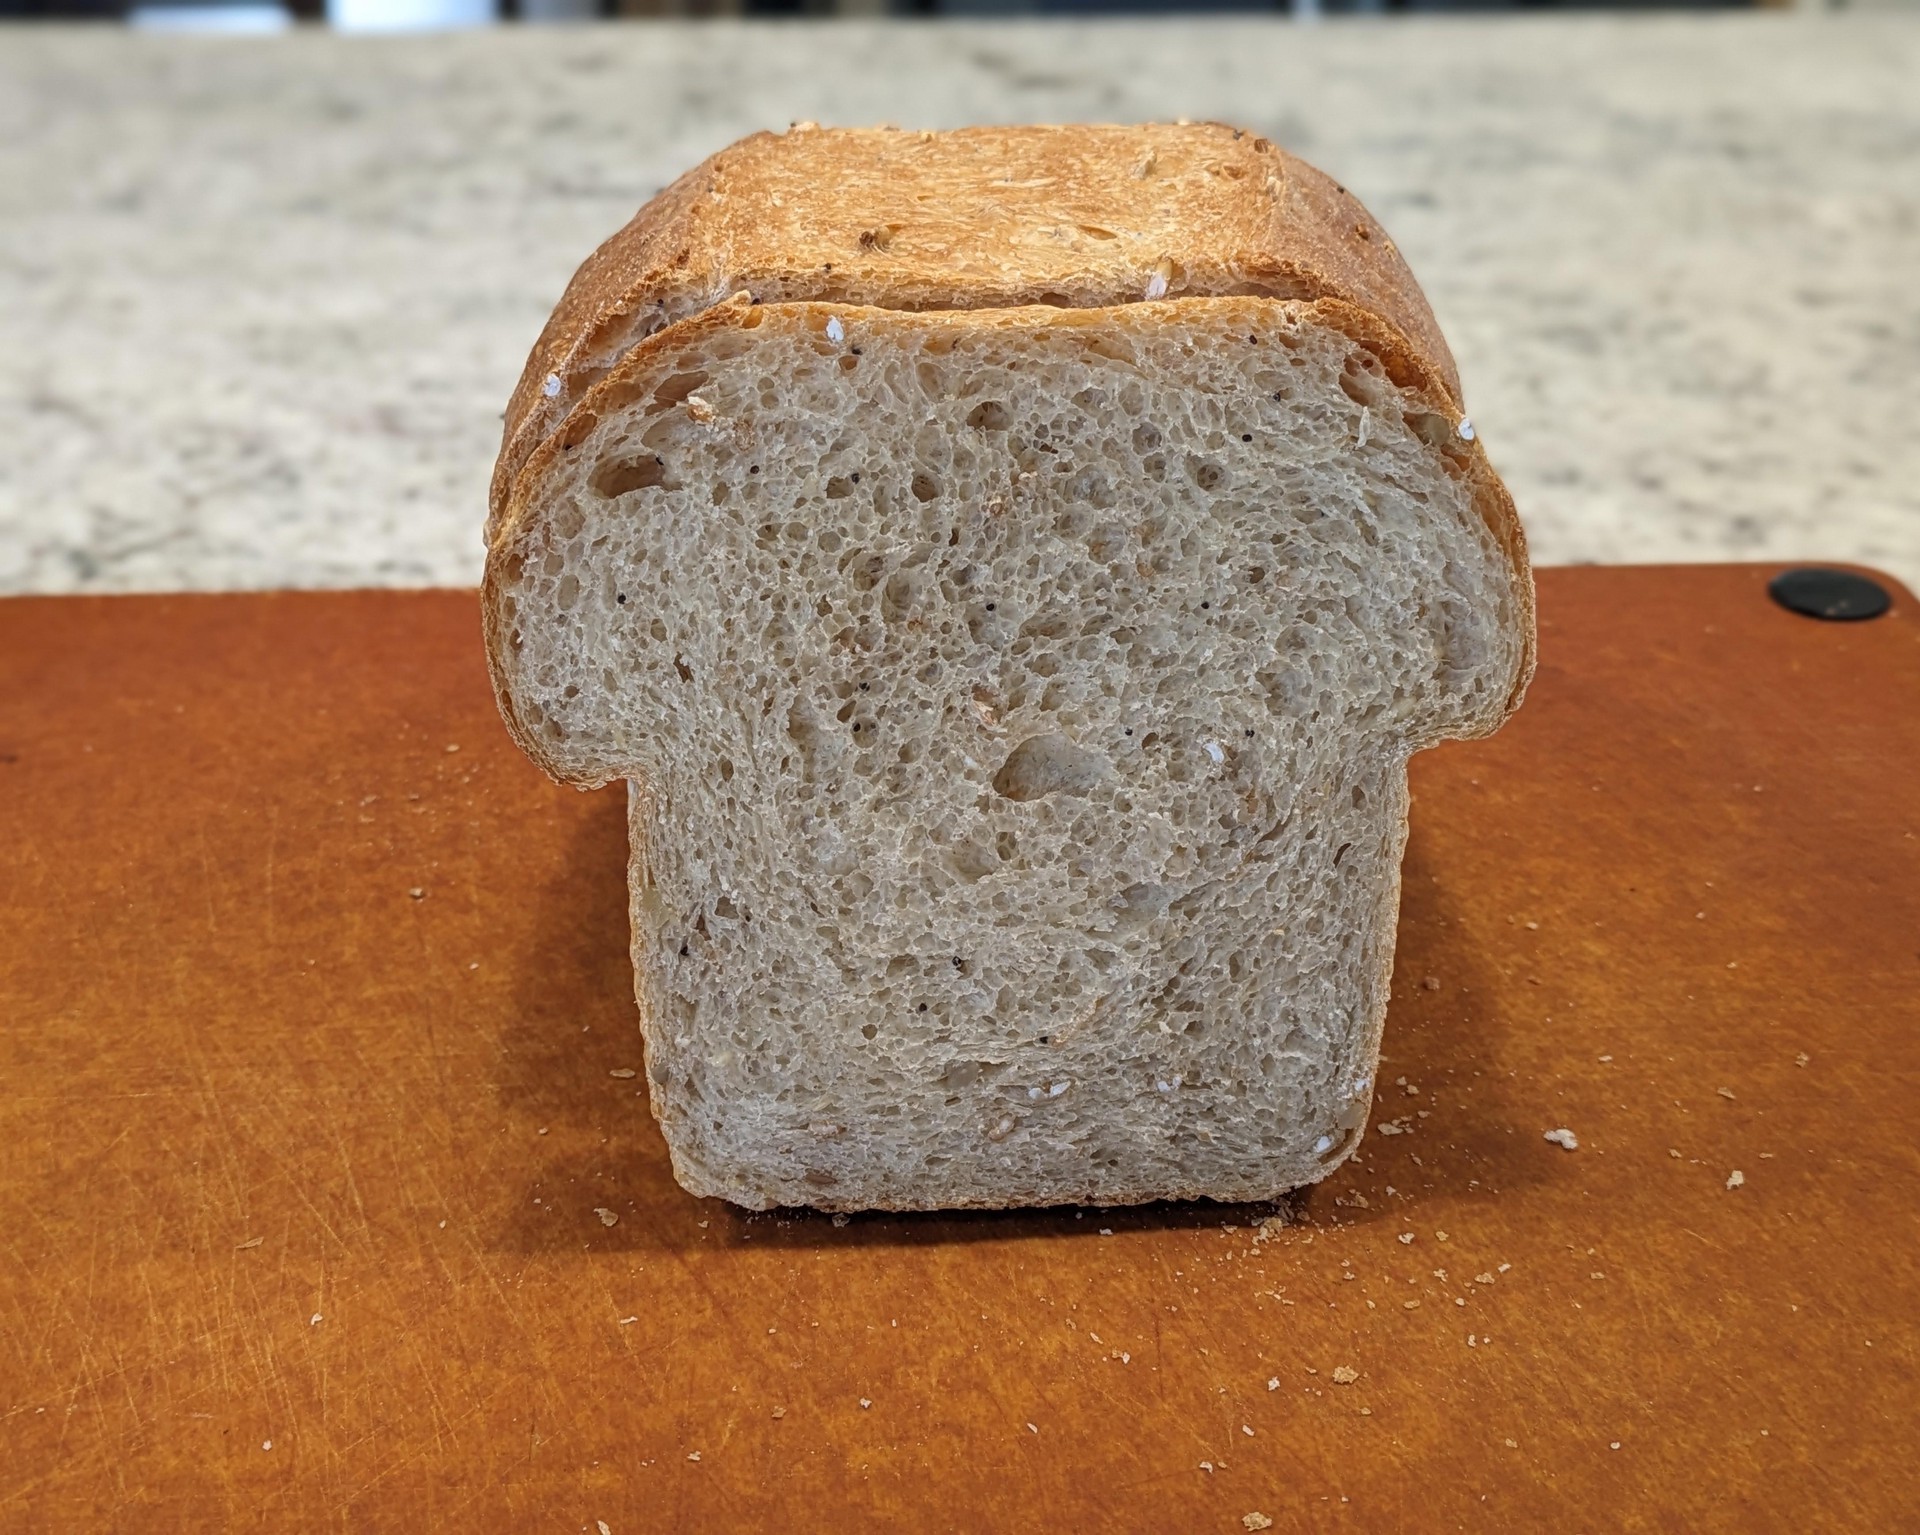
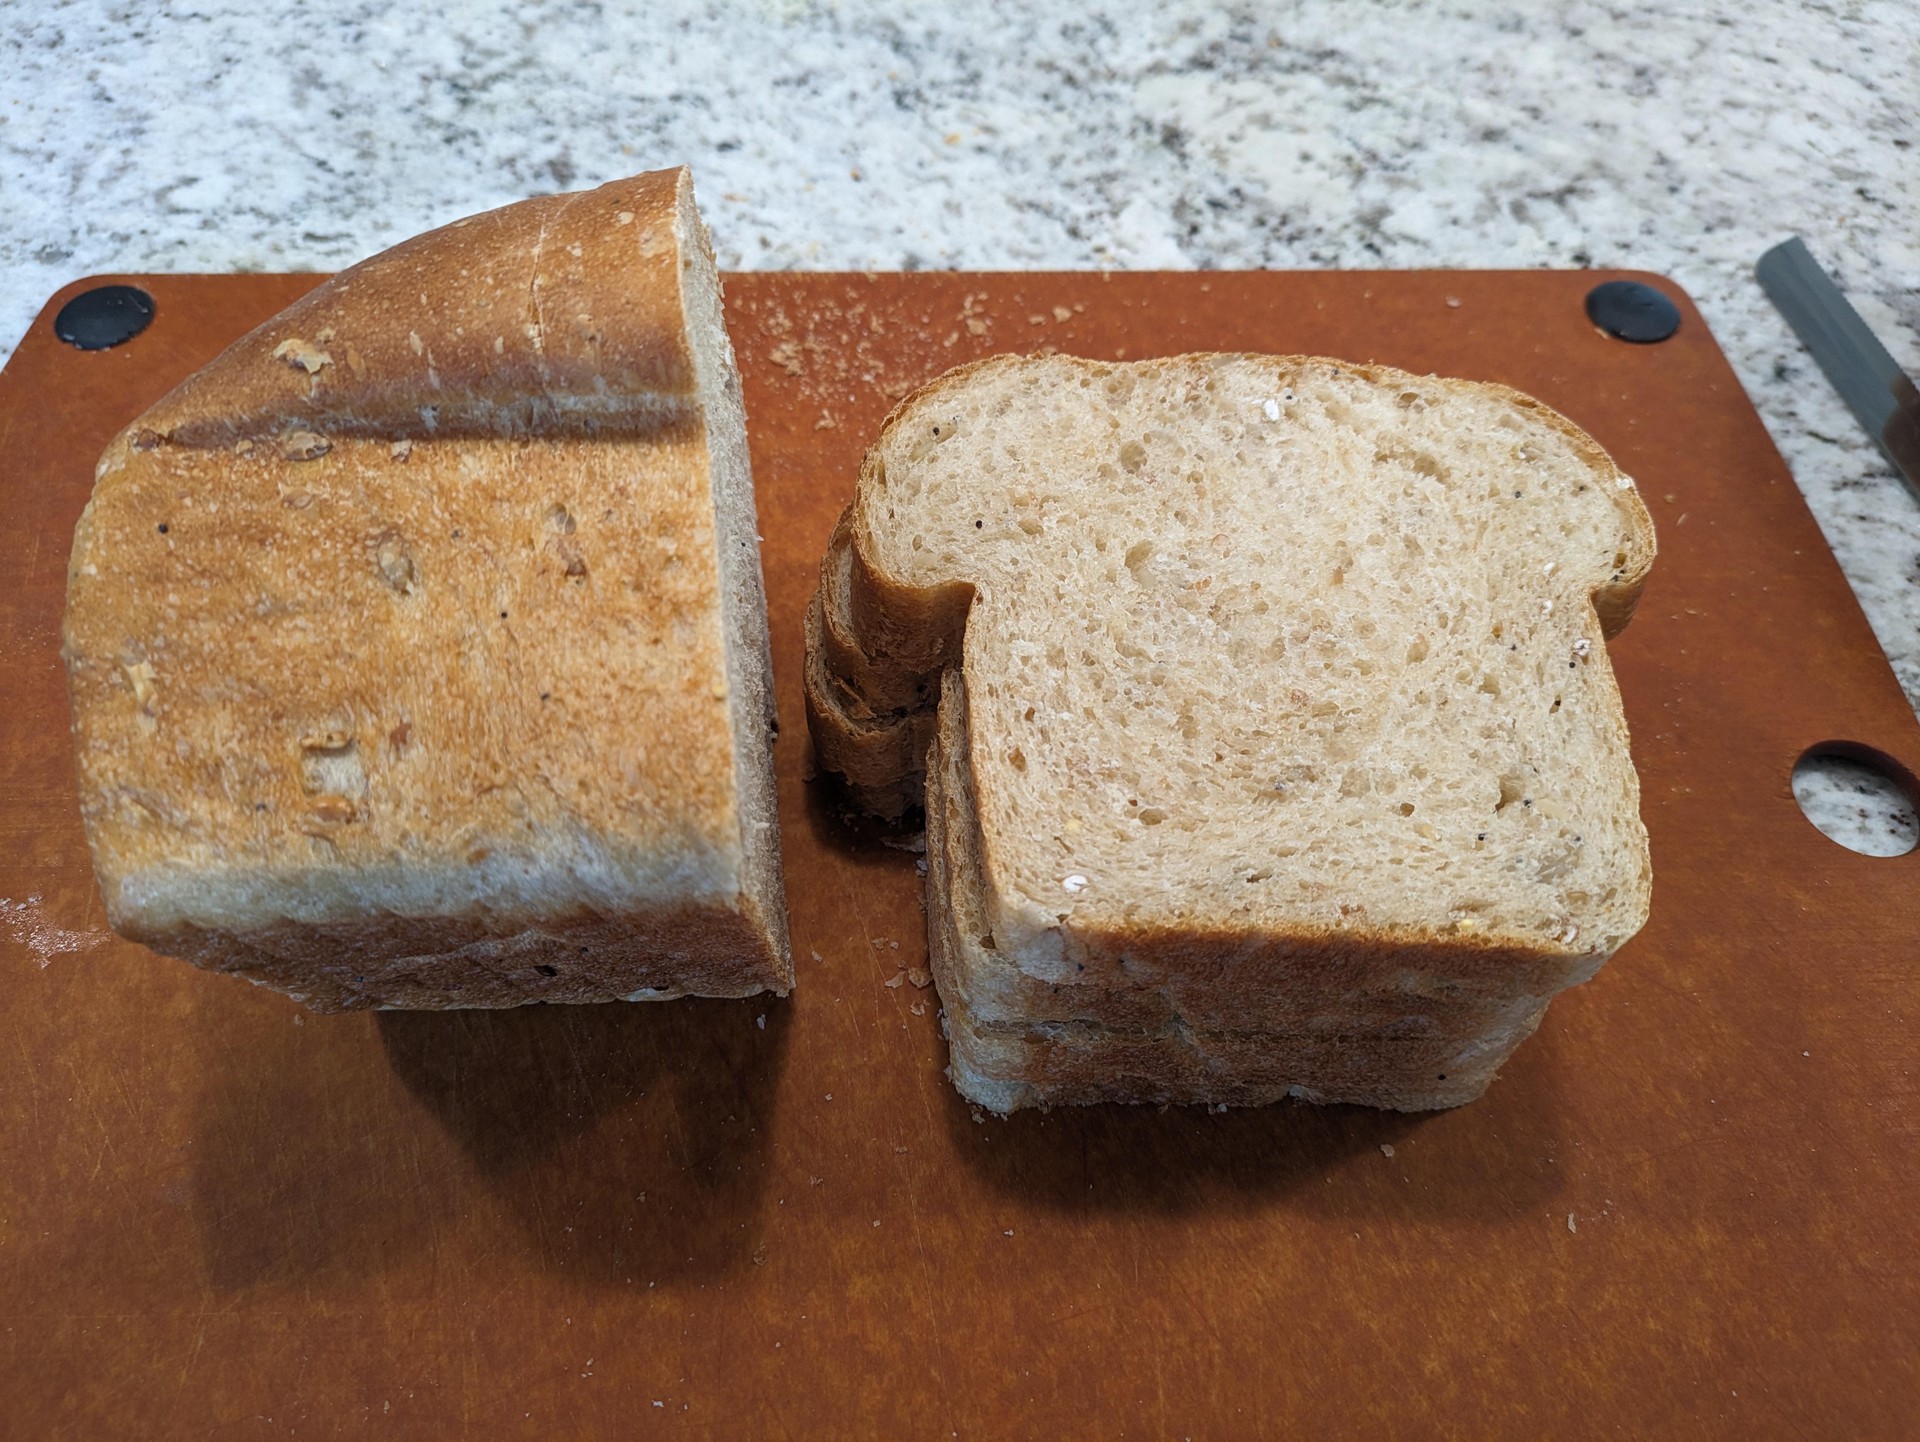
- Put loaf on its side on a cutting board
- With a serrated knife (ideally fine-tooth), cut off the bread butt and feed to your dog
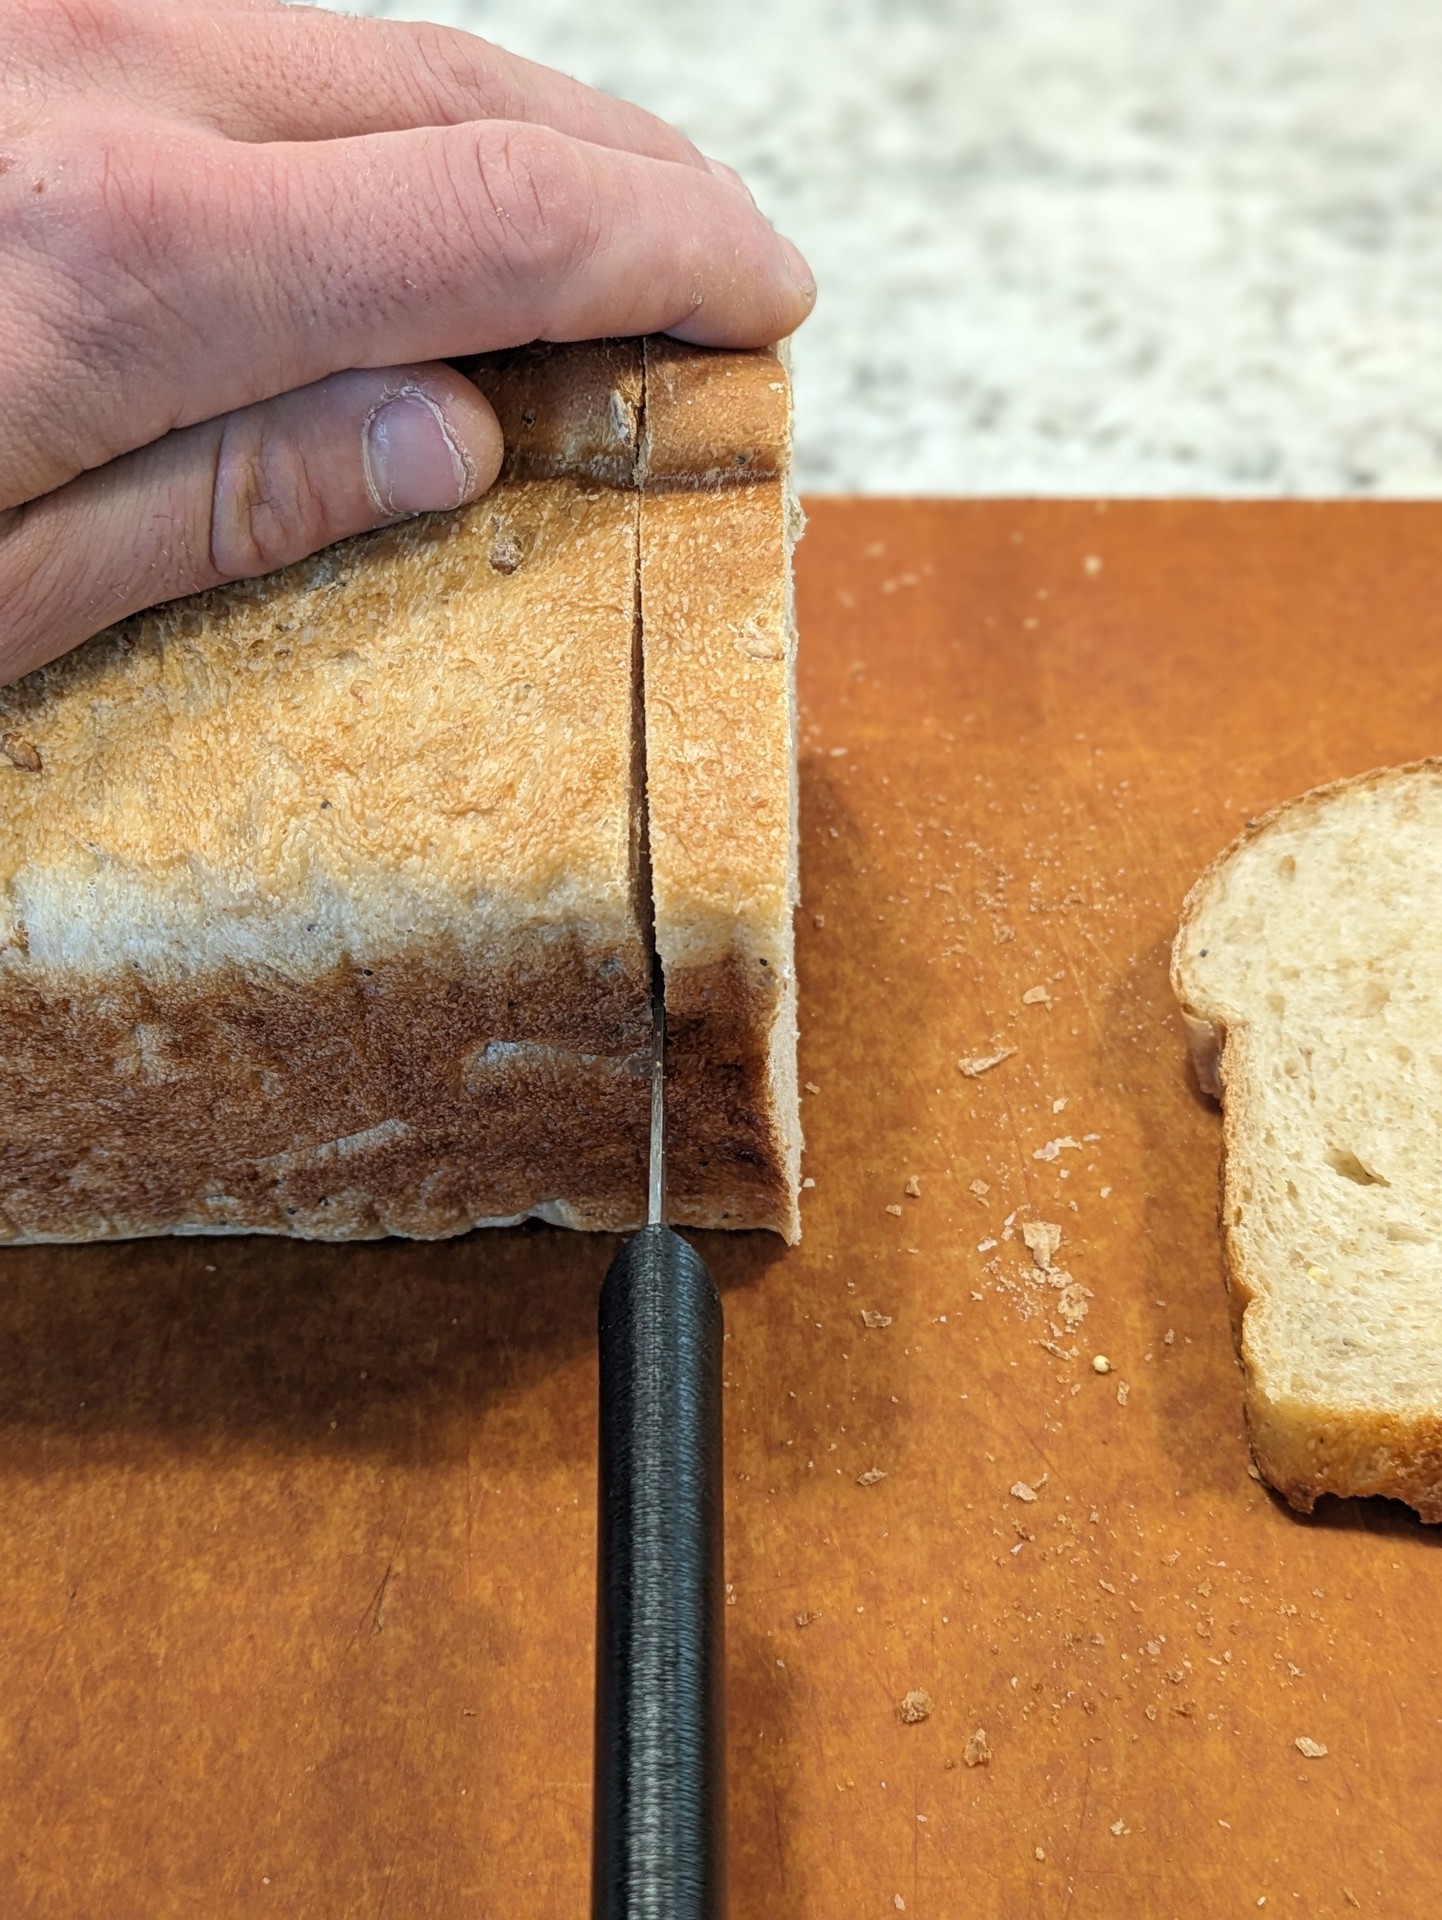
- For each proper slice, line up the knife against the bread, keeping an eye on the side and bottom as you slice through, so that the slice will have even thickness all the way around. Use your other hand to hold the slice flush to the loaf, so that it doesn’t flop out and make it harder to slice.
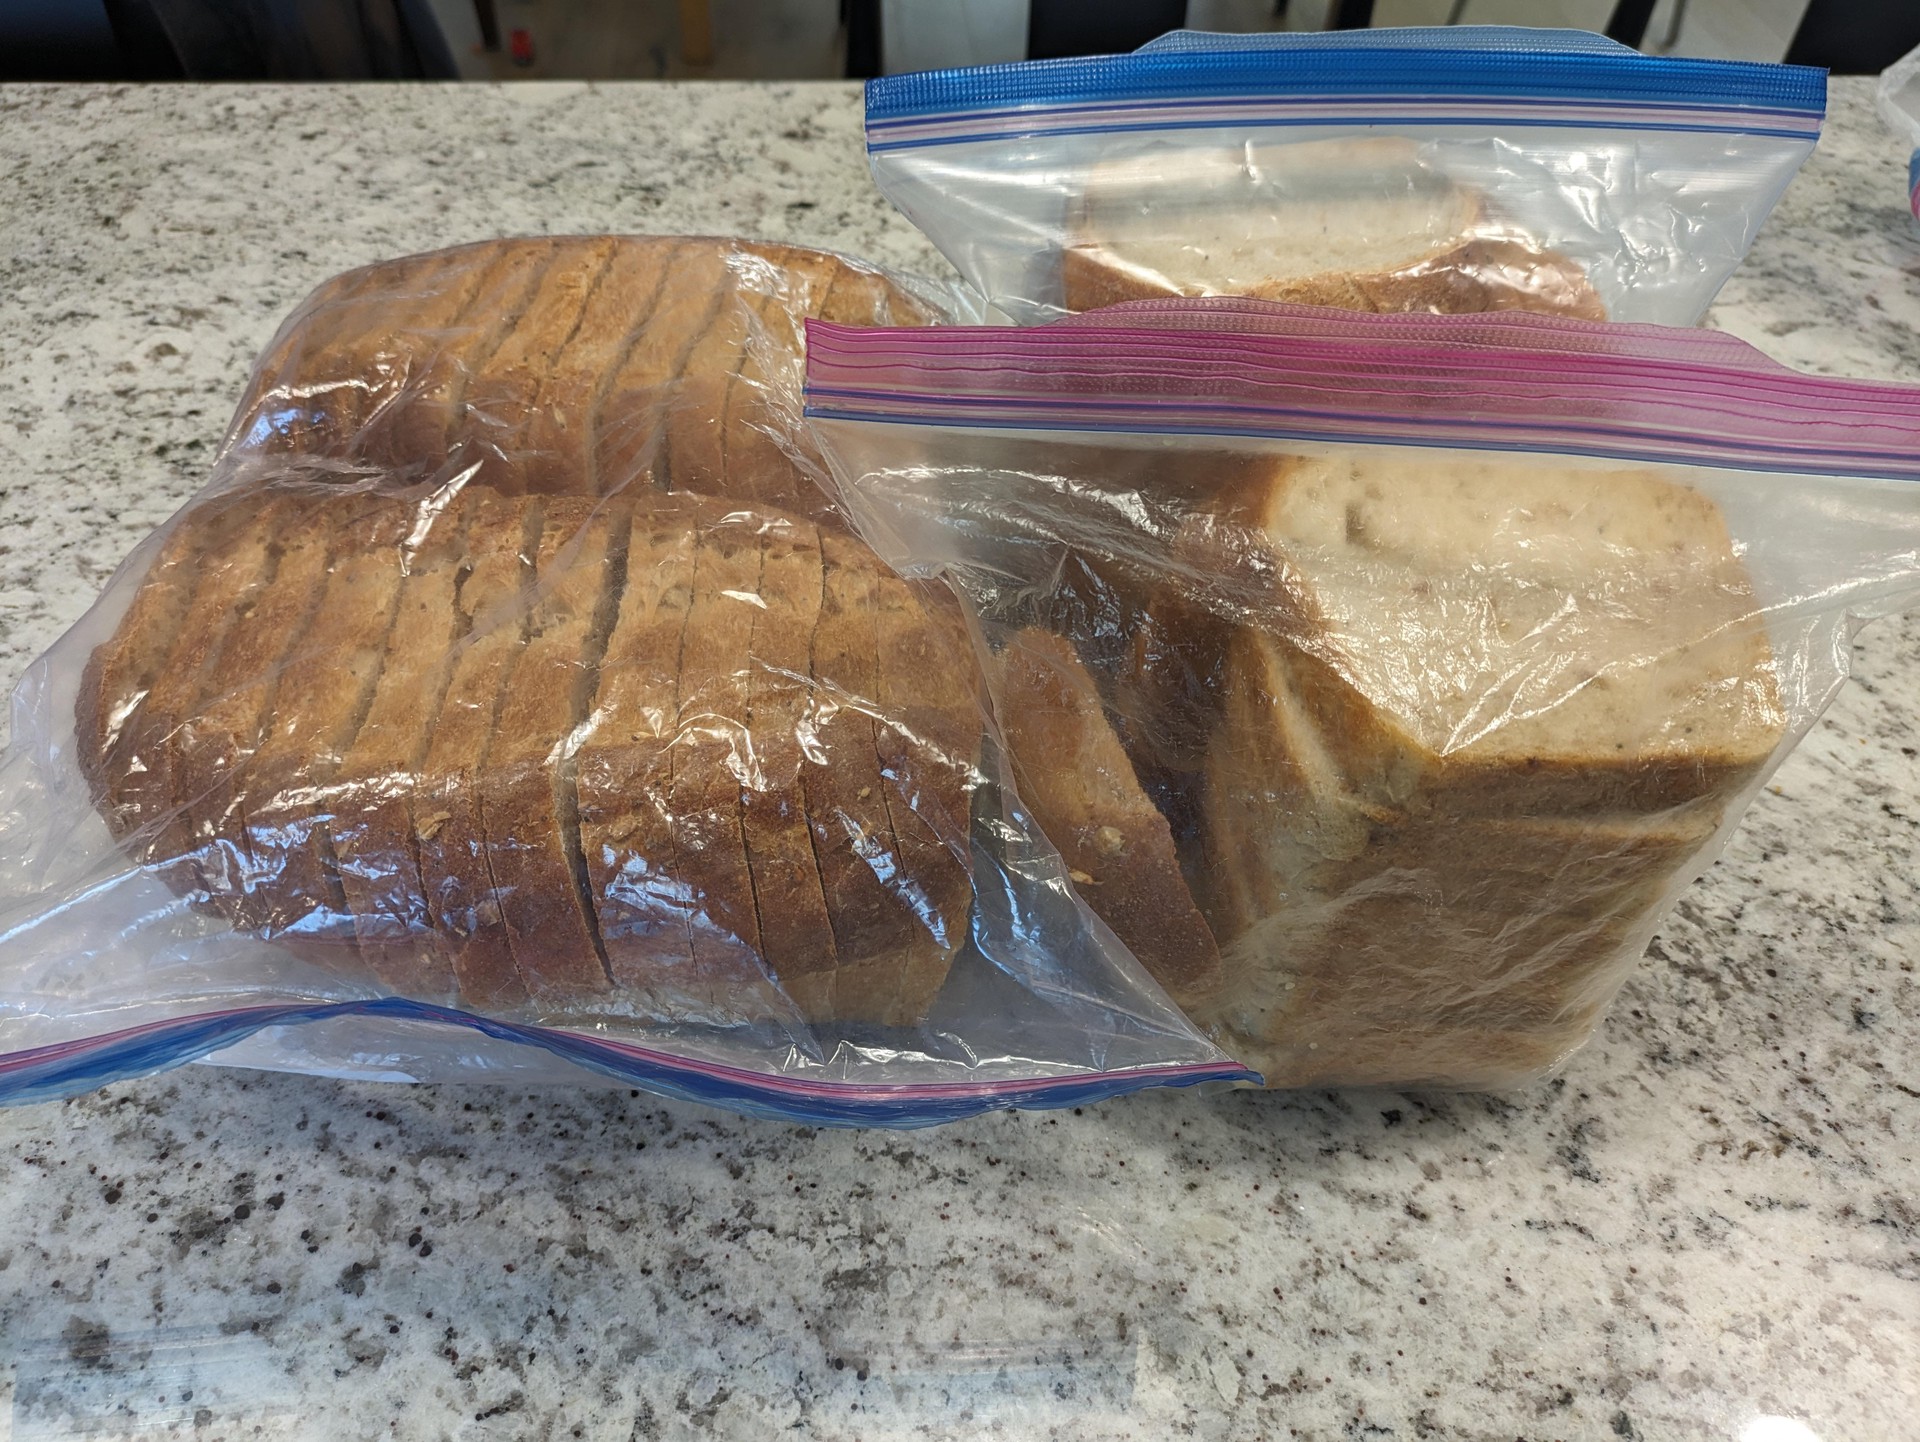
- Bag up in 1 or 2 gallon ziploc bags. Freeze what you’re not going to eat within a week.
Notes
- Sourdough Starter => It can be ripe or discard, doesn’t matter. If you don’t have sourdough starter, sub in 150g flour + 150g water
- Flour Mix => Sub in 10-20% whole-wheat, rye, spelt, harvest grains, semolina, whatever. You may need to add more water to compensate, since these flours tend to absorb more water than white flour
- Rolling Towards a Thin Edge => This becomes the seam on the bottom of the loaf. Making this part thinner results in a smaller seam, one that’s easier to seal